Adding Cursors
This object is a bitmap of a cursor. When you add a cursor to an image, it is displayed by default in a lightly shaded oval shape. However, you can edit the appearance of the cursor shape if necessary (e.g., if you do not want the oval shape to be seen at all, you could specify that the shape should have no line or fill color). You can also select a specific cursor type (e.g., arrow, cross, hand).
[Menu Proxy — Headings — Online — Depth3 ]

How to Add a Cursor to an Image
- Open the image in the Capture Editor.
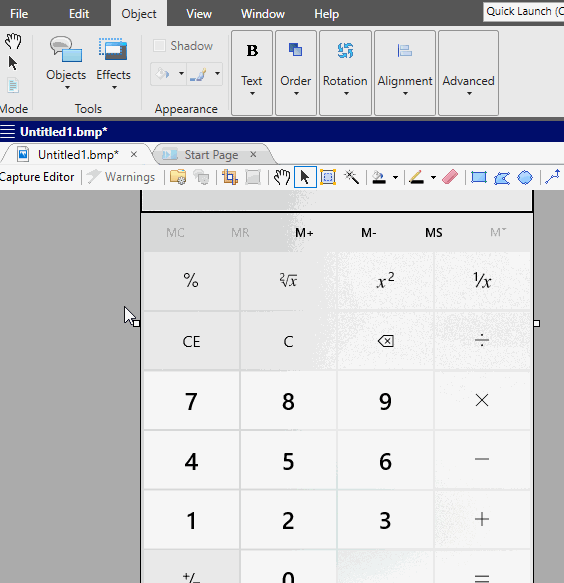
- Select Object > Objects > Graphics > Cursor.
- Click in the image and drag the mouse to draw the shape somewhere in the image. Release the mouse button when you are finished. The cursor appears in an oval shape. The larger the area that you draw, the larger the oval shape; the size of the cursor in the shape, however, is always the same.
-
Click somewhere in the middle of the shape and drag it to the appropriate location on the image.
Note If you have dragged the object outside the current boundaries of the image, padding is automatically added to compensate for the space needed. Double-click the image (not the object) to open the File Properties dialog. Then, on the Appearance tab, use the fields in the Background section as necessary.
- (Optional) To make changes to the cursor, double-click it, and use the tabs in the dialog to set properties(e.g., cursor type, fill color). If you want to make the oval shape invisible so that only the cursor displays, select the Appearance tab. Then make sure a background color is not selected, and set the Width field to 0.
- Click OK.
- (Optional) You can resize the oval shape by clicking and dragging any of the points around the edge of the object.
- Click
 to save your work.
Note A very useful tool when working with objects is a palette, which lets you store objects for future use. For example, if you are including callouts with some
Note In addition to the main image file, Capture creates an XML-based file with a .props extension. This file holds all of the property information (including object layer information). Therefore, the objects are not merged into the image, which means that you can easily change the object information later without having to start over from scratch. It also means that the XML files can be opened and modified with third-party tools. This is especially useful if you need to localize the callouts in your images (e.g., have them translated into other languages).
What’s Next?
If necessary, you can continue editing the image (e.g., adding objects, effects, a border, a callout; cropping the image; resizing the image). Otherwise, you can finalize the image by saving it. See Editing Images.