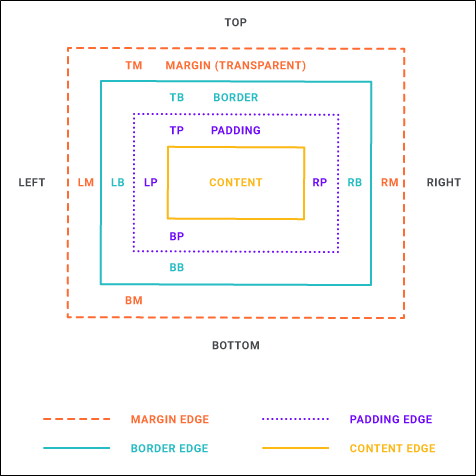
Adding Margins to Equations


After you insert an equation, you can adjust the margins around it so that there is extra space above, below, to the right, or to the left of it.
How to Add Margins to an Equation
- Open the stylesheet you want to modify or create a new one.
- In the local toolbar, make sure the first button displays
 . If the button displays
  instead, then click it.
 - In the upper-left corner of the editor, click in the drop-down field and select
 .
. - Select MadCap|equation. If you want to use a class of that style (e.g., MadCap|equation.RedFont) that you created previously, then select it instead.
- From the Show drop-down list on the upper-right side of the editor, select
 .
. - (Optional) You can use the toggle button in the local toolbar to show properties below in a group view
 or an alphabetical view
  .
. - If you are using the group view, expand the Box group.
- Locate and select the margin property that you want to change. Each side (bottom, left, right, top) has separate properties that you can set (e.g., margin-top). If you plan to have the same settings for all four sides, you can simply use the main margin property.
- The area to the right of the property is used for selecting and entering values. If you know how to enter the information correctly, you can click in the value field and type it directly. Otherwise, click the ellipsis button
 to the right of the property. Depending on the type of property, the appropriate controls and options display, allowing you to choose or enter values (e.g., select from a drop-down list, click a button, complete fields in a dialog or popup). If you completed values in a popup, click OK at the bottom of the box.
 - Click
") to save your work.
to save your work.