You can rename a selector (e.g., class, ID) after you have created it. However, you cannot rename existing parent styles, such as p, h1, or span. When you rename a style class or ID, you have the option to automatically rename all instances of that class or ID in the stylesheet accordingly.
How to Rename a Selector
- Open the stylesheet you want to modify or create a new one.
- In the Stylesheet Editor, choose the selector that you have created (not a parent style).
- Do one of the following, depending on the part of the user interface you are using:
- Local Toolbar In the local toolbar, click
 .
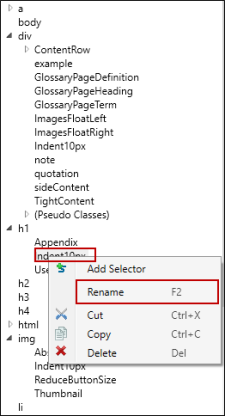
. - Right-Click After right-clicking the style class or ID, choose Rename.
- Keyboard Shortcut Press F2.
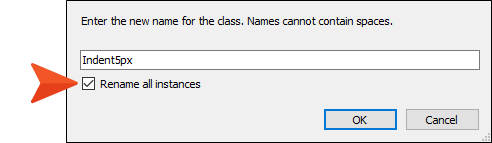
The Rename Class dialog opens.
- Local Toolbar In the local toolbar, click
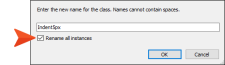
- Enter a new name for the selector.
-
(Optional) If you want to rename all instances of that class or ID in the stylesheet, select Rename all instances.
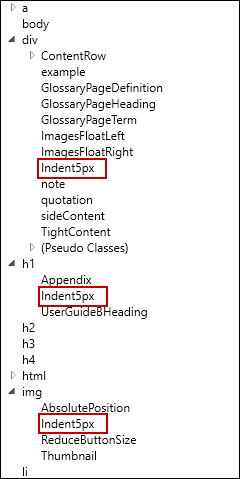
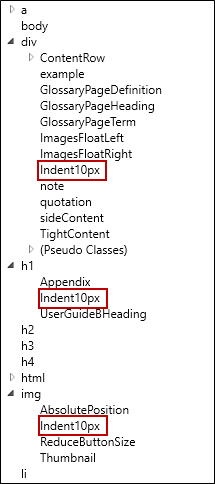
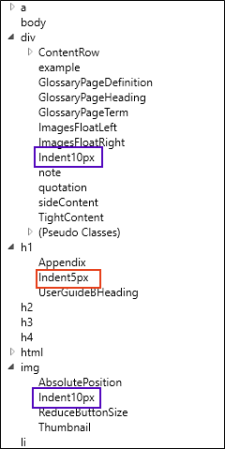
Example You have created a class named "Indent10px" under three styles—div, h1, and img.
You decide to rename the class under the h1 style. So you right-click the class and select Rename.
In the dialog that opens, you rename it Indent5px. However, you leave the option Rename all instances deselected.

As a result, only the class under h1 is renamed.
But let’s say instead you rename the class and enable the Rename all instances option.
As a result, all three of the classes are renamed.

- Click OK.
- Click
") to save your work.
to save your work.