Setting a Cover Image
For the Manual target type, you can specify a cover image in the Help Targets dialog, as opposed to embedding it in the template file. This is simply an easier, more convenient option and lets you specify a cover image for specific targets.
Example
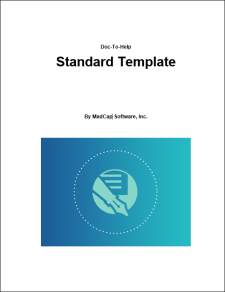
Let's say your target template initially looks like this, with Doc-To-Help's default cover image embedded on the first page.
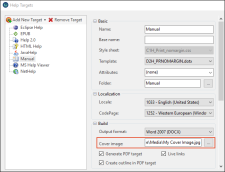
You want to replace this image with your own. Instead of editing the template, replacing the Doc-To-Help image, you open the Help Targets dialog and point to your own image.
After you generate the output, your image replaces the default Doc-To-Help cover image.
- (Recommended) Add the desired image to your project. (Typically, images are stored in the Media folder.)
- In Doc-To-Help, open the Home ribbon, and at the bottom of the Target group click
 . The Help Targets dialog opens.
 - On the left side of the dialog, select the Manual target.
-
In the Build section, specify the image in the Cover image field.
In most cases, you will click
 and select an image within your project, which produces a relative path to that image (e.g., Media\MyImage.png).
Note It is also possible to use an absolute path and point to an external image, but a relative path to an image within the project is recommended.
- Click OK.
This feature is based on a bookmark named "CoverImage." All source and Manual target templates provided by Doc-To-Help have this bookmark, and it is placed by default on the cover image at the beginning of the template. However, if you specify a different image in the Help Targets dialog, it will replace the default cover image that is embedded in the target template.
To define a new location for the cover image, you can edit the template


