NetHelp Theme Wizard
The NetHelp Theme Wizard takes you step-by-step through the process of creating your own custom theme. It lets you do the following:
- Create a new theme or update an existing one.
- Specify a layout and stylesheet.
- Brand your output.
- Set some of the most commonly used properties for the NetHelp target.
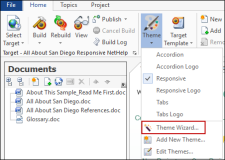
- On the Doc-To-Help Home ribbon, click Select Target and choose a NetHelp target.
-
On the same ribbon, click the Theme drop-down and select Theme Wizard.
-
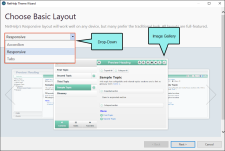
From the drop-down or image gallery, choose a layout: Accordion, Responsive, or Tabs. Then click Next.
-
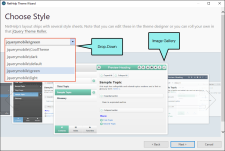
From the drop-down or image gallery, choose a stylesheet. Then click Next.
Note You can edit the stylesheet in the theme designer later or you can create your own with the jQuery Theme Roller. See http://jqueryui.com/themeroller/.
-
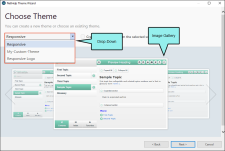
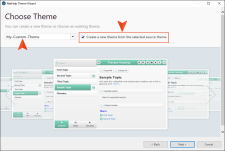
From the drop-down or image gallery, choose a predefined theme or a custom theme that you previously created.
-
(Optional) If you want to create a new theme (based on the theme you chose in the previous step), select Create a new theme from the selected source theme.
- Click Next.
-
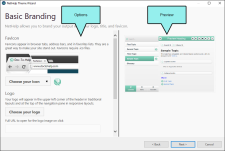
(Optional) On the Basic Branding page, select a favorites icon and logo, specify whether to show the title in the output, and customize the text area of your output. A preview of the output appears on the right side of the window as you set the properties.
FavIcon
Click Choose your icon and select an icon (.ico). The icon will appear in browser tabs, address bars, and in Favorites lists.
Logo
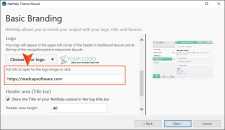
Click Choose your logo and select an image. It will appear in the upper-left corner of your theme header.
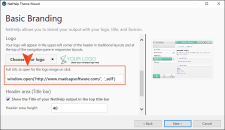
In the field below, you can add a URL or JavaScript link to the logo. This makes the logo interactive, opening another location or performing some kind of action when a user clicks it.
Header area (Title bar)
To make a title appear in the title bar of your output, select Show the Title of your NetHelp output in the top title bar and enter a height for the header area.
Text area
Select Fit text to window width or enter a Maximum text width in the text box.
Note If you chose a predefined theme on the Choose Theme page, you cannot change the branding properties.
- Click Next.
-
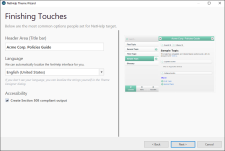
(Optional) On the Finishing Touches page, enter a title to appear in the output title bar, select a localization language for the NetHelp interface, and select the Create Section 508 compliant output check box if you need the output to be accessible for disabled users.
- Click Next.
-
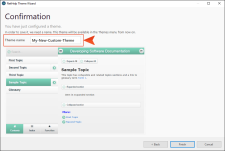
On the Confirmation page, enter a theme name (if you are creating a new theme) and make sure the preview is correct.
- Click Finish. If you used an existing theme, a dialog opens, explaining that the properties of the NetHelp target have been updated. If you created a new theme, a dialog opens, explaining that the theme has been created and assigned to your NetHelp target.
-
Click OK. The theme appears in the Theme button drop-down list on the Home ribbon. You can select it and build the target to apply the theme.
