The Previous and Next buttons in HTML5 output using Side or Top Navigation skins (or no skin) differ from those in other WebHelp and other output types (including HTML5 outputs using a Tripane skin). In WebHelp and other output types, the Previous and Next buttons navigate between topics in a browse sequence (if one is available); otherwise they navigate between topics in the table of contents.
Example — HTML5 Top Navigation (TOC)
You might want to include Previous and Next buttons in your online HTML5 Top Navigation output when you use topics that are sequential, such as a tutorial or a long process spanning many topics.
In this example, a user tutorial has several numbered topics that have been added to the table of contents (TOC). We’ve added a menu proxy so that these TOC items display next to the open topic.
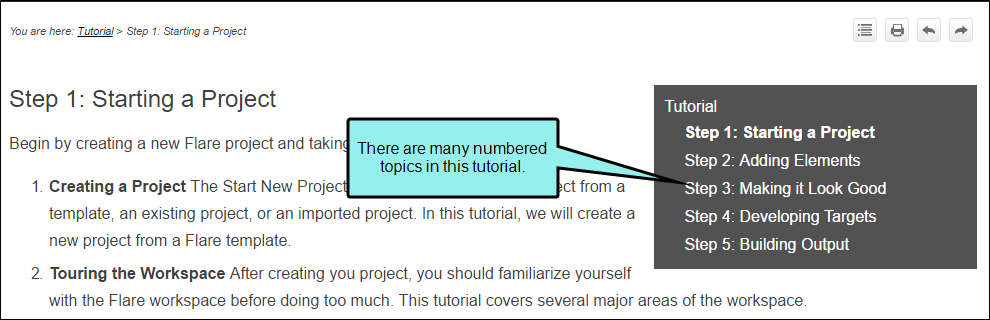
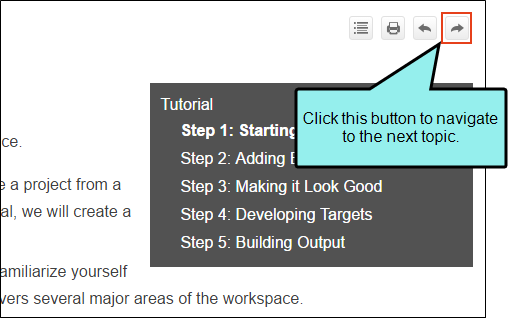
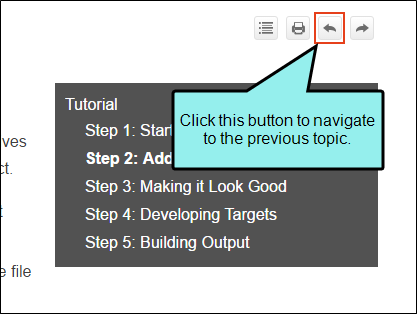
When users work through the tutorial, they start at Step 1 and then logically progress through each topic using the Next button.
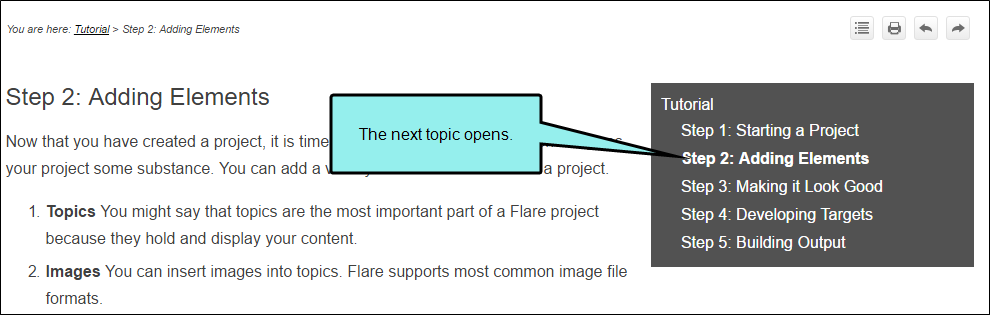
If they need to go back to a previous topic in the TOC, it is easy for the user to click the Previous button to find the topic.
Example — WebHelp (Browse Sequence)
Let's say you want to add Next and Previous buttons, as well as the Home button, at the bottom of each topic in your WebHelp output. The buttons will use a browse sequence that you’ve added to your output.
Therefore, you open your skin and select the Topic Toolbar tab. The default settings already include the Next Topic, Current Topic Index, and Previous Topic items.
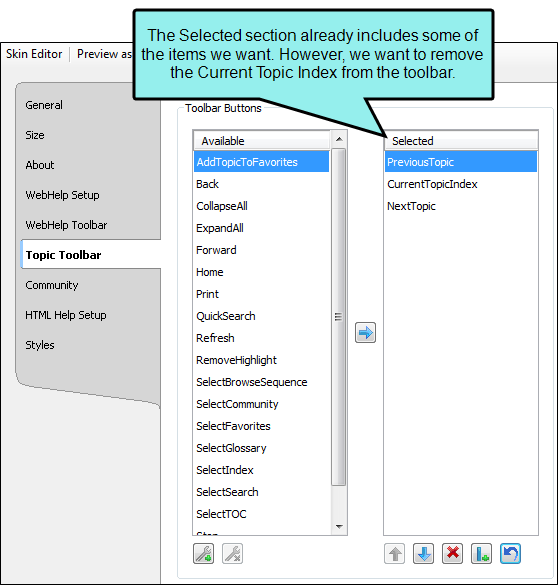
In the Selected section, you select CurrentTopicIndex and click  at the bottom of the tab. This moves that item back to the Available section on the left.
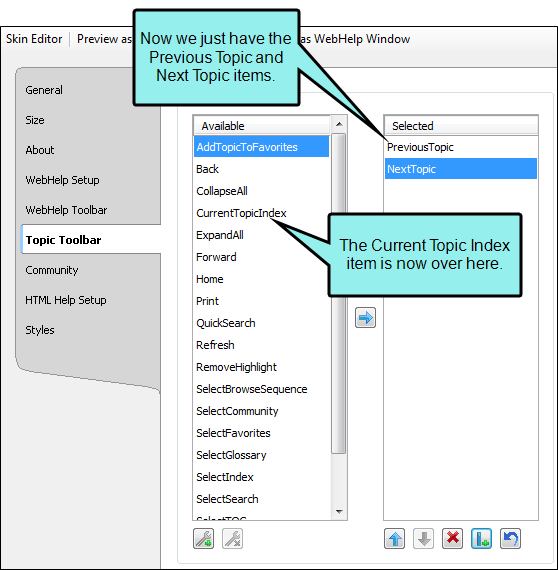
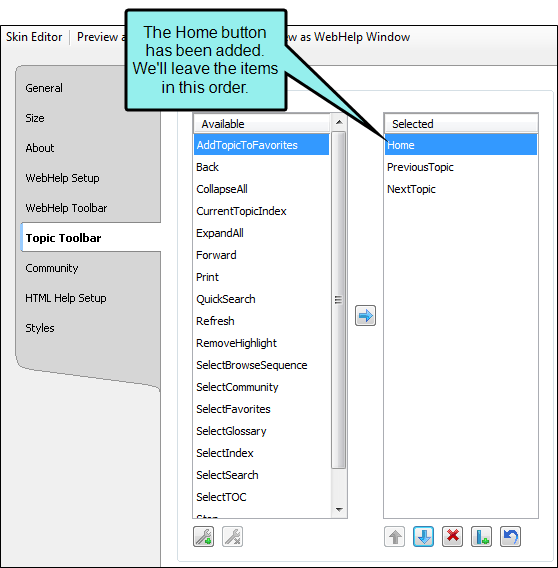
Next, in the Available section, you select the Home item and click  to move it to the Selected section.
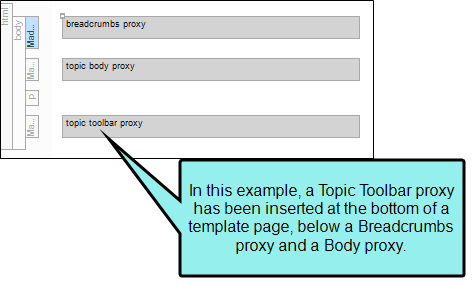
Now that the settings in the Skin Editor are completed, you can save your changes and insert the Topic Toolbar proxy (alternatively, you could have inserted the proxy before editing the skin). If you had wanted the custom toolbar to display in only a few topics, you would probably insert the proxy directly into those topics. However, because you want the toolbar to display at the bottom of every topic, the best way to accomplish this is to insert the proxy into a template page.
After making sure both the skin and the template page are associated with the WebHelp target, you can generate the output.
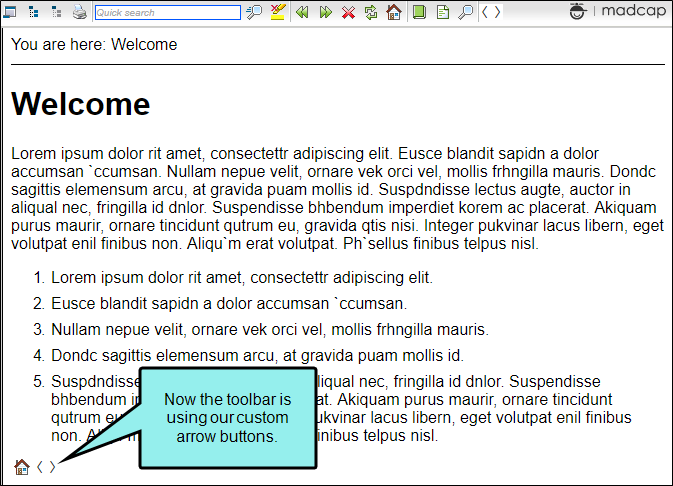
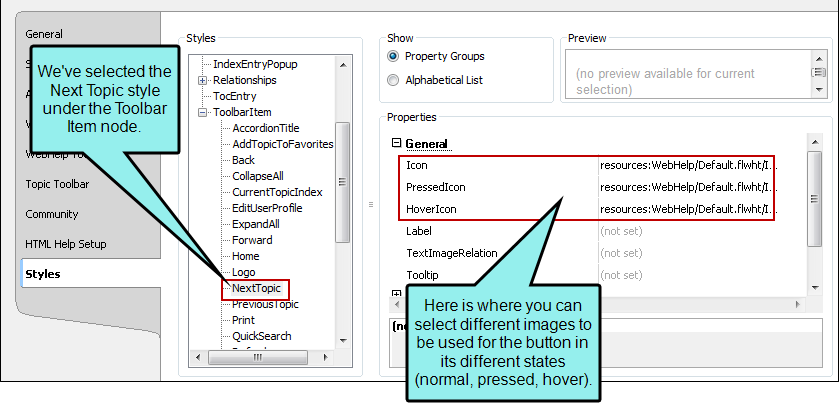
Suppose you have created your own arrow images and want to use them instead of the images provided by Flare. You can simply select your image files in the Styles tab of the Skin Editor.
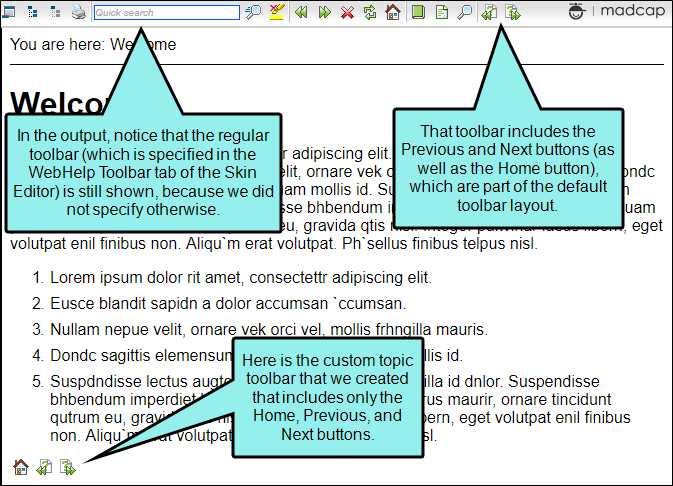
Afterwards, the output might look something like this: