
For HTML5 targets, you can assign IDs to skins.
One reason for setting a skin ID is to allow users to choose from multiple skins in order to change the display of the output.
Another reason for setting a skin ID is to display output differently for context-sensitive Help (CSH), such as Dynamic Help
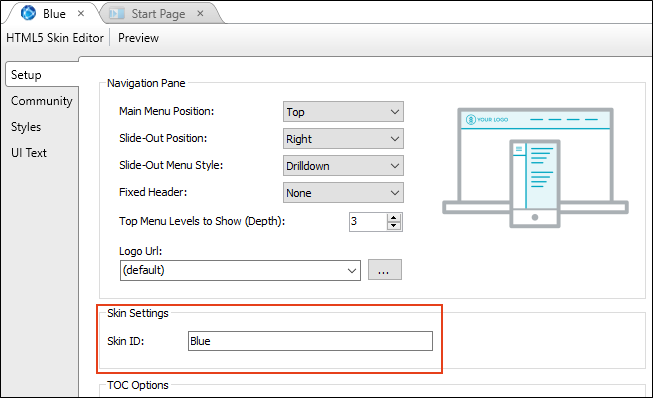
How to Set a Skin ID
- From the Project Organizer, open an HTML5 skin.
- Select the Setup tab.
-
Edit the Skin ID field. By default, this ID is based on the file name of the skin, but you can change it to something else.
- Click
") to save your work.
to save your work.
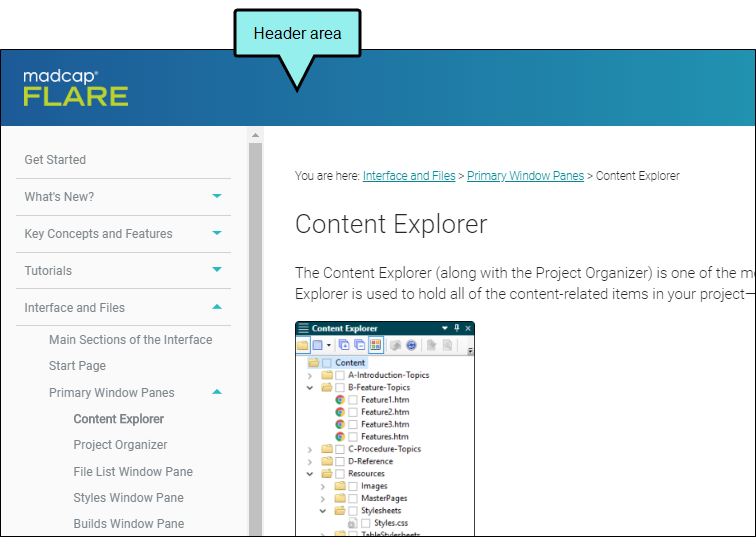
Example Flare's online Help uses the HTML5 Side Navigation output. If you open the full Help system, you will see a header at the top of every page.
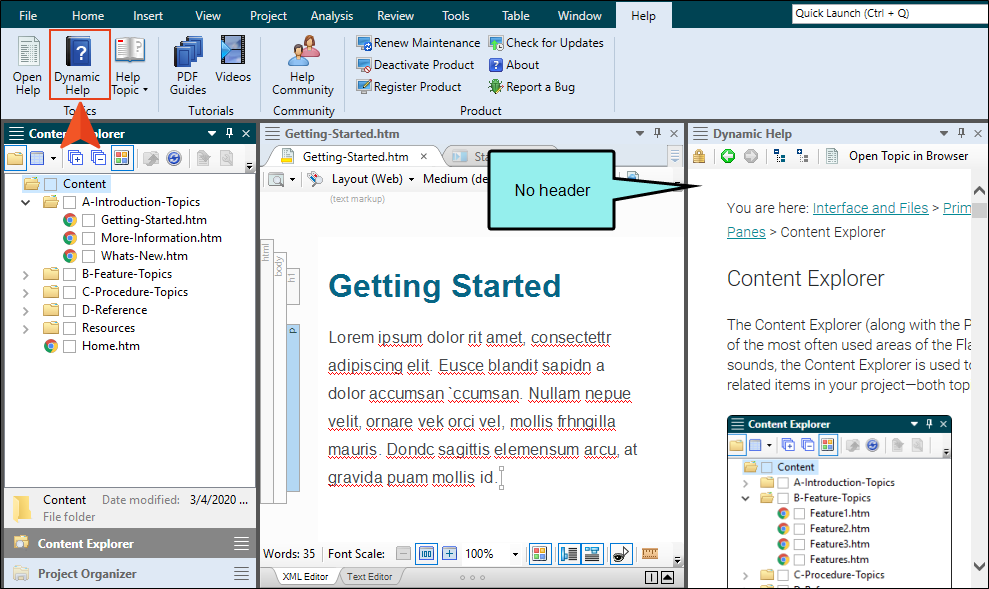
We wanted to use this same output for the Dynamic Help window pane within Flare, but we did not want any page (except for the Home page) to display a header.
So in addition to our regular skin, we created another one and removed the header section from it. We also provided our developers with the IDs for each skin.
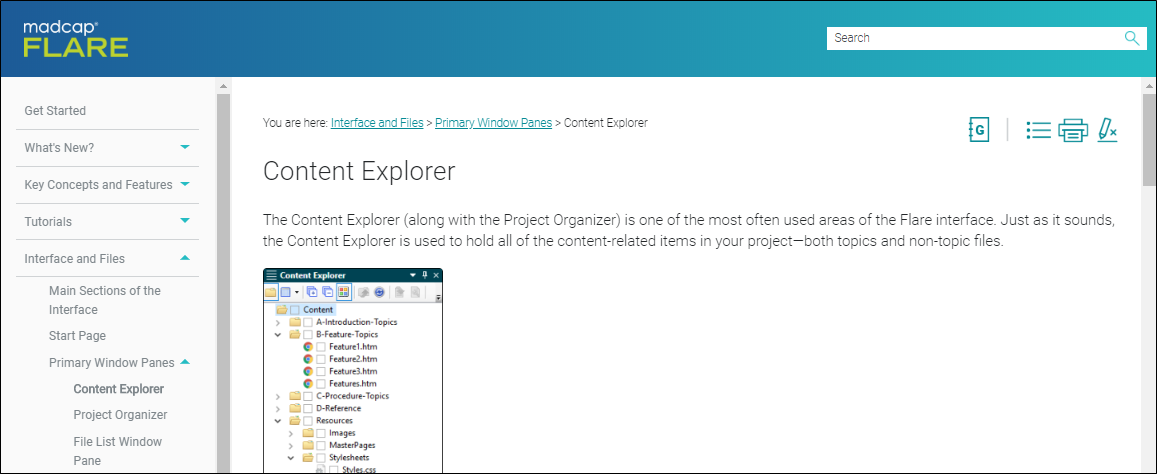
Therefore, if you have your cursor in the Content Explorer, the Dynamic Help will display the Content Explorer topic, without the page header.
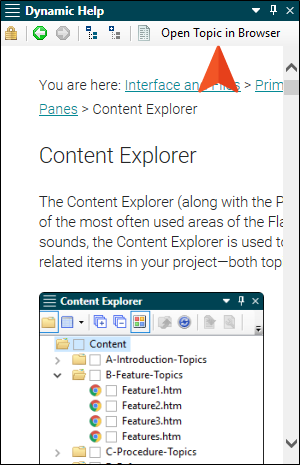
But if you open the topic in your browser…
… the topic will look like this, with the header section at the top.
It's the same output file, just using two different skins.
Note For HTML5 Tripane output that is not enabled for responsive output, Flare does not support multiple skins in the output.
