Note Since HTML5 and Clean XHTML are multi-file output types, a zip file is created before publishing. PDF and Word are single-file output types, so a zip file is not needed.
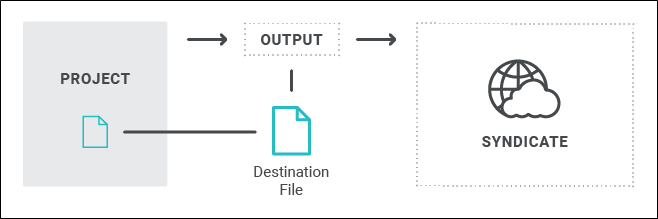
The first step in publishing output is to add a destination file to your project. A destination file has an .fldes extension and is stored in the Project Organizer under the Destinations folder.
[Menu Proxy — Headings — Online — Depth3 ]
How to Create a Destination File
-
Open the Project Organizer.
-
Open an existing destination file or add a new one.
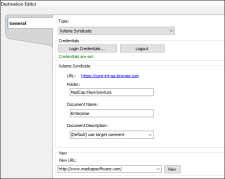
After you add a destination file, the Destination Editor opens. Use this editor to create the publishing destination (i.e., to publish or send files to the Syndicate server for hosting the output). Populate the editor with your destination information.
-
In the Destination Editor, click the Type drop-down field, and select Xyleme Syndicate.
-
Click Login Credentials.
-
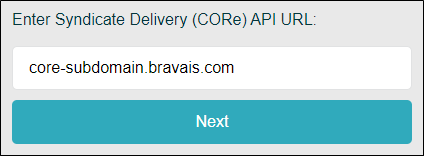
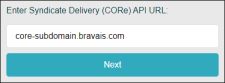
In the Syndicate Login dialog, enter the Syndicate Delivery (CORe) API URL (e.g., core-subdomain.bravais.com). Click Next.
For most users, you only need to replace the word "subdomain" with your own subdomain (e.g., fictionsoft), and leave the rest of the URL as it is.
-
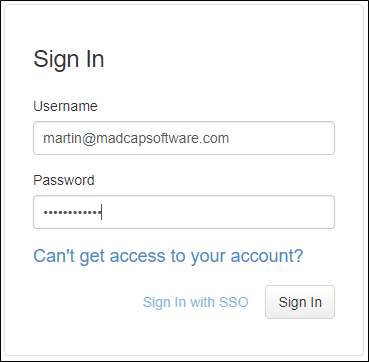
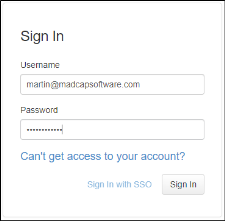
In the Sign In screen, enter a Username and Password, and press Enter or the Sign In button. After the initial sign in, you will not have to log in every time. (If your organization is set up with SSO, click Sign In with SSO to enter your credentials.)
-
Complete the Xyleme Syndicate fields.
See the full topic for details.
-
URL This is the API-base URL for accessing your Syndicate portal.
-
Folder Enter the folder path in the text box to publish to syndicate. If you want to publish to nested folders, you can use a backslash or a forward slash in the path (e.g., MadCap Flare\Venture, Training/Module).
-
Document Name The document name defaults to the target name (referring to the Target Editor's General tab Output File field). The document name and the output file are customizable, but use caution since different combinations of updates to the fields can yield varying results for the document name in Flare's output folder, and for the document name and source file name in the Syndicate portal.
-
Document Description The description defaults to the target comment. If you customize the description in the Destination Editor it overrides the comment found in the Target Editor's General tab. The default or description entered displays with the document details in the Syndicate portal.
Warning Since a destination is a single file that multiple targets can use, be careful when changing the Document Name or the Document Description information in the Destination Editor. If you keep the default values, it will keep each target's output unique when you publish.
-
-
(Optional) In the View URL field, you can enter an address corresponding to your publish destination. This field is for your own internal purposes, and is simply a quick way for you to open the output associated with the destination by clicking the button to the right.
-
Click
") to save your work.
to save your work.