Configuring Profile Settings
Important Pulse is deprecated in Flare, which means that it is slated to be removed in a future version.
AVAILABLE TO: Administrators only
Administrators can adjust profile settings, including which fields and elements are available and editable for users. See Editing Your Profile.
Pulse users can self-declare any of the skills you input. A great place to start your skills list is LinkedIn and other industry-specific websites. Each skill can be assigned to a skill category. Therefore, you may want to create a skill category first. Skill categories are used in Pulse to make locating and grouping skills easy. Some good skill categories are things like Human Resources, Legal, or Information Technology. Think about people’s job roles and departments for ideas on skill categories.
In the Settings page, click Profiles. The Profiles page opens.
How to Configure Profile Settings
- Log in to the Pulse dashboard using an account that is a member of the Administrators group.See Logging In to Pulse.
- Select Administration > Settings. The Settings page opens.
- In the Settings page, click Profiles. The Profiles page opens.
-
You can do any of the following:
Skill Categories—Add, Edit, Remove
- Select the Skill Categories tab.
-
To add a new skill category, do the following:
- Click Add Skill Category.
- In the dialog that opens, enter a skill name and click Save.
-
To edit an existing skill category, do the following:
- In the main list on the Skill Categories tab, select the skill category you want to edit.
- Click Configure.
- Change the name.
- Click Save.
-
To remove an existing skill category, do the following:
- In the main list on the Skill Categories tab, select the skill category you want to remove.
- Click Remove.
- Click Delete Skill Category.
Skills—Add, Edit, Remove
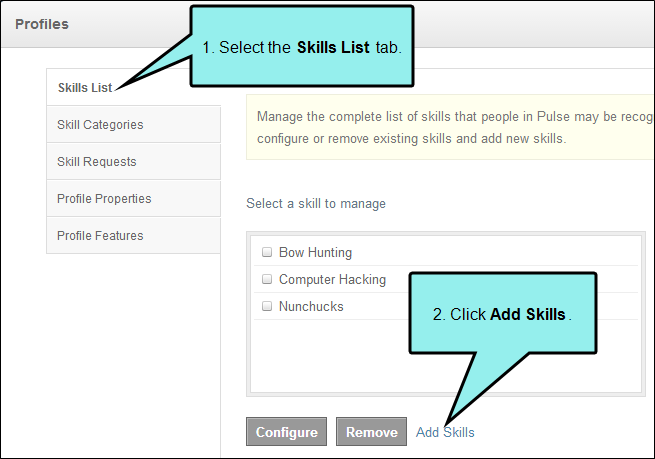
- Select the Skills List tab.
-
To add new skills, do the following:
- Click Add Skills.
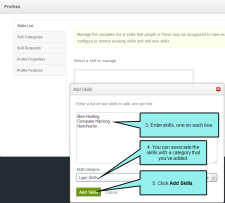
- In the dialog that opens, enter skills in the text box, one on each line.
- You can also associate the skills with a category (if you have created one).
- Click Add Skills.
-
To edit an existing skill, do the following:
- In the main list on the Skills List tab, select the skill you want to edit.
- Click Configure.
- Change the name and or skill category associated with the skill.
- Click Save.
-
To remove an existing skill, do the following:
- In the main list on the Skills List tab, select the skill you want to remove.
- Click Remove.
- Click Delete Skill.
Skill Requests—Approve or Reject
- Select the Skill Requests tab. Any requests from users are listed on the tab.
-
To approve a request, do the following:
- Click Approve.
- In the dialog that opens, you can associate the skill with a category (if you have created one).
- Click Approve Skill.
-
To reject a request, do the following:
- Click Reject.
- In the dialog that opens, you can type a reason for the rejection.
- Click Reject Skill.
Profile Properties (Fields)—Add, Edit, Remove
These are the fields that users see and complete when registering in Pulse (e.g., First Name, Location, Phone).
- Select the Profile Properties tab.
-
To add a new property, do the following:
- Click Add Property.
- In the Name field, enter a name for the new field.
- In the Type field, enter a kind of field to be used for the new property.
- Depending on the type you selected, complete the fields that are shown. This can include a text box (if you need to provide a custom type), as well as check boxes to make the new property editable, make it searchable, or include predefined values. If you select Predefined Values, enter them (one per line) in the field that displays.
- Click Save.
-
To edit an existing property, do the following:
- In the main list on the Profile Properties tab, select the property you want to edit.
- If you want to reposition it in the order, click either Move Up or Move Down.
- Click Configure.
- You can change the name or type for the property. You can also use the fields below to make the property editable, make it searchable, or include predefined values.
- Click Save.
-
To remove an existing property, do the following:
- In the main list on the Profile Properties tab, select the property you want to remove.
- Click Remove.
- Click Delete Profile Property.
Profile Features (Experience, Education, Certifications)—Enable or Disable
- Select the Profile Features tab.
- Click a check box next to Experience, Education, or Certifications if you want to enable that feature. If you want to disable the feature, remove the check mark.
- Click Save.