There are times where you may have to merge branches into a common branch.
How to Merge Branches in Git
-
Do one of the following, depending on the part of the user interface you are using:
- Ribbon Select Source Control > Merge.
- Right-Click If you have the Content Explorer or Project Organizer window pane open, right-click on any file or folder and select Source Control > Project > Merge.
- Source Control Explorer From the drop-down, select Branches. Then select any branch except the active one, and click the Merge Branch button.
The Select branch to merge dialog opens.

-
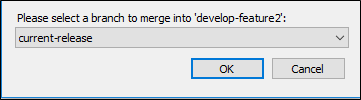
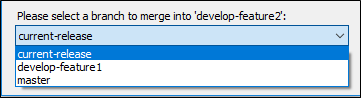
From the drop-down list, select the Git branch you wish to merge into the active branch.
-
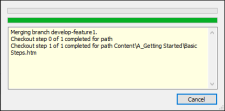
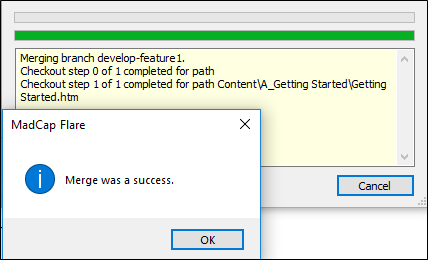
Click OK. A dialog will display the status of the merge in progress.
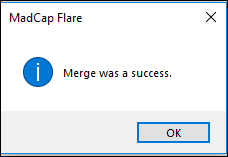
- When the merge operation is completed, a dialog will display indicating the merge was a success. Click OK to close the dialog.

Example — No Conflicting Changes
You have two feature branches that are bound in Git source control.
In the first feature branch (e.g., develop-feature1), you are making changes to the "Getting Started" topic. These changes are specific to the first feature being developed.
In the second feature branch (e.g., develop-feature2), you also make changes to the "Getting Started" topic. These changes are specific to the second feature being developed, and are being made in a separate part of the topic from the develop-feature1 changes.
After you complete your changes on the second feature branch, you decide you want to merge your changes from the first feature branch to the second feature branch.
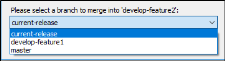
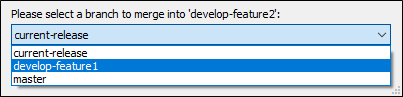
In the Source Control Explorer, you select the develop-feature2 branch. Then, you click the Merge Branch button. Finally, from the drop-down list of branches, you select the develop-feature1 branch.
You click OK to merge. Since the changes took place in different sections of the "Getting Started" topic, the merging of the first feature branch into the second feature branch is successful.
Example — Conflicting Changes
You have two feature branches that are bound in Git source control.
In the first feature branch, you are making changes to the "Getting Started" topic. These changes are specific to the first feature being developed.
In the second feature branch, you also make changes to the "Getting Started" topic. The changes are made to the same paragraph as those you made for the first feature branch.
In the Source Control Explorer, you select the develop-feature2 branch. Then, you click the Merge Branch button. Finally, from the drop-down list of branches, you select the develop-feature1 branch.
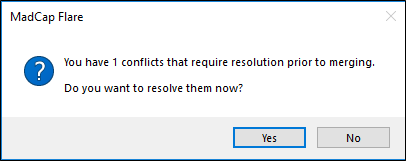
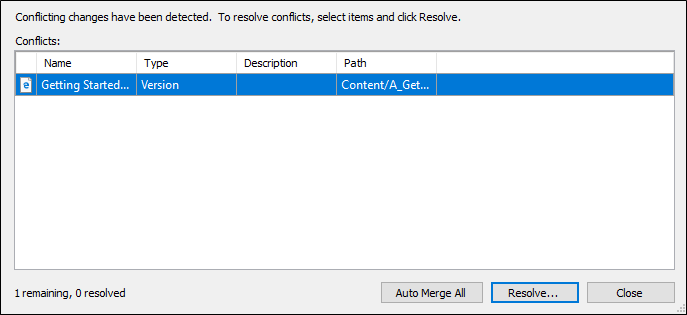
You click OK to merge. Since the changes took place in the same paragraph in the "Getting Started" topic, you get a dialog indicating conflicts exist. You then click Yes to resolve the existing conflicts.
On the Resolve Conflicts dialog, you click Auto Merge All.
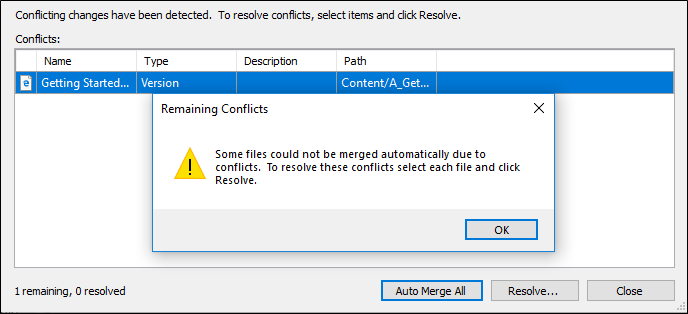
However, the auto merging is not successful. You click OK, then Resolve to fix the remaining conflicts.
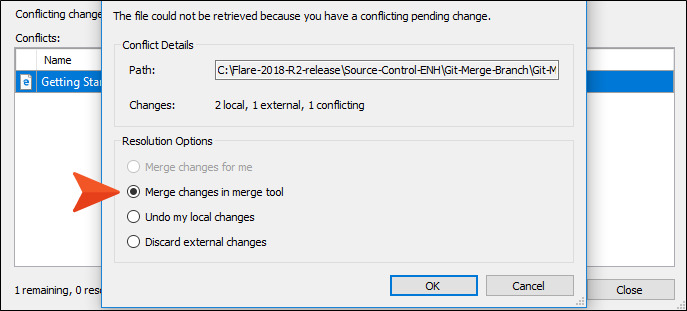
When the Resolve Version Conflict dialog displays, you choose to Merge changes in merge tool. This will allow you to view the specific conflict taking place rather than accepting either the local or the server changes.
The Merge Changes dialog opens. The left pane is the file version on your local machine, while the right pane is the server version. The bottom pane displays how the file will display as you make your changes.
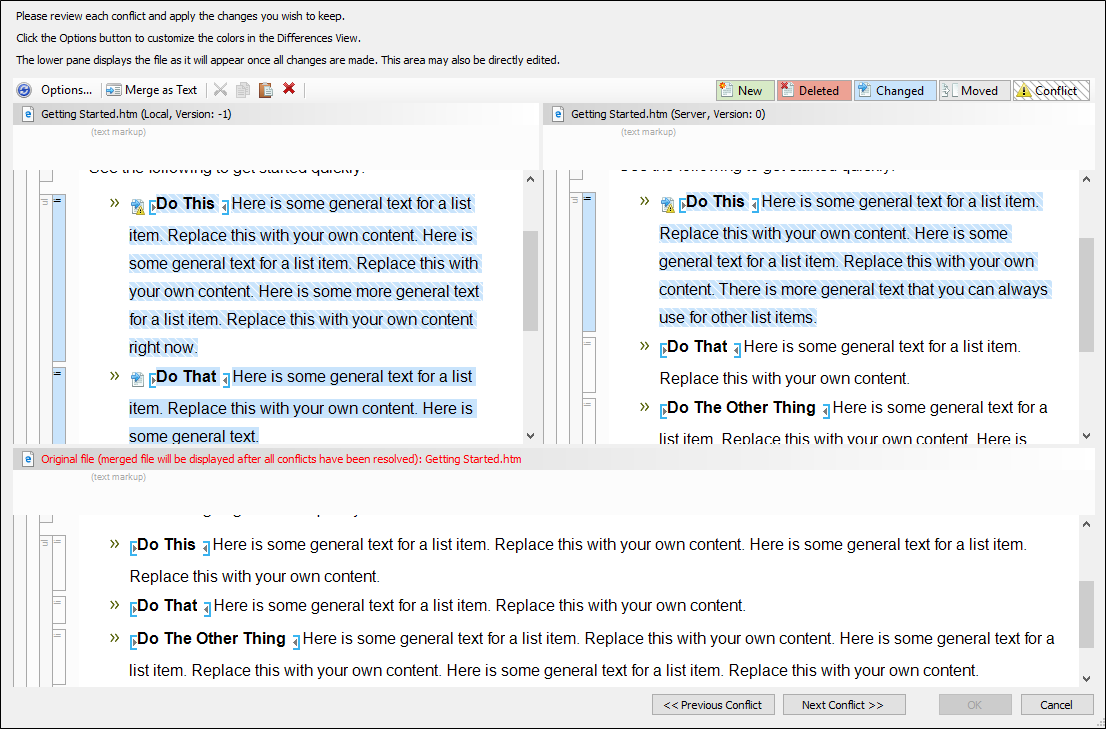
As you review the text, you notice the conflict icon next to the "Do This" bullet point. You decide to keep the server version in the right pane by right-clicking on the conflict icon and selecting Keep Change.
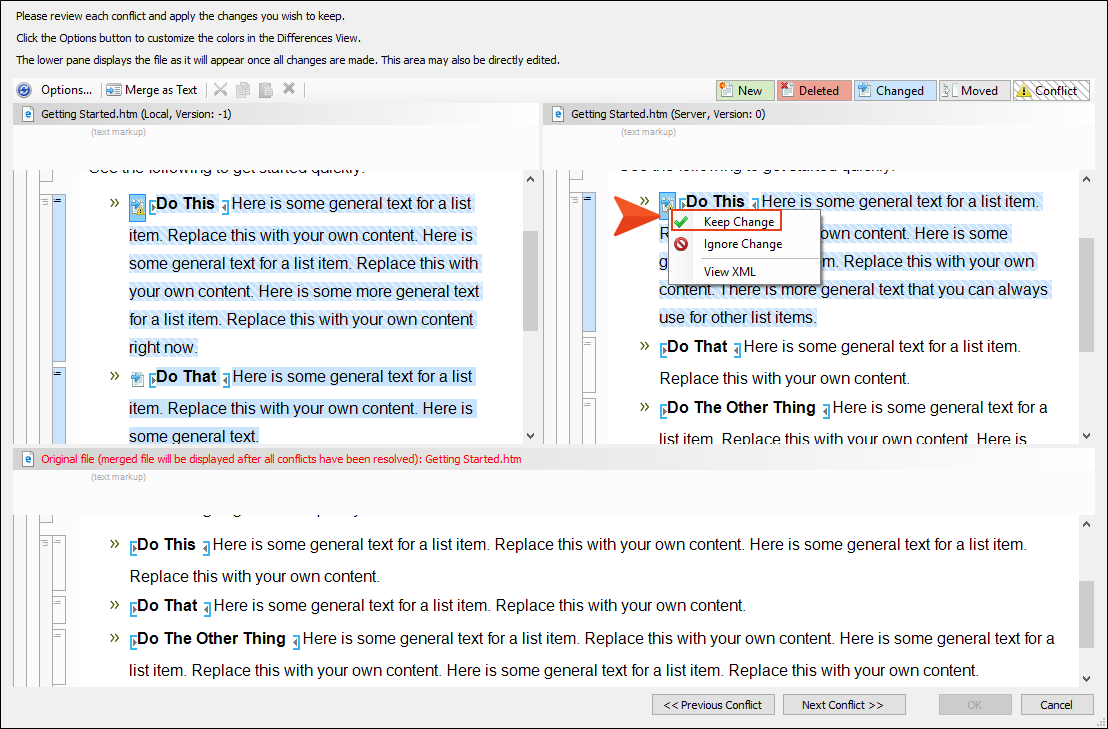
Notice that when you keep the changes on the right pane, the conflicting changes in the left pane are now disabled and outlined in gray.
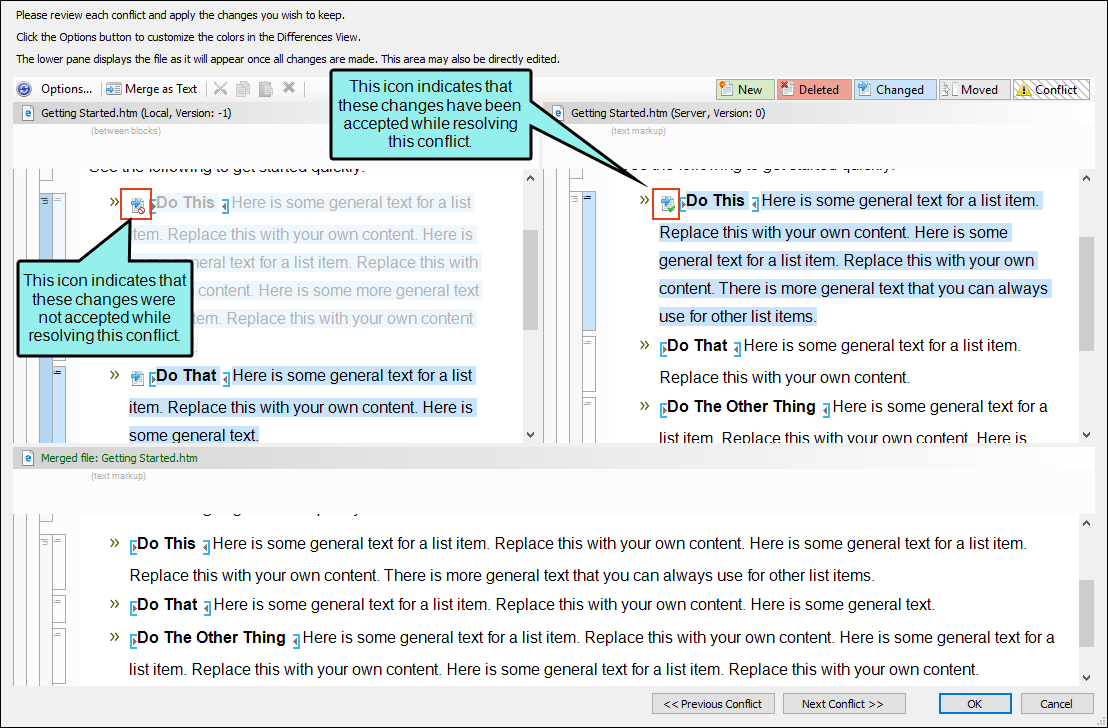
Note As you resolve conflicts in the merge tool, you can also left-click on the Conflict icon on either the local or server pane to keep the change. If you left-click on the icon again, it will toggle the change to be accepted on the opposite pane of where you are clicking.
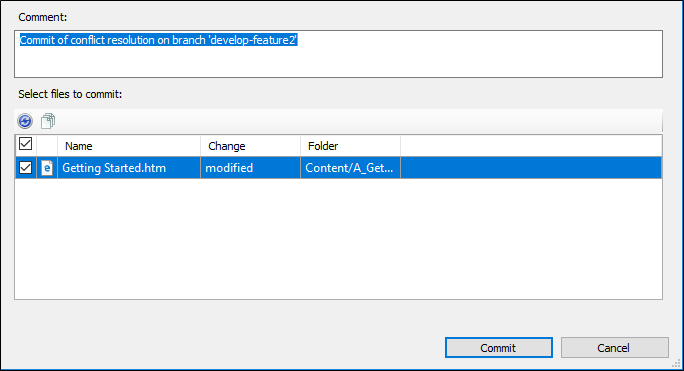
Once you have reviewed all of the conflicts and made your changes, you click OK. At this point, you need to commit the changes that resolved your conflicts. You then type in your comment used to resolve the conflict, and click Commit.
When your changes are committed, you can now merge this branch. With the develop-feature2 branch selected, you click the Merge Branch button. You then select the develop-feature1 branch from the drop-down list. You click OK to merge. A confirmation dialog displays when the merge is completed.
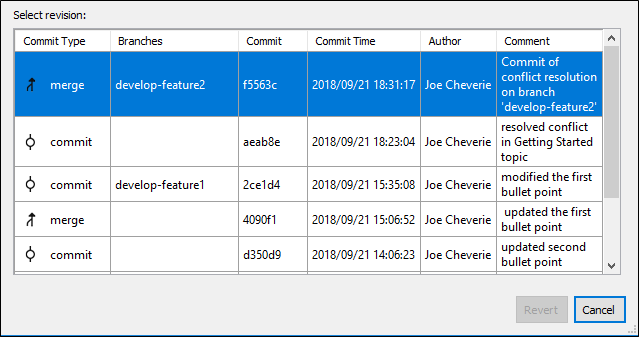
The merge will also be displayed in the Branch History dialog.