After you insert an IFrame element in a topic, you can always go back to it and edit it.
This can be done through styles or by using local formatting. Using styles is usually recommended because the setting is automatically applied to any content using that style
[Menu Proxy — Headings — Online — Depth3 ]
How to Use a Style to Edit the IFrame
- From the Content Explorer, open a stylesheet.
- In the local toolbar, make sure the first button displays
 . If the button displays
  instead, then click it.
 -
In the upper-left corner of the editor, click in the drop-down field and select
 .
. -
Select the iframe style.
-
Use the properties section on the right side of the editor to apply settings for the style. For example, you might want to control the IFrame size by editing the max-width and max-height properties, or add a border line around the IFrame by editing the border properties.
-
Click
") to save your work.
to save your work.
How to Use Local Formatting to Edit an IFrame
-
Open the topic with the IFrame in it.
-
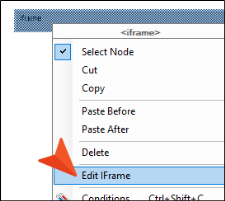
Right-click the IFrame element, and from the context menu, select Edit IFrame.
-
From the Insert IFrame dialog, do any of the following:
-
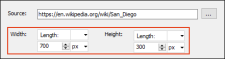
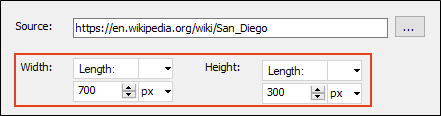
Edit Source field Update the URL that you want to display in the IFrame window.

-
Select Browse button This opens the Select IFrame Source dialog. Navigate to a source file (e.g., HTML file) to open.

-
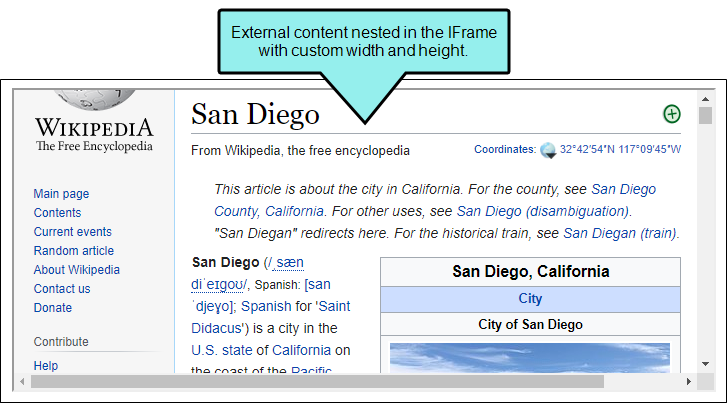
Adjust Size Use the Width and Height fields to set custom values for the IFrame window.
-
-
Click
to save your work.


The output might look like this: