You can pin your favorite snippets so you can easily find them again later. Pinned snippets appear in a group that you can expand or collapse. This is a way to limit the list of snippets to those that you use the most.
You can pin any snippet that appears in the Recently Used Snippets group. This group lists your 20 most recently used snippets.
[Menu Proxy — Headings — Online — Depth3 ]
How to Pin a Snippet—Insert Snippet Link Dialog
- Open the content file.
- Do one of the following, depending on the part of the user interface you are using:
- Ribbon Select Insert > Snippet.
Local Toolbar In the local toolbar at the top of the XML Editor click the face of the
 button.
OR
In the local toolbar at the top of the XML Editor click the down arrow next to
, then select More Snippets.- Keyboard Shortcut Press CTRL+R.
- Right-Click Right-click in the editor and select Insert > Snippet. This context menu option is available only when your cursor is located in certain places in the editor (e.g., not in a drop-down effect).
The Insert Snippet Link dialog opens.
-
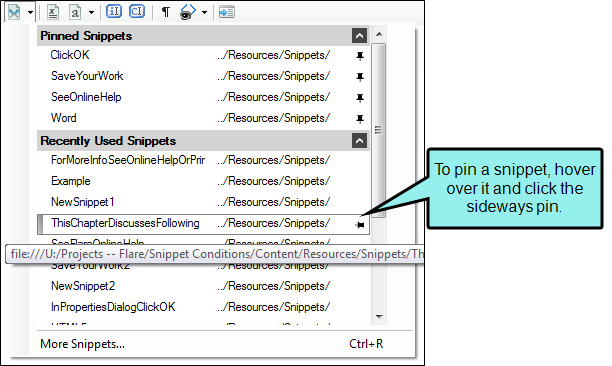
From the Recently Used Snippets group, select the snippet you want to pin. A pin
 appears to the right of the snippet.
Note Snippets must appear in the Recently Used Snippets group before they can be pinned. If the snippet you want to pin does not appear in the Recently Used Snippets group, you can add it to a content file by dragging it from the Content Explorer or using the Insert Snippet Link dialog.
-
To pin the snippet, click
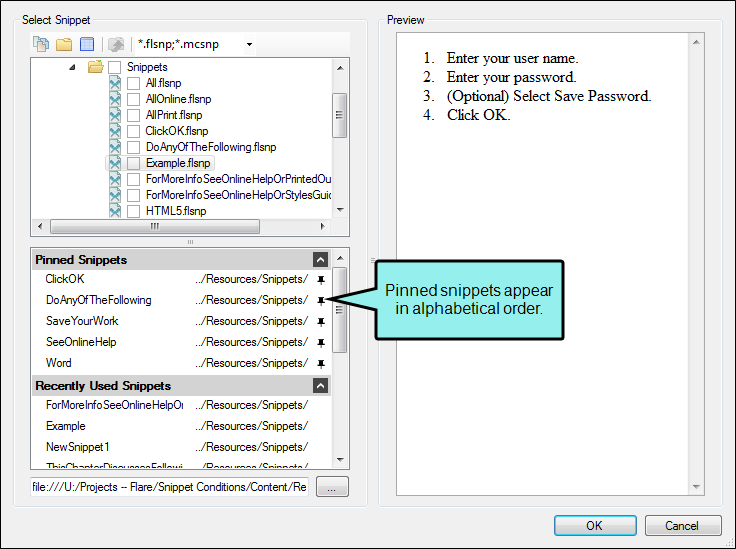
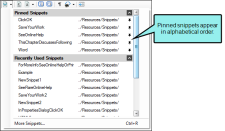
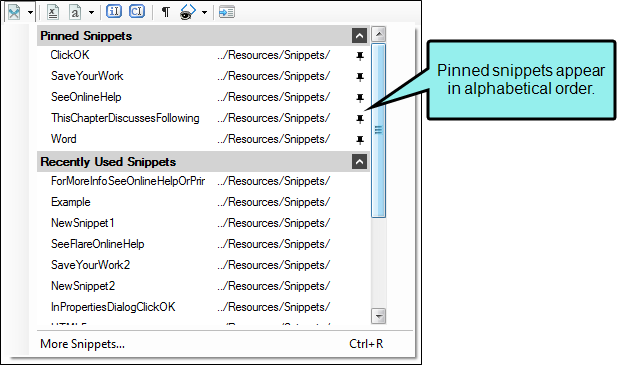
. The pin changes to  to show that the snippet has been pinned to the list. Pinned snippets are added to the Pinned Snippets group in alphabetical order.
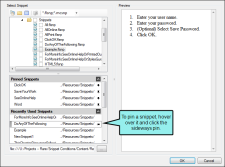

-
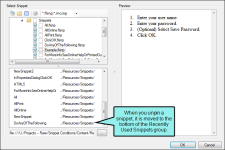
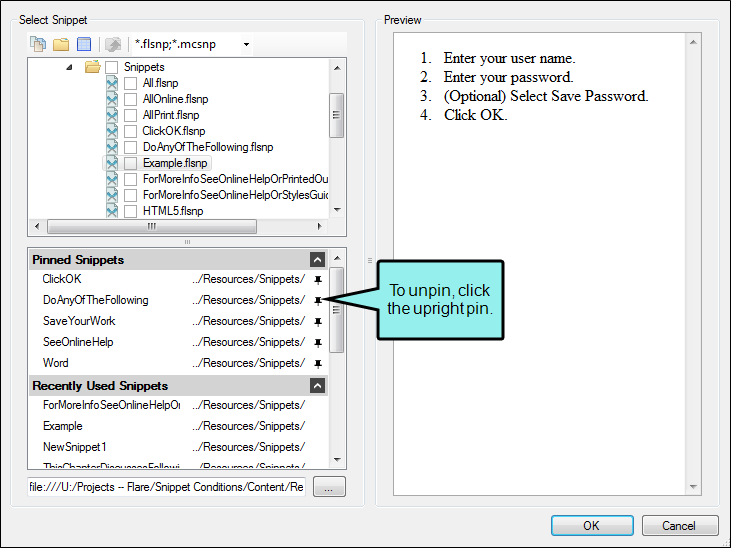
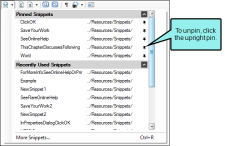
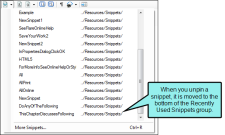
To unpin the snippet, click the pin again and it will be moved back to the bottom of the Recently Used Snippets group.

- Click OK.


How to Pin a Snippet—Local Toolbar
- Open the content file.
-
In the local toolbar at the top of the XML Editor click the down arrow next to
. This expands the Insert Snippet drop-down. -
From the Recently Used Snippets group, select the snippet you want to pin. A pin
appears to the right of the snippet.Note Snippets must appear in the Recently Used Snippets group before they can be pinned. If the snippet you want to pin does not appear in the Recently Used Snippets group, you can add it to a content file by dragging it from the Content Explorer or using the Insert Snippet Link dialog.
-
To pin the snippet, click
. The pin changes to to show that the snippet has been pinned to the list. Pinned snippets are added to the Pinned Snippets group.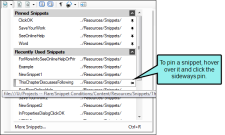
-
To unpin the snippet, click the pin again and it will be moved back to the bottom of the Recently Used Snippets group.


Example
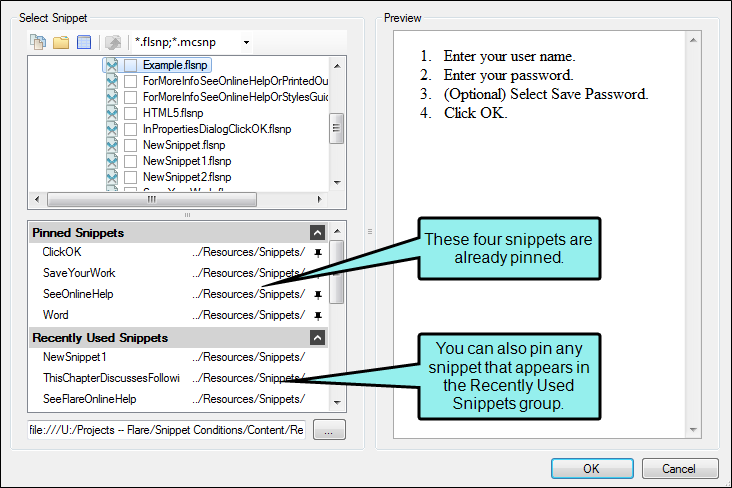
Example Four snippets have been added to the Pinned Snippets group. Other recently used snippets can still be seen in the Recently Used Snippets group; you can add any of these snippets to the Pinned Snippets group at any time.
What’s Noteworthy?
Note The Recently Used Snippets and Pinned Snippets groups show the relative path location of each snippet. Hover over any snippet to see its full file path.
Note You can expand or collapse the Recently Used Snippets and Pinned Snippets groups by clicking the arrows next to each group name.
What’s Next?
After you complete these steps, you can insert snippets from the Pinned Snippets group when writing content. See Inserting Snippets.


