


After you insert a text box, you can adjust its width and height. This can be done through styles or by using local formatting. Using styles is usually recommended because the setting is automatically applied to any content using that style
[Menu Proxy — Headings — Online — Depth3 ]
How to Use a Style to Specify the Size of a Text Box
- From the Content Explorer, open the stylesheet that you want to modify.
-
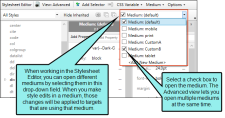
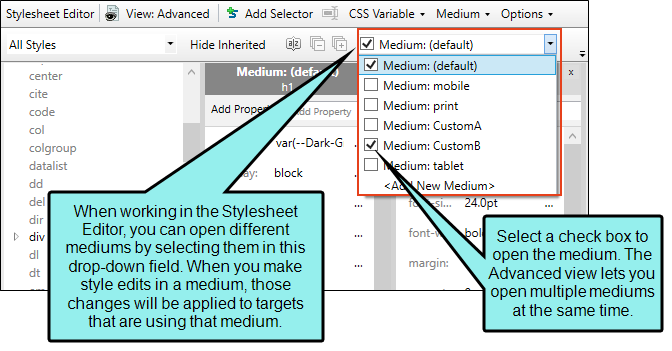
From the Medium drop-down in the Stylesheet Editor, make sure the proper medium is selected before you begin. In the Advanced view, you can open multiple mediums at once; you just need to look at the title at the top of the medium pane and make sure you are working in the correct one. If you are not using stylesheet mediums for your different outputs or if you want all mediums to have the same settings, just leave the medium set to default and continue.
Mediums can be used if you want to use one group of settings for online output types and another group of settings for print-based output types. For example, you might use the default medium for your online outputs and the print medium for your print outputs.
Please note that Flare remembers the last medium that you used when working in the stylesheet, so it may or may not be the one that you want to use the next time around.
- In the local toolbar, make sure the first button displays
 (which means that the Simplified view is currently shown in the editor). If the button displays
  instead, then click it.
 - In the upper-left corner of the Stylesheet Editor, click in the drop-down field and select
 .
. - Select the appropriate div style. If you use the default style when inserting the text boxes, then select div. Otherwise, if you have used a class of that style that you created previously, then select it instead.
- In the local toolbar of the editor, click
 . The Properties dialog opens.
 - Select the Position tab.
- Specify the Width and Height of the text box.
- In the Properties dialog, click OK.
- Click
") to save your work.
to save your work.
How to Use Local Formatting to Specify the Size of a Text Box
-
- Right-click inside the text box and from the menu, select Text Box. The Text Box Properties dialog opens.
- Select the Size & Position tab.
- Specify the Width and Height of the text box.
- Click OK.
- Click to save your work.


