 STYLES TUTORIAL—CREATING AND APPLYING
Let's create a container with a border for placing historical facts about Austin—the content will stand out better. To do this, we’ll need to create some new styles in the project's stylesheet.
[Menu Proxy — Headings — Online — Depth3 ]
How to Create a Container
Creating a div selector is a good option for making a container.
- From the Content Explorer, expand Resources > Stylesheets, and double-click Styles.css.
- From the Stylesheet Editor's local toolbar, make sure the first button is labeled View: Advanced.
- In the local toolbar, click
 .
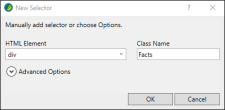
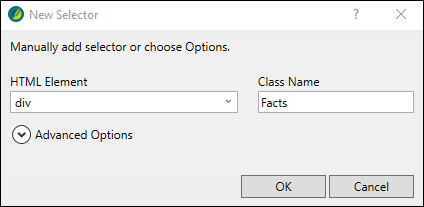
. - In the New Selector dialog, from the HTML Element drop-down, select div.
-
In the Class Name field, type Facts. Click OK.
- In the left pane tree structure, make sure div is expanded, and Facts is selected.
- In the Show drop-down, select Show: Assorted Relevant Properties.
-
Expand the Font group, and at the color property, type Gray. Press ENTER.
Note If you completed the Nested Tags topic from Styles Tutorial—Understanding the Basics, remember that the div font was set to display in purple. Just update the value to gray.
- Expand the Border group, and at the border property, click
 .
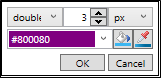
. -
In the pop-up menu type Purple. From the border type drop-down, select double. Type or select 3 pixels to increase the border width. Click OK. (The hex color code auto-populates in the color drop-down.)
-
Expand the Box group, and at the margin-left and margin-right properties, click
(one at a time). Type or select 20 pixels for both properties, and click OK.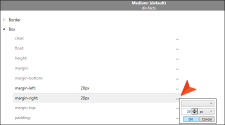
-
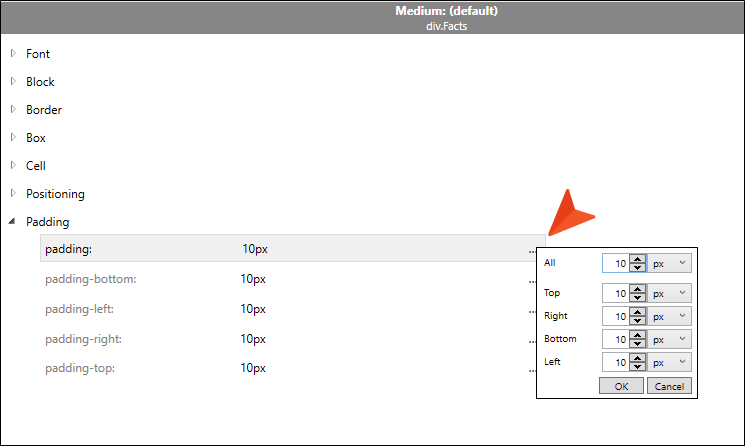
Expand the Padding group, at the padding property, click
. Type or select 10 pixels to increase padding for all sides. Click OK.
-
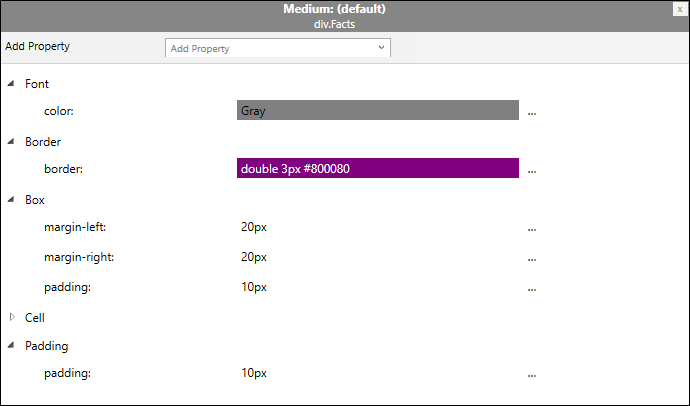
In the Show drop-down, select Show: Set (Locally) Properties - properties set in this stylesheet to see all of your settings.

-
Click
") to save your work.
to save your work.

How to Create a Label for a Container
- In the local toolbar, click .
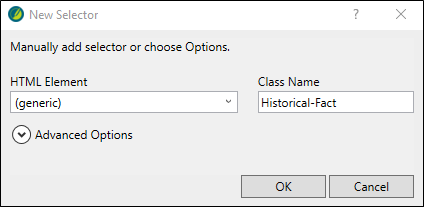
- In the New Selector dialog, from the HTML Element drop-down, select (generic).
-
In the Class Name field, type Historical-Fact. Click OK.

- In the left pane tree structure, make sure (Generic Classes) is expanded, and Historical-Fact is selected.
- In the Show drop-down, select Show: All Properties.
- Expand the AutoNumber group.
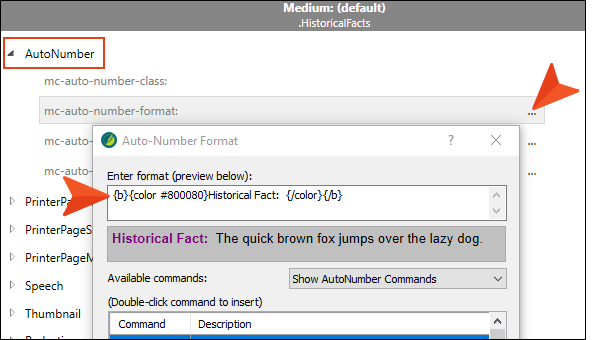
- Next to the mc-auto-number-format property, click .
-
In the Auto-Number Format dialog, copy and paste the following format into the Enter format field:
{b}{color #800080}Historical Fact: {/color}{/b}

- Click OK.
- Click
 to save all files.
Note You might notice the mc-auto-number-format property begins with “mc.” This is an indication that it is a MadCap-specific property.
How to Apply Information for a Container
- From the Content Explorer, open the Attractions.htm file.
-
Create an empty paragraph after the last image.

-
Type the following:
Austin has the largest urban bat colony in North America.
- From the Home ribbon, click
 . This groups selected items.
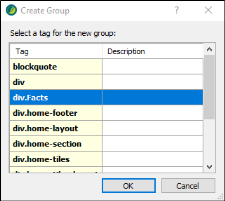
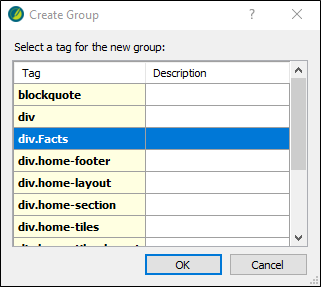
 -
From the Create Group dialog, select div.Facts. Click OK.
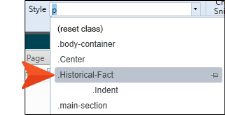
-
From the Home ribbon, Styles drop-down, select .Historical-Fact.

- Open Introduction.htm.
- Under the "Climate" section, create an empty paragraph after the first sentence.
-
Copy and paste the following content:
Austin’s hottest day in recorded history was 112 degrees on 9/5/2000 and again on 8/28/2011. The coldest day on record for Austin dropped to -2 degrees on 1/31/1949.
- From the Home ribbon, click .
- From the Create Group dialog, select div.Facts. Click OK.
-
From the Home ribbon, Styles drop-down, select .Historical-Fact.

-
Click
to save all files. - From the Window ribbon, select Close All Documents.


Ta-Da!
Congratulations! You've reached the end of this tutorial.
To go through other style tutorials, click here.
To check out additional tutorials, click here.


