TABLES TUTORIAL
There are multiple ways to create a table. Let's use two different methods to add a new table to a topic.
[Menu Proxy — Headings — Online — Depth3 ]
How to Insert a Table Using the Drop-Down Grid
First, let's use the quick-access table grid found in the Table ribbon. This is the easiest and fastest way to insert a table.
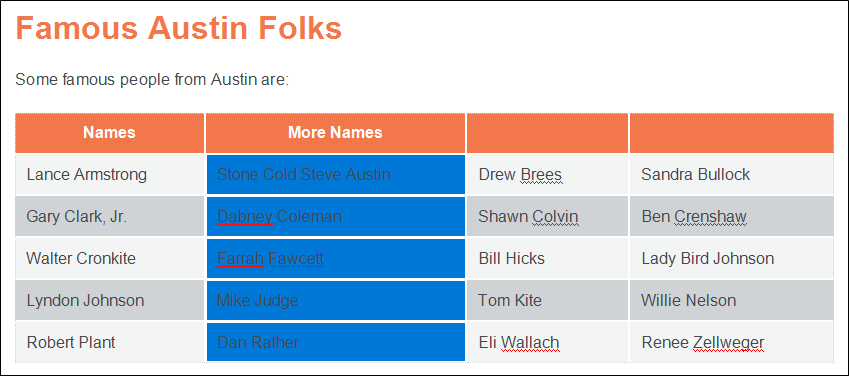
- From the Content Explorer, open the Famous-Austin-Folks.htm topic.
- After the first paragraph, press ENTER to create a new empty paragraph.
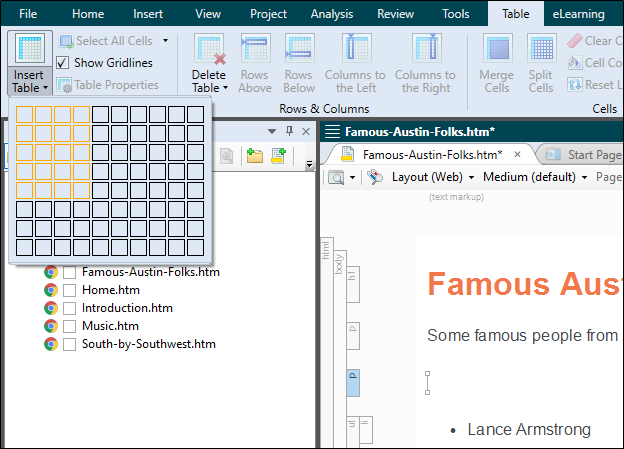
- Select Table > Insert Table (down arrow).
-
Hover over the grid to choose four columns and five rows. When you do this, the squares change color to indicate how many rows and columns will be included in the table. Once the correct number of columns and rows are selected, click the mouse.
The table looks very plain because it has no properties or stylesheet associated with it.

- From the list below, copy Lance Armstrong (even though, you know, that thing about the Tour de France), and paste that text in the first cell of the first column.
-
Copy Stone Cold Steve Austin and paste it in the second cell of the first column.

You could continue copying and pasting until all the names are in the table, but there is an easier and quicker way to do the same thing, which you will see in the next set of steps.
- In the upper-left of the interface, click
 repeatedly until all of your changes are undone.


How to Insert a Table Using the Dialog
If you use the Insert Table dialog instead of the drop-down table grid, you can apply various settings (including headers, footers, and styles) at the same time the table is added to the topic. You can use this method to insert an empty table, just as you did in the previous set of steps, but you can also use it to populate the table immediately with existing text. That's what you will do now.
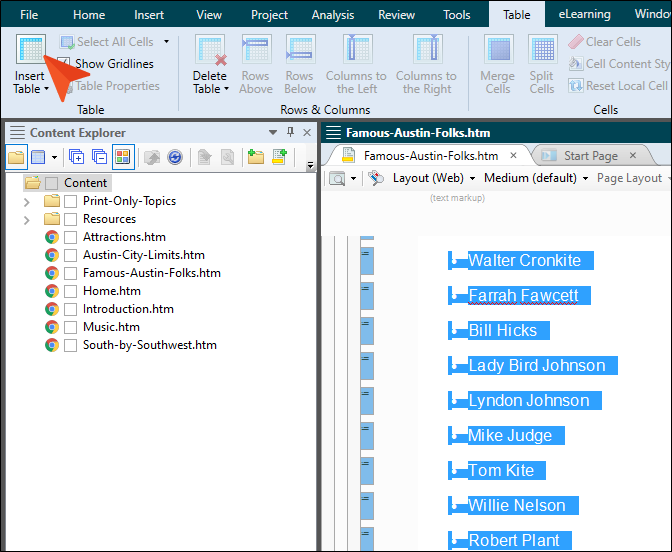
- Select the entire bulleted list in the topic.
-
Select Table > Insert Table (the face of the button, not the drop-down).

-
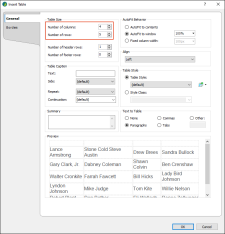
In the dialog, set the Number of columns to 4. Notice that the "Number of rows" field automatically sets to 5 so that it has room for all of the list items that you selected.
-
Set the other fields in the dialog as follows.
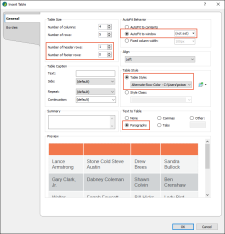
Note In the AutoFit to window field, the way to remove a value—so that it is "(not set)"—is to click the down arrow, then in the popup click the down arrow next to the Length field and choose (default).
-
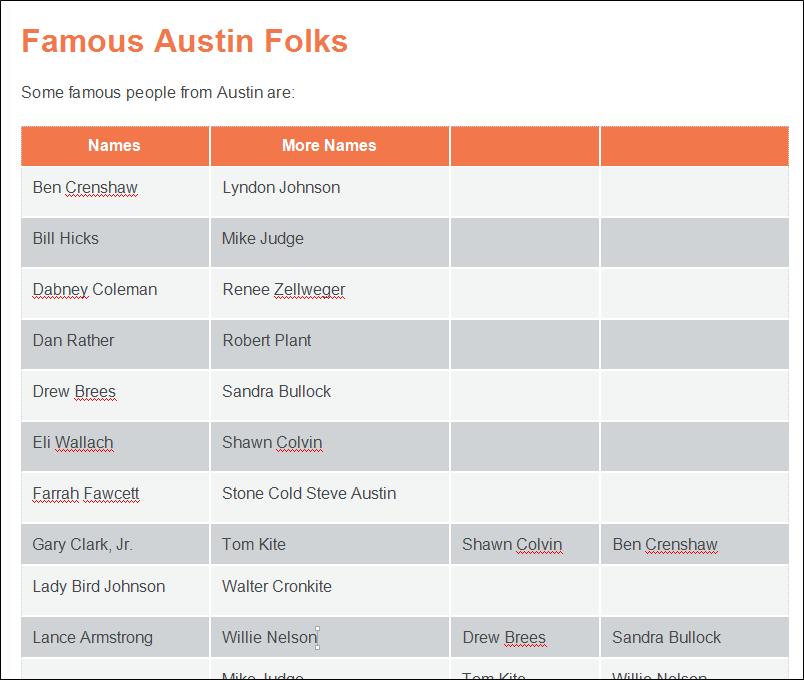
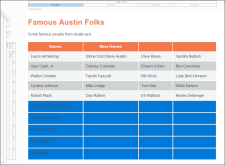
Click OK. The table is created and populated with all of the names. It also has a design, which is from the table stylesheet that you selected.


How to Make Adjustments to a Table
Let's make some changes to the table, adding text, moving text around, and adding/removing rows and columns.
-
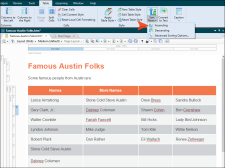
Type Names in the first header cell, and More Names in the second cell.

-
Select the cells containing names in the second column, and press CTRL+C on your keyboard to copy them.

-
Right-click the tr structure bar representing the bottom row of the table, and from the context menu select Paste (Below). If the tag block bars are not shown to the left of the content, click
 at the bottom of the editor.
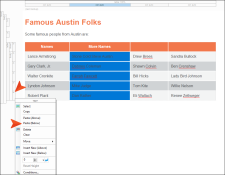
Flare adds the text in new rows.
- Repeat this for the text in the third and fourth columns. This adds even more rows to the bottom of the table.
-
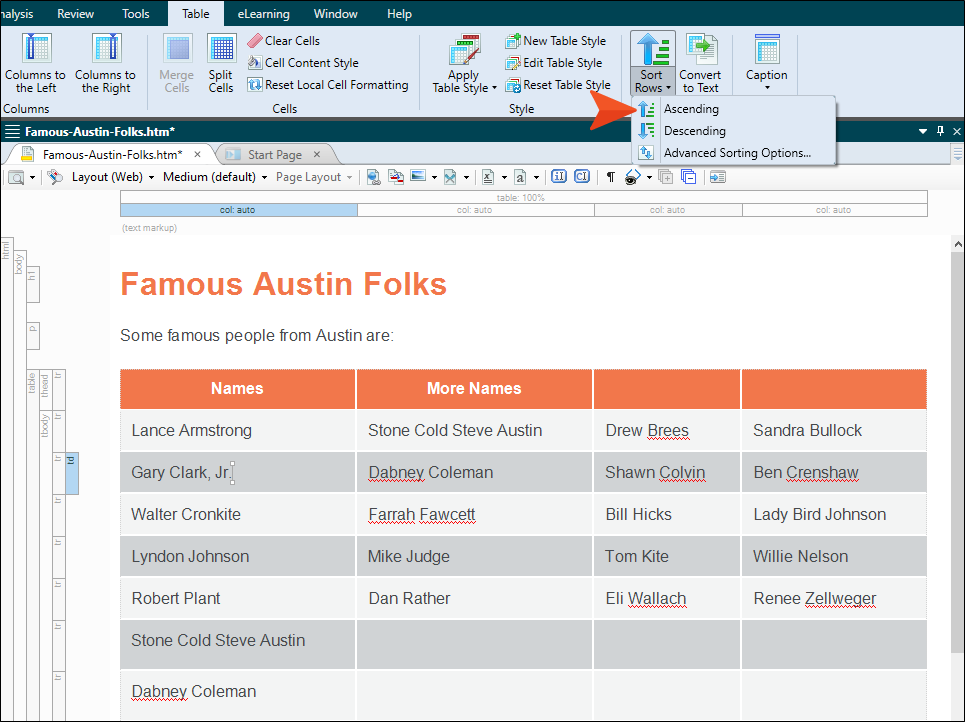
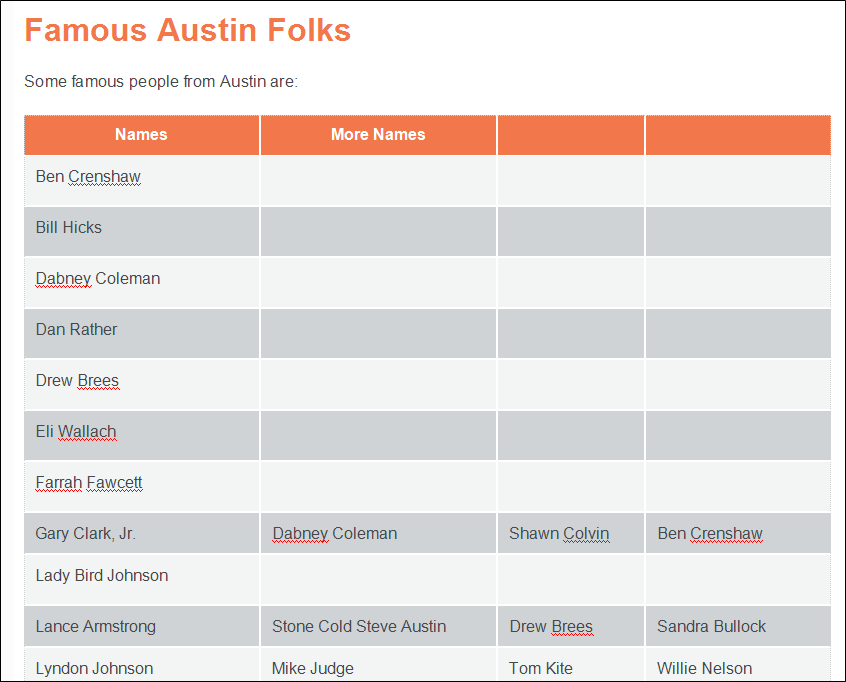
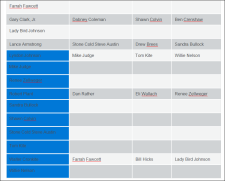
Click in any name cell in the first column (not the header cell), and select Table > Sort Rows > Ascending.
The table is sorted alphabetically according to the first names in the first column.

-
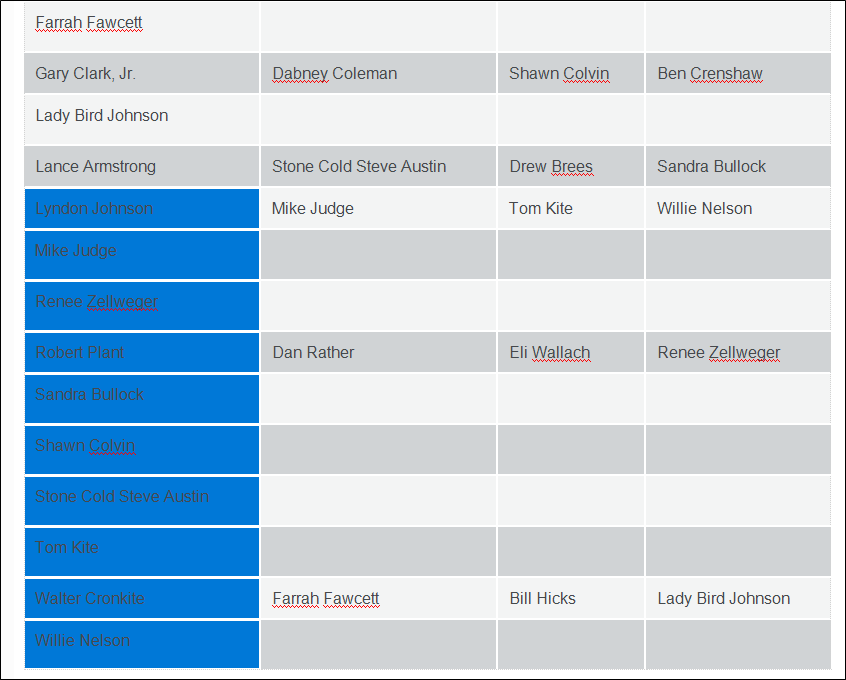
In the first column, select the cells from Lyndon Johnson to Willie Nelson, and press CTRL+X on your keyboard to cut them.
-
In the second column, select the first 10 cells and press CTRL+V on your keyboard to paste.

You should now have all of the names in the first 10 cells of the first and second columns.

-
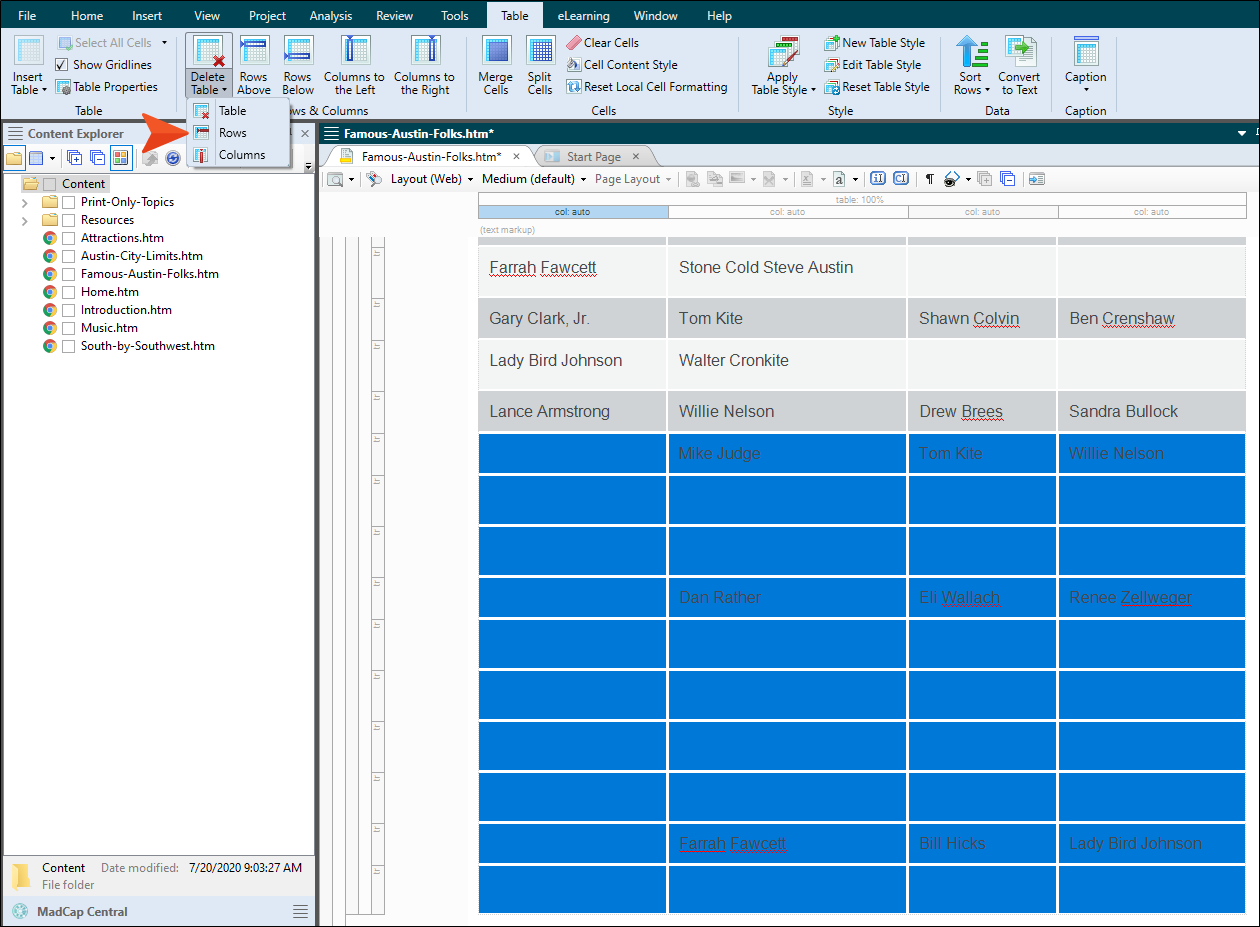
Choose the rest of the rows at the bottom of the table, and select Table > Delete Table > Rows.

-
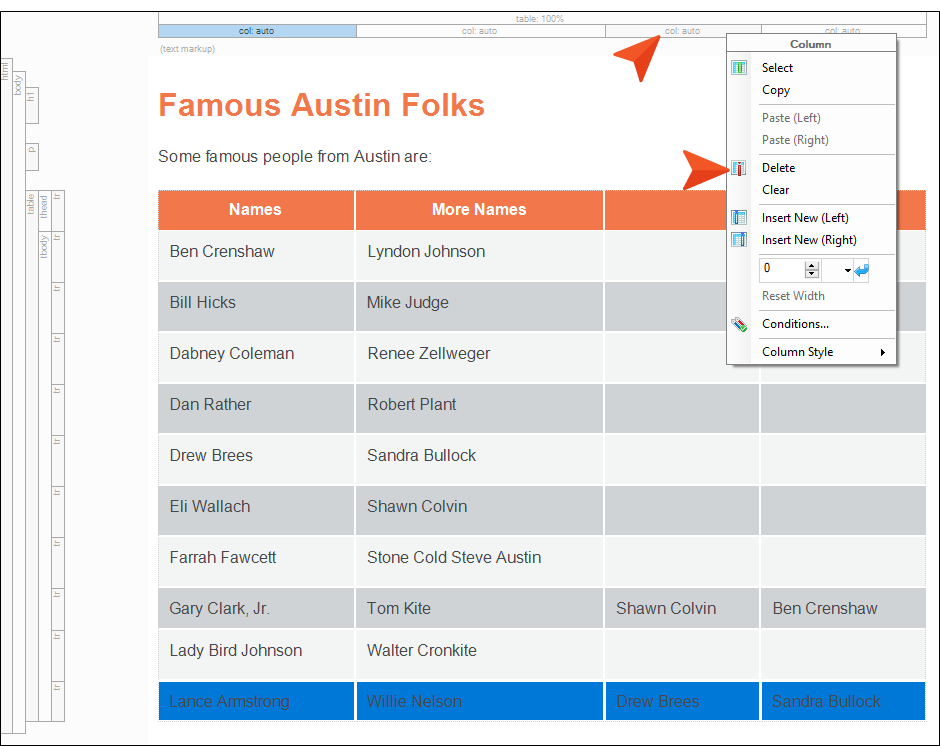
Right-click the structure bar representing the third column, and from the context menu select Delete. If the span block bars are not shown at the top of the content, click
 at the bottom of the editor.
- Repeat this to remove the fourth column.
- Click
") to save your work.
to save your work.