When editing styles in a Flare project, be aware of some unique features that can make your work easier and more efficient.
[Menu Proxy — Headings — Online — Depth3 ]
Style Inspector
You can use the Style Inspector in the Formatting window pane to view style details for selected content in the open file (e.g., topic, snippet). You can even edit those styles if necessary, without having to open the full stylesheet. See Style Inspector.
CSS Variables
A CSS variable lets you place the value for a style in one place and reuse it throughout a stylesheet. As with other kinds of single-sourcing, this can help with speed, ease of use, and consistency. Whenever you want to change the value, you only need to do so in one place and the new value is propagated everywhere that the variable is referenced. You certainly could use the "find and replace" feature instead to change the value, but CSS variables are preferred because you won’t need to worry about inconsistencies in your stylesheet. For example, some values—such as colors—can be written in various ways, so in those cases CSS variables make a lot of sense. See CSS Variables.
Note Branding is a common way to use CSS variables. The branding identified in the Branding.css file includes values associated with CSS variables in the project. In the regular stylesheet, the branding CSS variables are shown as inherited. If you change a CSS variable in the regular stylesheet, it would "win" precedence. However, it is a good idea to use the Branding Editor to manage your project's CSS variable values.
Conditions on Styles
Normally you would apply a condition to a piece of content or a file. But in Flare Desktop you can also set conditions on styles and then apply those styles to content. This is simply another alternative and might be more efficient for some authors. You might even find that you use both methods in your projects.
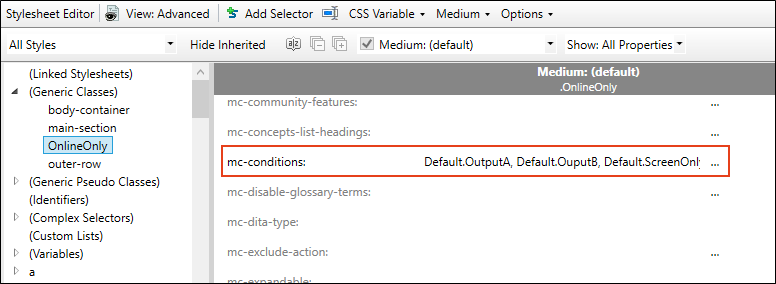
In the Advanced view of the Stylesheet Editor , you can associate a condition with a style by using the mc-conditions property
Example You have created a lot of drop-downs throughout your project. But you want the heading portion of the drop-down to display only in online outputs, not in any print-based outputs.
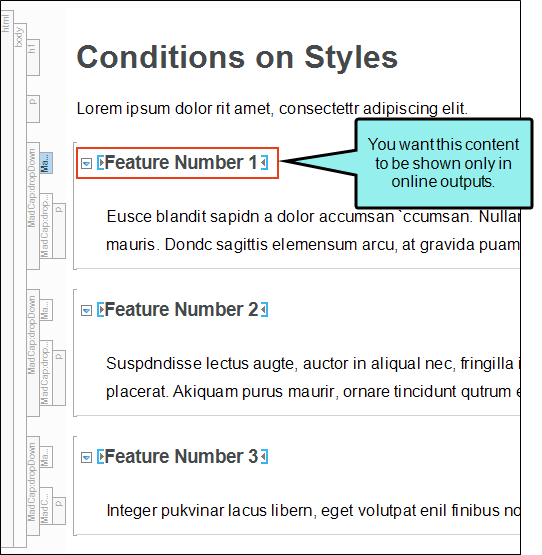
Of course you can manually apply conditions to your drop-down headings, but you would have to do that each time you create a drop-down. A better option is to apply a condition to the style used for the drop-down headings.
So you open your stylesheet and select the MadCap|dropDownHead style. And then in the mc-conditions property you select a condition that you've created for the purpose of online only outputs.
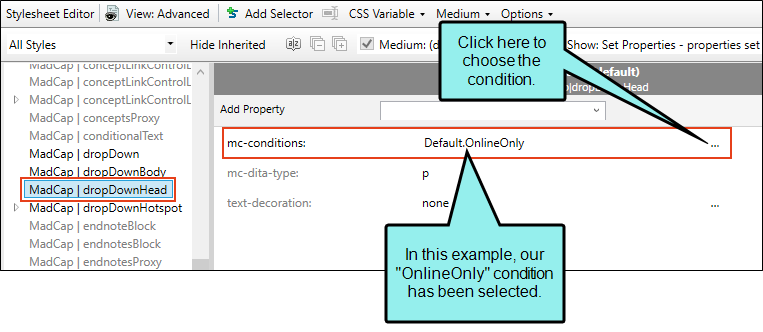
As a result, the online only condition will automatically be applied to any drop-downs you've created in the past, and any that you create in the future.
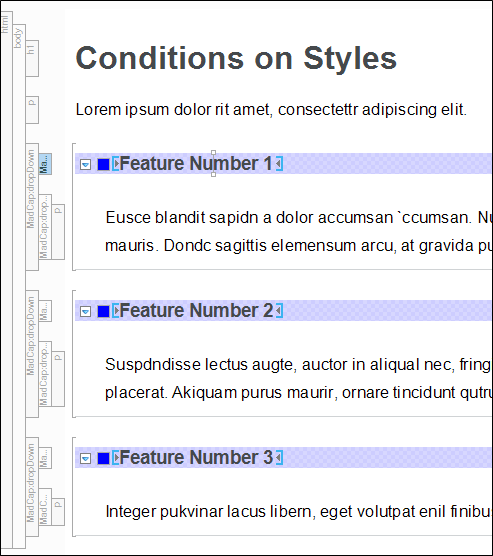
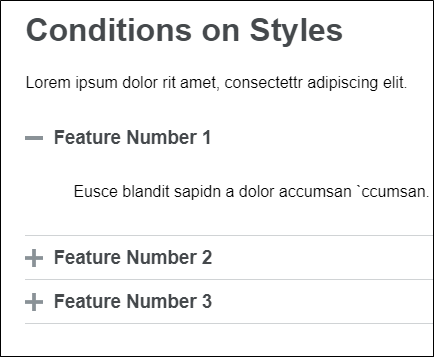
So when you build online output, you will see this:
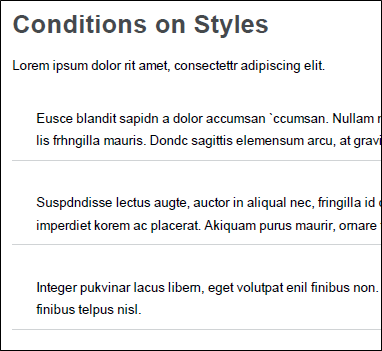
And when you build print-based output, you will see this:
Note Conditions that are set locally (i.e., directly on content) will override conditions set on a style. Even if the local condition is empty, it still overrides the conditions set from stylesheet.
Note When you set a condition tag on a style, you can optionally use the mc-exclude-action property to set an exclude action on the tag. For example, you might have the unbind action for a condition tag if you have applied the tag to a hyperlink and want the link to be removed from the text in some outputs, but you still want the text to be shown in those outputs.


