 GETTING STARTED TUTORIAL
It is fairly common to link to other topics in a project. One way to link between topics is a cross-reference. You may have noticed some cross-references in this tutorial already.
A benefit of using a cross-reference over a standard hyperlink is that cross-references use format commands to update the link automatically. Format commands allow you to tell the cross-reference to provide page number information, the title of the topic, or even a file path.
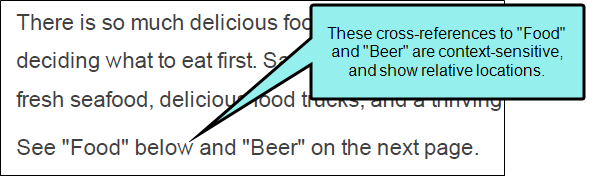
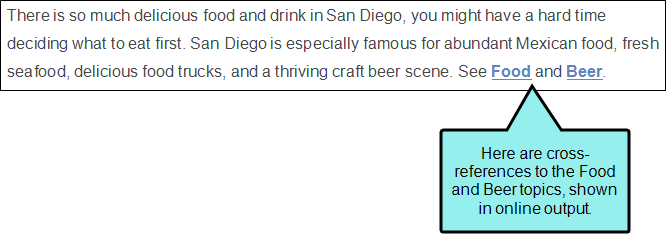
Note In this project and in the San Diego template, the default cross-reference style (MadCap:xref) creates context-sensitive cross-references. In web-based output, these cross-references look like a regular link. In print-based output, the text in the link is based on the relationship of the cross-reference and the target location (e.g., see "Topic" on page 26; see "Topic" on the next page).
We are going to add two cross-references to our project using two different methods—the standard method and the drag-and-drop method.
[Menu Proxy — Headings — Online — Depth3 ]
How to Insert Cross-References Using the Standard Method
- In the Content Explorer, double-click Cuisine.htm. The topic opens in the XML Editor.
- At the end of the paragraph, type See . (Be sure to leave a space after See and then type a period.)
- Move your cursor back, and click just in front of the final period.
- From the Insert ribbon, select Cross-Reference. The Insert Cross-Reference dialog opens.
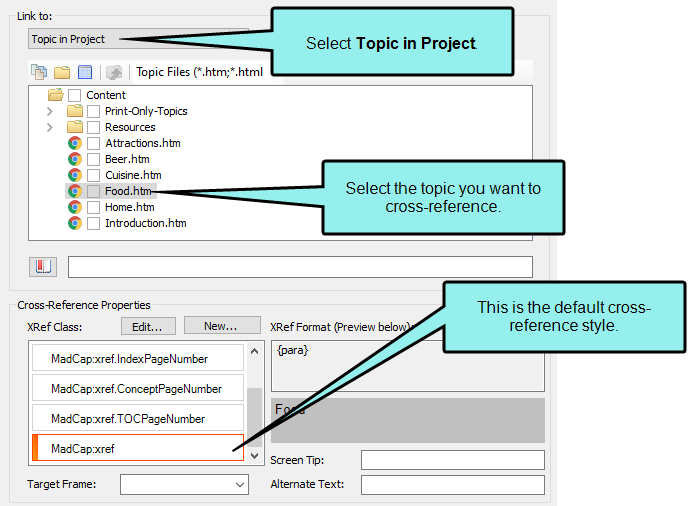
- In the Link to: section, make sure Topic in Project is selected from the drop-down.
- In the area below, you can select the topic to which you want to create a cross-reference. Select Food.htm.
-
At the bottom of the dialog is the Cross-Reference Properties section. On the left side of this section you can select the cross-reference style you want to use. You can also create a new style or edit an existing one. The right side shows you the format command and a preview of how the cross-reference appears in Flare Desktop.
Scroll to the bottom of the XRef Class field and notice the style called "MadCap:xref." This is the default cross-reference style and will be used by default when you insert a new cross-reference.
- Click OK. Flare Desktop creates a cross-reference to Food.htm using the MadCap:xref style.
-
Click
") to save your work.
to save your work.
How to Insert Cross-References Using the Drag-and-Drop Method
Another common way to insert cross-references is using drag-and-drop. This method automatically uses the main MadCap:xref style, so if you don't need to choose a different style, this is a good way to insert a cross-reference.
-
The Cuisine.htm topic file should still be open in the XML Editor. We're going to add some text and another cross-reference after the "Food" cross-reference you already added. Your cursor should be placed between the cross-reference (the word "Food" and the period). You want it to display as a left bracket.
Like this:

Not like this:

If necessary, you can press the right arrow twice on your keyboard to change a right bracket to a left bracket.
Facing the bracket away from the cross-reference ensures that the new content you type will not become part of the link.
- Once your cursor is facing the correct way, type and . (Be sure to leave a space before and after and.)
- In the Content Explorer, select Beer.htm and drag it after the word and (just before the period) in the XML Editor.
-
A red line appears when you can drop the topic. When the line is in the correct location, release the mouse button. Flare Desktop creates a cross-reference to Beer.htm using the MadCap:xref style.
-
Click
to save your work.

