 GETTING STARTED TUTORIAL
You can use snippets in your project whenever you need to reuse the same content in more than one place, rather than rewriting or copying it. Then, when you need to make a change, you can modify the content in the snippet and the edits will automatically appear wherever you used the snippet. You don't need to make the same change multiple times.
A snippet can be as short or long as you want. It can be just a few words, a sentence, or several paragraphs. Snippets can contain any type of content, including text, images, lists, or even other snippets.
Let's create a short snippet and place it in our project.
[Menu Proxy — Headings — Online — Depth3 ]
How to Create a Snippet
We will use Home.htm as the first topic that opens in our online output. There is some text in this topic that we also want to use in the Introduction.htm topic, which will be the first topic in our PDF output. Let's create a snippet so we can reuse this content in both topics.
- In the Content Explorer, double-click Home.htm. The topic opens in the XML Editor.
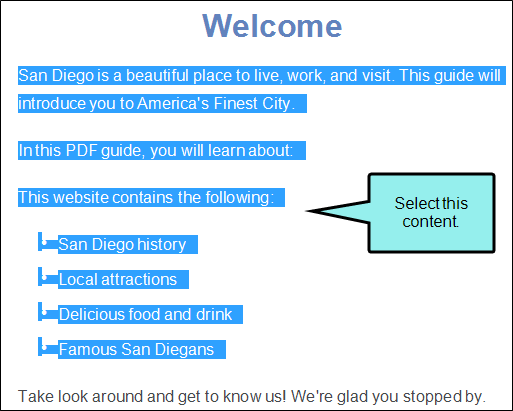
- Scroll down so you can see the area that contains a heading, four short paragraphs, and a list.
-
Select the first three paragraphs and the entire list (the text starting with "San Diego" and ending with "San Diegans").
- Select the Home ribbon, and click Create Snippet. The Create Snippet dialog opens.
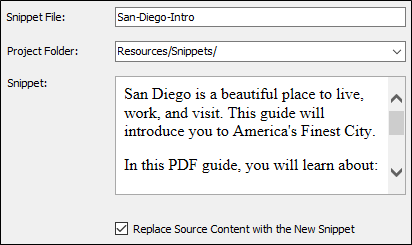
- In the Snippet File field, type San-Diego-Intro. This is the name for your snippet.
- In the Project Folder field, you can enter a location where you want to save your snippet. By default, snippets are saved in the Content folder in the Resources > Snippets folder. This is the recommended location for snippets, so we will not change this path.
-
In the Snippet field, use the scroll bar to review the content. You should see exactly the content you just selected (the text starting with "San Diego" and ending with "San Diegans").
Note The preview won't have any styling associated with it, so it will look somewhat plain. That's okay. The styles will show up in whatever topic the snippet is inserted into. But if anything else looks incorrect in the preview, you can click Cancel and start again.
-
Make sure the check box Replace Source Content with the New Snippet is selected. Since we want to use the snippet in the current topic, this will automatically insert the snippet into that topic for us.
-
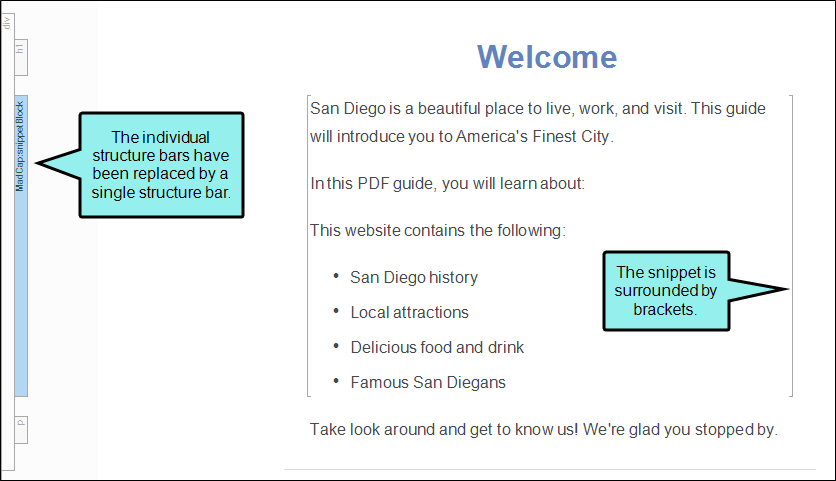
Click Create. Flare Desktop creates the snippet, inserts it into the topic, and adds the snippet file to the Content Explorer. Notice that the structure bars on the left side of the content (representing the individual paragraphs and the list) have been replaced by a single structure bar (i.e., the snippet block), and the snippet is surrounded by light gray brackets.
-
Click
") to save your work.
to save your work.
How to Insert a Snippet
Now that we have created a snippet, we will insert it into another topic.
- In the Content Explorer, double-click Introduction.htm. The topic opens in the XML Editor.
- Click at the end of the Introduction heading and press ENTER to create a new empty paragraph after it. This is where we will insert the snippet.
- Select the Insert ribbon, and click Snippet. The Insert Snippet Link dialog opens.
-
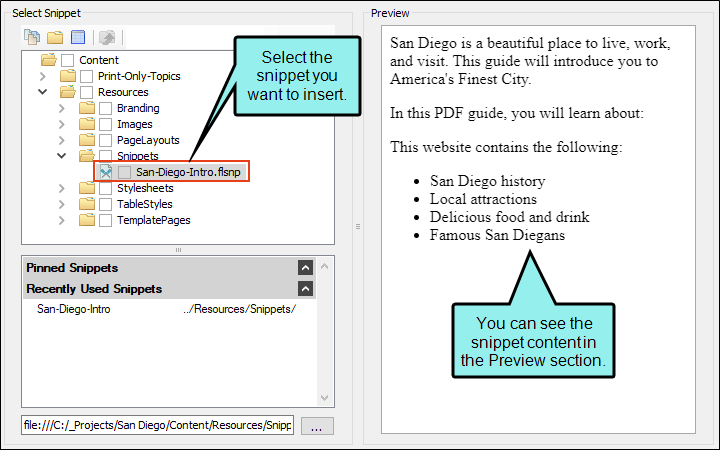
In the Select Snippet section, navigate to Content > Resources > Snippets > San-Diego-Intro.flsnp. When you select the snippet, you will see it in the Preview section so you can confirm that you have selected the correct snippet.
-
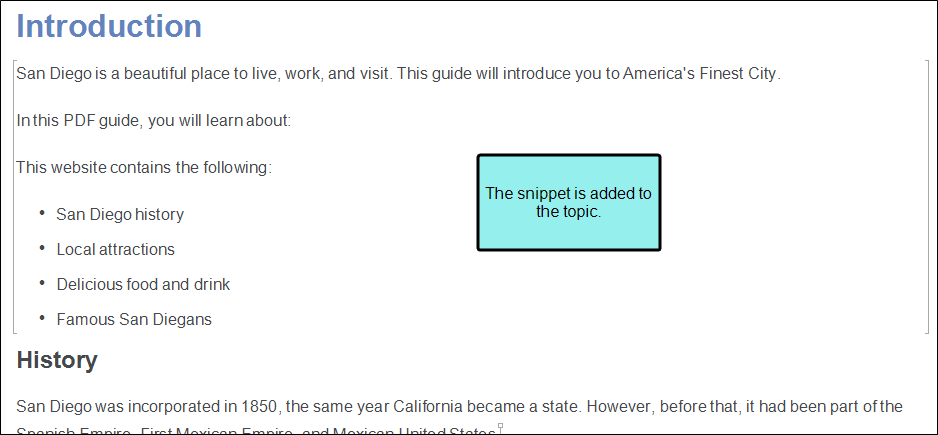
Click OK. The snippet appears in the topic between the main heading and the History section.
-
Click
to save your work.
Tip You can also drag and drop snippet files from the Content Explorer directly into your topic.
Tip If you need to edit a snippet, you can double-click it in the Content Explorer. It will open in the XML Editor just like a topic. However, if you end up with many snippets over time, it might be difficult to locate the precise snippet you need. A quicker way to edit a snippet is to right-click on a snippet that is inserted in a topic and from the context menu select Open Snippet File.

