GETTING STARTED TUTORIAL
Before we start opening files and adding content to them, let's take a minute to look at the main areas of the workspace that you will use during this tutorial.
[Menu Proxy — Headings — Online — Depth3 ]
Content Explorer
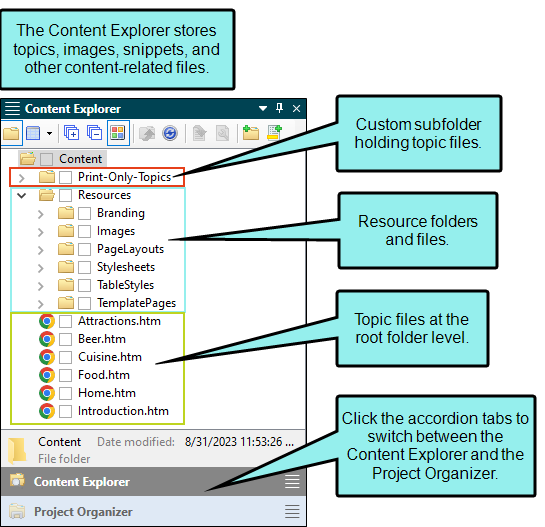
The Content Explorer appears on the left side of your screen, and is where you can find all of your content-related files. Topics appear in the main content folder. You can also create subfolders to organize your content. By default, the Resources folder is used to organize all of your content resources (e.g., images, snippets, multimedia, stylesheets).
Project Organizer
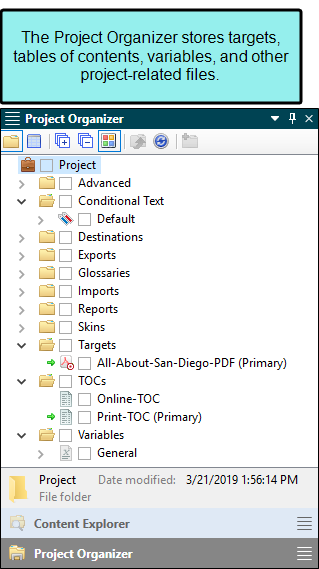
The Project Organizer is also found on the left side of your screen, in the same area as the Content Explorer. You can click the accordion tab at the bottom to switch between the Content Explorer and Project Organizer. This is where you can find all of your project-related files, such as targets, tables of contents, and skins. Each of these types of files appears in its own folder.
Start Page
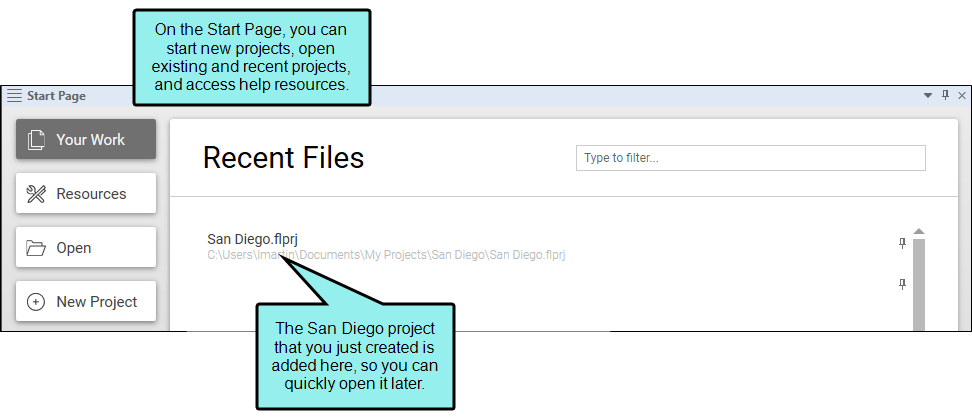
When you first open Flare Desktop, you will see the Start Page. Although you won't spend much time on the Start Page, it is important because you can use it to create a new project, open an existing project, and access various resources. Also, if you need to stop this tutorial and come back to it later, you can reopen the San Diego project file from the Start Page's Recent Projects list.
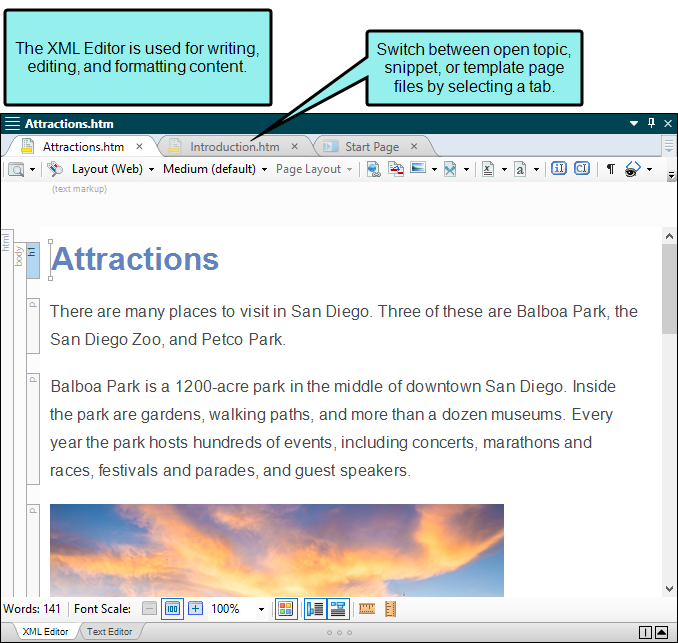
XML Editor
The XML Editor is located in the middle of the Flare Desktop interface. It is the primary editor that you will use in Flare Desktop. It is used for writing, editing, and formatting content files. So once you open a topic, snippet, or template page, it will be seen within the XML Editor.