 GETTING STARTED TUTORIAL
You can use styles in your projects to format elements. Although you can use local (or inline) formatting (such as selecting a single word and using the Color button on the Home ribbon to make it red), using styles instead will save you time. If you edit the properties for a style in the stylesheet, that change will automatically be made anywhere you used the style class. You do not need to go back and make the change in every topic.
After you create a new Flare project, you'll see that there are already many styles for you to use. And you can change the properties for any of those styles to adjust the look.
In addition to using the styles that are already in place, you may find the need now and then to create your own style class. Think of a style class as a "child" of a "parent" style. A style class gives you more flexibility when using a style. For example, you might create a red h1 (heading 1) style class and a blue h1 style class. These would both be children of the h1 style (e.g., h1.red, h1.blue).
[Menu Proxy — Headings — Online — Depth3 ]
How to Close Open Files
Before we continue, let's close the files that we've already opened. This is a good thing to do as you work so that you don't have so many items open, which can cause performance issues later. You can close files one at a time by clicking the small x on the right side of each tab, but a quicker way is to use an option to close them all at once.
- Select the Window ribbon.
- Click Close All Documents. This closes everything except the Start Page.
Tip If you want to close all of the files except one of them. Open that file, then instead of clicking the face of the "Close All Documents" button, select the down arrow and choose Close All But This.
How to Create a Style Class
We are going to create a style class of the parent image (img) style. Then we will modify our style class so that it turns online images into thumbnails. In other words, images will initially display very small but when they are clicked in online output, they will be shown at the full size in a popup.
- In the Content Explorer, open Resources > Stylesheets.
- Double-click the Styles.css stylesheet. The Stylesheet Editor opens to the right.
-
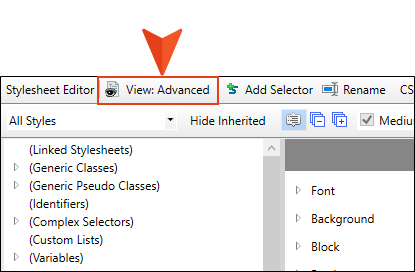
You can use the Simplified or Advanced view when editing a stylesheet. Let's use the latter. In the local toolbar of the Stylesheet Editor, make sure the first button is labeled View: Advanced. If it says View: Simplified, click it so that it change to the Advanced view.
-
In the upper-left of the editor, set the drop-down to
 to make it easier to find the style.
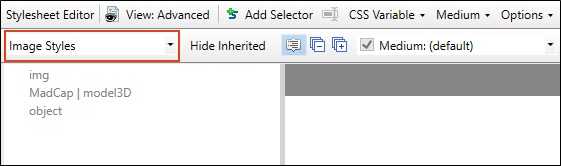
- In the Styles section, select img.
- In the local toolbar of the editor, click
 . The New Selector dialog opens.
 -
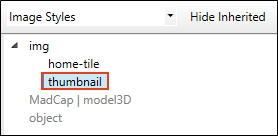
In the Class Name field, type thumbnail.

-
Click OK. The thumbnail style class appears in the stylesheet, indented under the img parent style.
The style class is added, but the only properties it has right now are the ones it has inherited from the img style. Now we need to add unique properties to the thumbnail style class.
-
With the new thumbnail class selected, from the Show field in the upper-right corner of the editor, select
 . This will display only the properties that are related to images, making it a lot easier to find the properties that you need to set.
-
Make sure the properties on the right side of the editor are shown in group view, which means there will be different categories that you can expand and collapse. In the local toolbar, you should see a Grouped View button
 . If instead you see the Alphabetical View button
  , click it to switch to Group View.
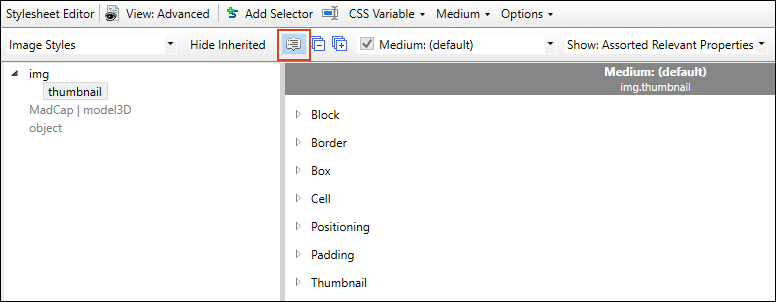
- Expand the Thumbnail group.
-
Next to the mc-thumbnail property, click
 and select popup. We will leave the other thumbnail settings as they are.
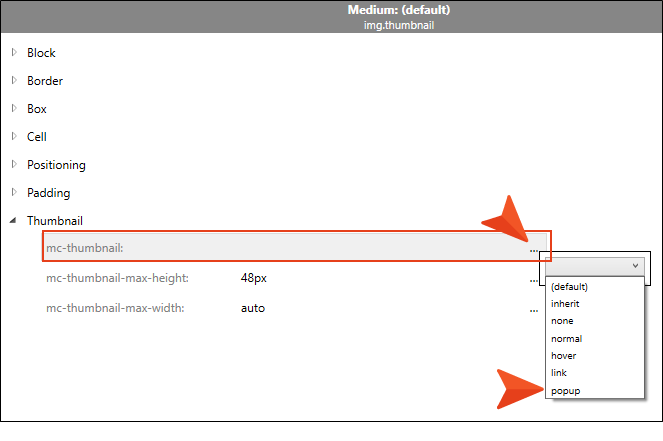
-
Click
") to save your work.
to save your work.

