 CUSTOM TOOLBAR TUTORIAL
Now you need to add a skin component to the project and modify it.
[Menu Proxy — Headings — Online — Depth3 ]
How to Add a Toolbar Skin Component
- In the Project Organizer, right-click the Skins folder and select Add Skin.
-
In the dialog, select HTML5 Component - Topic Toolbar, and in the File Name field enter Toolbar.
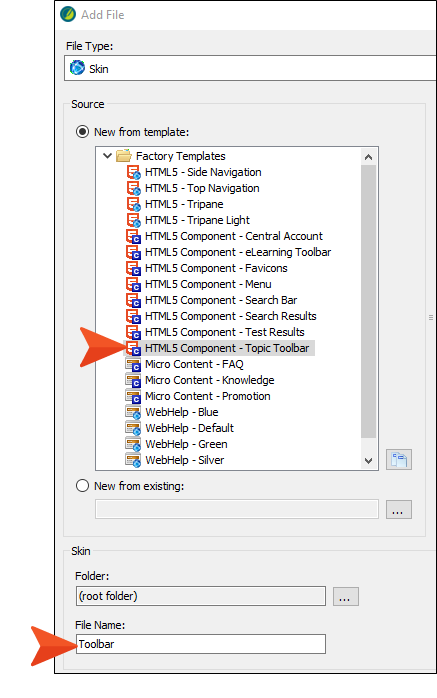
- Click Add. The file is added to the Project Organizer and opens to the right.
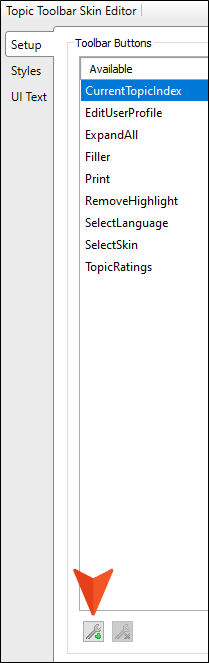
- In the Topic Toolbar Skin Editor, select the Setup tab.
-
The "PreviousTopic" and "NextTopic" buttons are already added on the right side of the editor, so you don't need to select them. But let's remove the other button. Double-click CurrentTopicIndex, moving it to the left side.

How to Add Custom Buttons
-
At the lower-left of the editor, click
 .
.
- In the dialog, enter Email as the name of the new button, then click OK.
-
On the left side of the editor, double-click Email to move it to the right. Then at the bottom of the right side, click
 to move it to the bottom of the list of buttons. This means the button will display third in the toolbar.
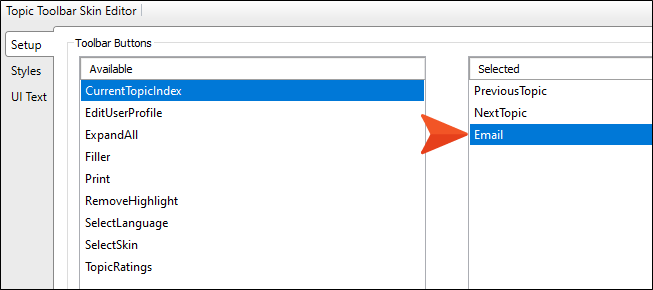
- Click again.
- In the dialog, enter Help as the name of the new button, then click OK.
-
On the left side of the editor, double-click Help to move it to the right. Then at the bottom of the right side, click
to move it to the bottom of the list of buttons. This means the button will display fourth in the toolbar.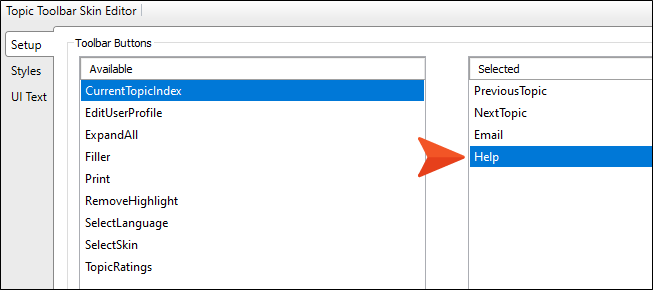
How to Add JavaScript to the Custom Buttons
-
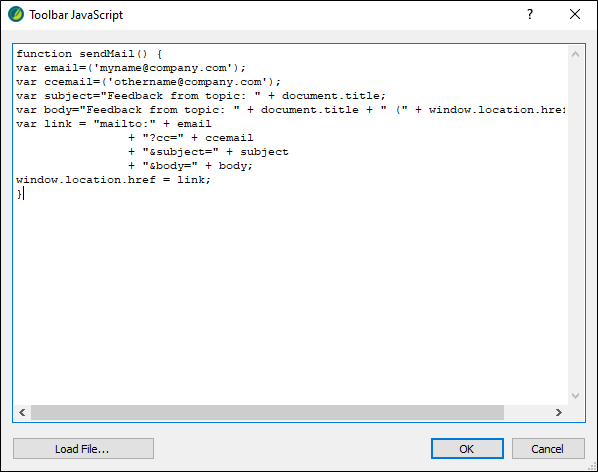
Copy the following.
Copyfunction sendMail() {
var email=('myname@company.com');
var ccemail=('othername@company.com');
var subject="Feedback from topic: " + document.title;
var body="Feedback from topic: " + document.title + " (" + window.location.href + ")";
var link = "mailto:" + email
+ "?cc=" + ccemail
+ "&subject=" + subject
+ "&body=" + body;
window.location.href = link;
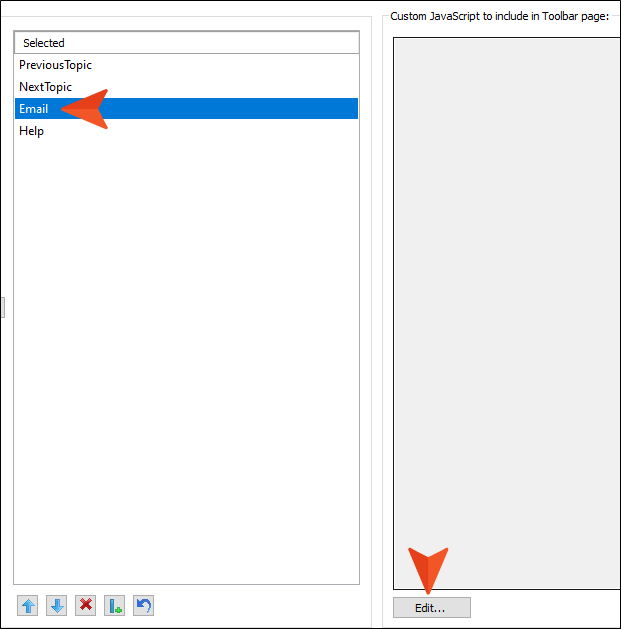
} - On the right side of the Topic Toolbar Skin Editor, select Email.
-
On the lower-right, click Edit.
-
In the dialog, paste the code that you copied.
Note Let's leave the code as it is, but in an actual project, you would replace the email addresses, as well as the subject and body text, with whatever you want.
- Click OK. The code displays on the right side of the editor.
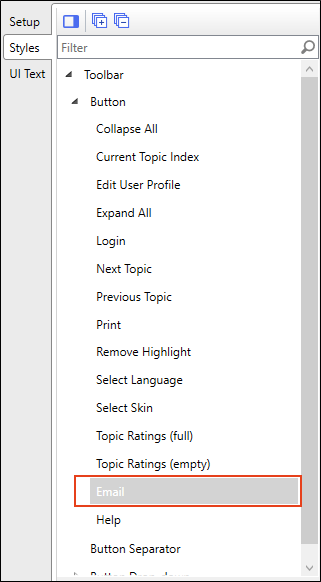
- On the left side of the editor, select the Styles tab.
-
Expand the Toolbar > Button style group, and select Email.
-
In the properties section, expand Background.
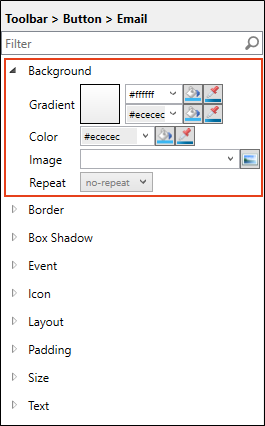
- To the right of the Image field, click
 .
. -
In the dialog, click
 , then find and select the Email image you downloaded and saved to your computer. After you find it in the dialog, select Open, then OK. The image file is shown in the field.
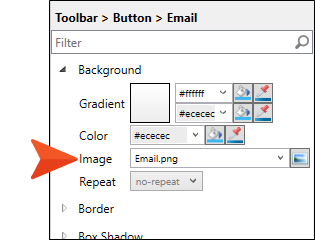
- Expand the Event property.
-
Copy the following extra piece of JavaScript and paste it into the Click field.
CopysendMail(); return false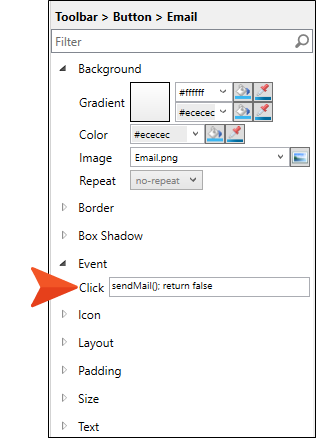
- From the Toolbar > Button style group, select Help.
-
Repeat the steps above to select the Help image you downloaded, and copy/paste the following JavaScript into the Event > Click field.
Copywindow.open('https://docs.madcapsoftware.com/doc-team/Source-Control.pdf'); return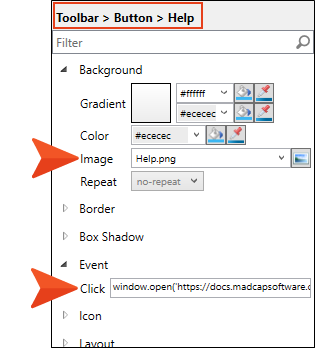
Note This particular piece of JavaScript opens a MadCap Software PDF. But in an actual project, you can replace the URL with your own.
- Click
") to save your work.
to save your work. - Build and view the All-About-Austin-HTML5 target.
- Open any topic other than the Home page.
- Click the buttons in the toolbar at the top of any topic to test them.
Ta-Da!
Congratulations! You've reached the end of this tutorial. Be sure to check out others. See Tutorials.
