 CUSTOM TOOLBAR TUTORIAL
Next, you need to insert a proxy, which serves as a placeholder for the topic toolbar when the HTML5 output is generated. In this lesson, you will insert the proxy into one of the template pages, which is associated with most of the topics in the project. By doing this, the topic toolbar will appear at the top of each of those topics in the output.
How to Insert a Topic Toolbar Proxy
- From the Content Explorer, expand Resources > TemplatePages, and double-click Other-Topics.flmsp. The template page opens in the XML Editor.
-
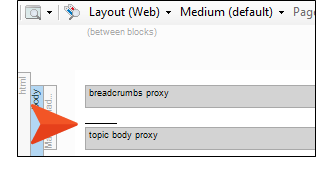
Click between the two proxies (gray bars) so that the cursor flashes horizontally.
- On the far right side of the Insert ribbon, select Proxy > Insert Topic Toolbar Proxy.
-
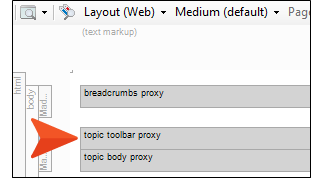
Leave the fields in the dialog as they are, and click OK. A new gray bar is added, representing the Topic Toolbar proxy.
Note If you had multiple Toolbar skin components, you could select the correct one in this dialog. However, you don't even have one yet. That's what you will add in the next lesson.
Also, it's possible to select buttons in this dialog, but we'll wait to do it in the skin component instead.
- Click
") to save your work.
to save your work.
