 LISTS TUTORIAL
Setting Page Breaks in Lists
For our PDF output, it is sometimes necessary to include page breaks in lists so that they continue where you want from one page to the next. There are a couple of ways to add page breaks (via styles or manually), and we will do both in this lesson.
[Menu Proxy — Headings — Online — Depth3 ]
How to Add Page Breaks via Styles
-
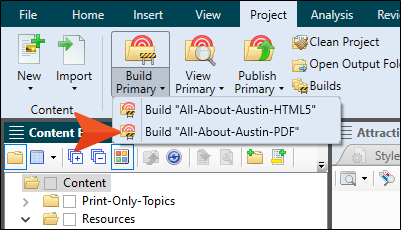
Before we add a page break, let's build our PDF output so that we can see where we want it. Select the Project ribbon. Then, from the Build Primary drop-down, select Build All-About-Austin-PDF.
-
After it finishes building, double-click the row in the Builds window pane at the bottom to open the PDF.

-
Scroll down, and at the bottom of page 8, notice the beginning of the bulleted list.
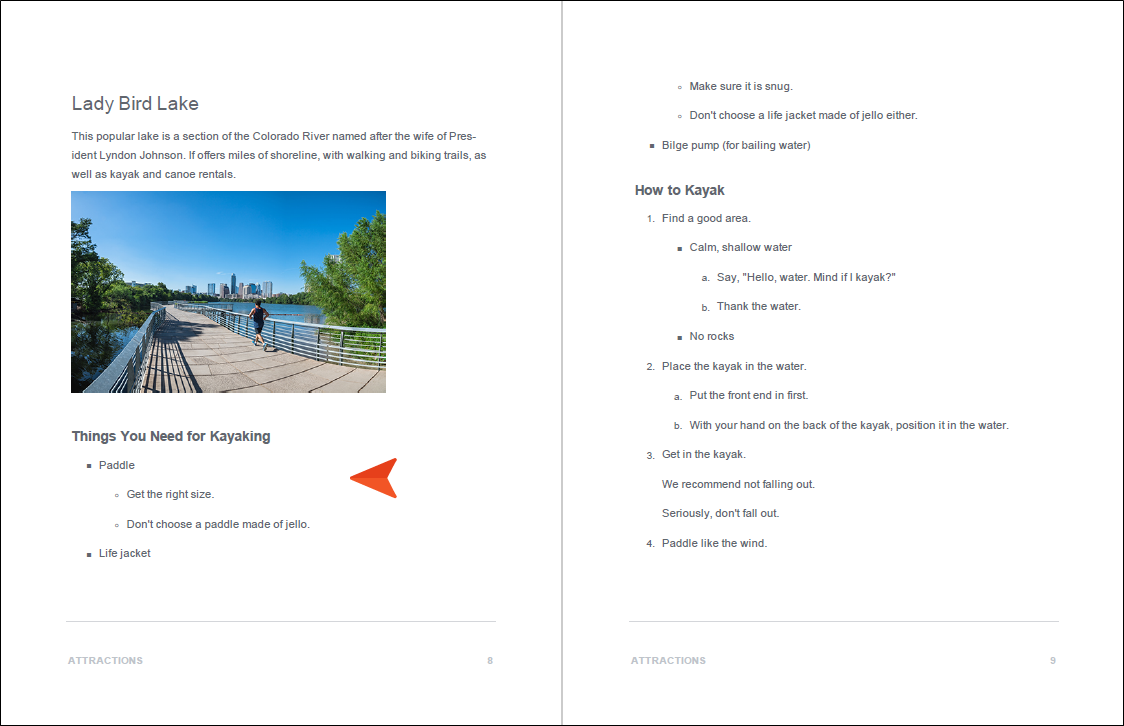
- We decide that it might look better if the heading and list started on the next page. So let's place a page break on the heading through a style. Begin by closing the PDF, then in Flare Desktop open the Styles.css stylesheet.
-
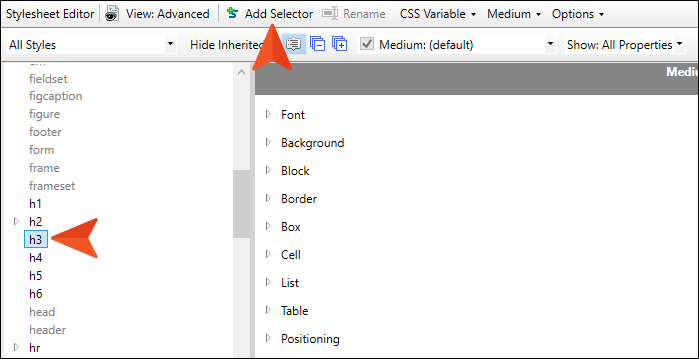
On the left side of the editor, scroll down and select h3. Then, in the toolbar, click Add Selector.
-
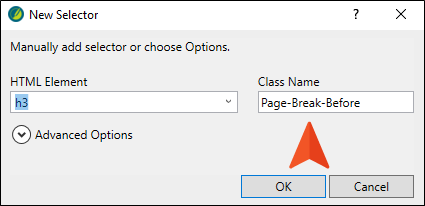
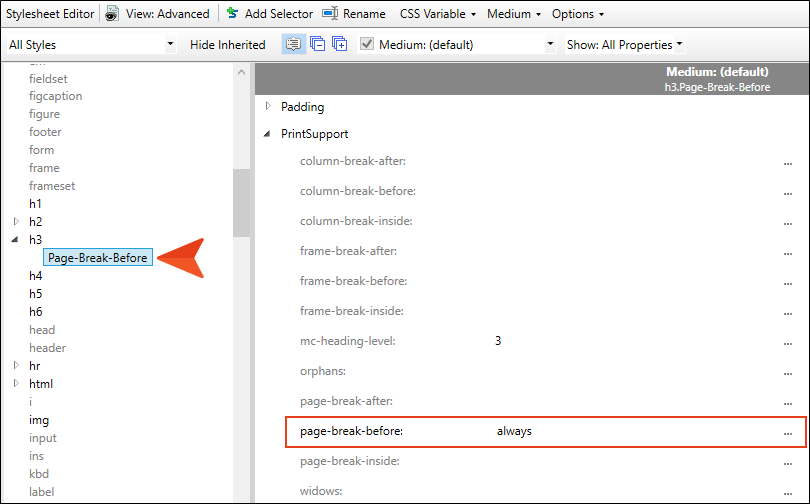
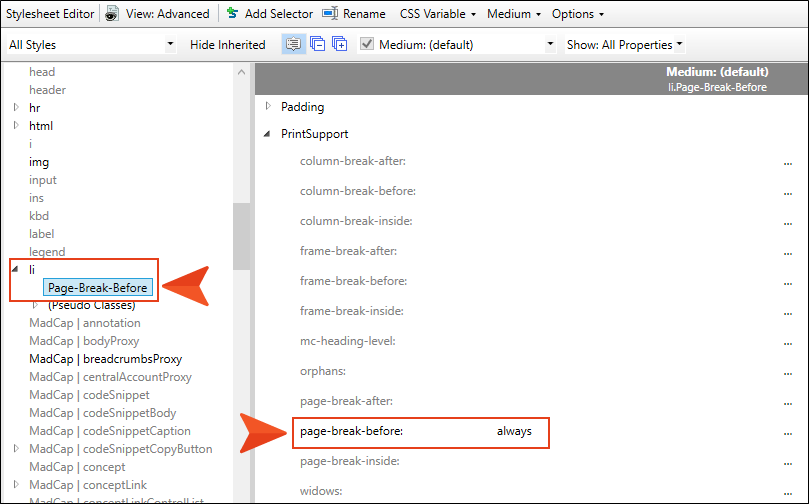
In the dialog, type Page-Break-Before as the name of the class, and click OK.
-
On the right side, expand the PrintSupport group, and set the page-break-before property to always.
- Click
") to save your work.
to save your work. -
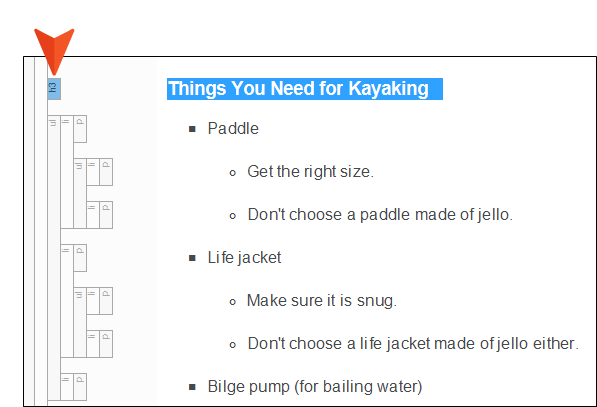
Open the Attractions.htm topic, and select (i.e., left-click) the h3 structure bar of the heading "Things You Need for Kayaking." The entire heading should be highlighted.
-
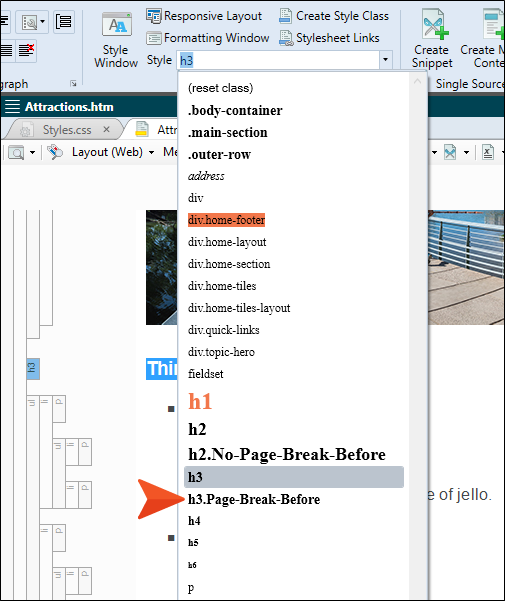
From the Home ribbon, click the Style drop-down and select h3.Page-Break-Before.
- Click to save your work.
- Rebuild the PDF target, and open it when it finishes.
-
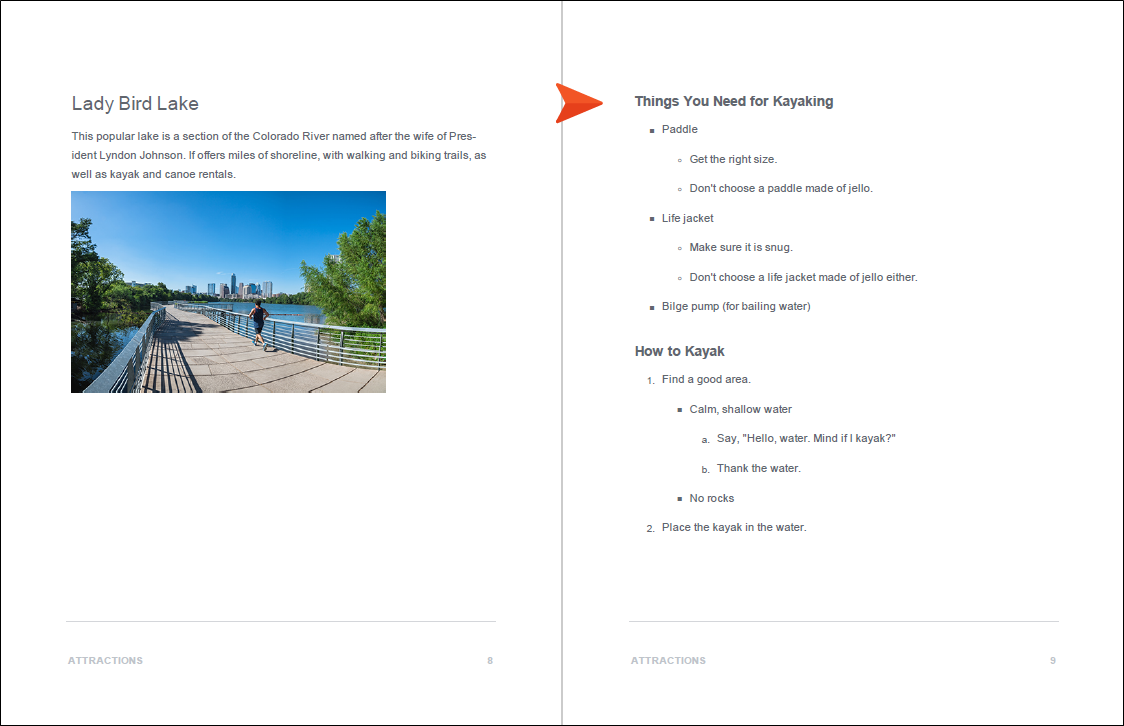
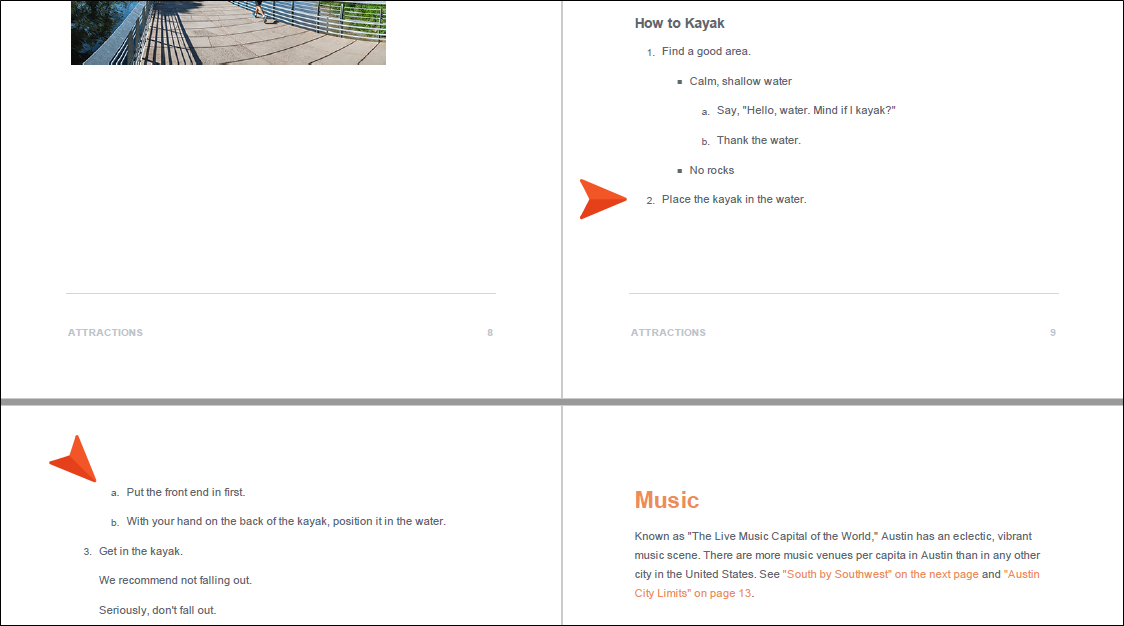
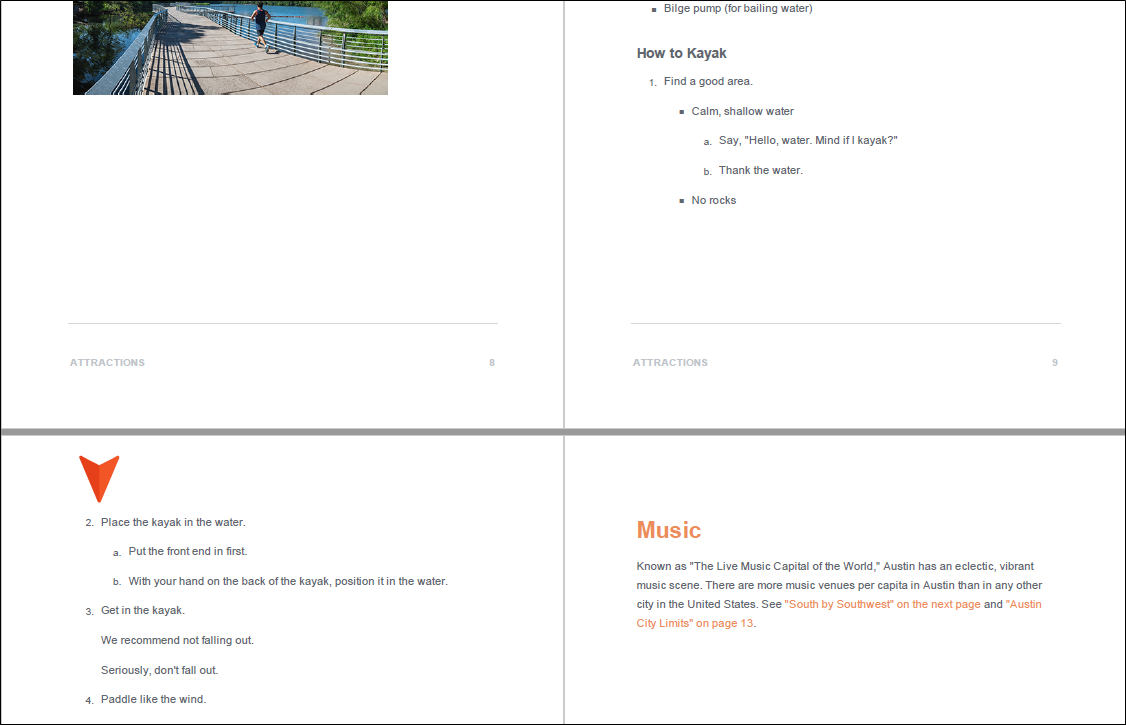
Scroll down in the PDF to pages 8-10, and notice the heading and list now begin on page 9.
-
Also notice that step 2 of "How to Kayak" is now at the bottom of the page, and it has sub-steps under it, which are now at the top of page 10.
- Let's add a page break to step 2 in order to keep it on the same page as its sub-steps. First close the PDF.
-
Go back to the stylesheet and repeat steps 5-8, but instead of creating the class for h3, do it for the li style. When you are finished, you should have a class called li.Page-Break-Before with the page break associated with that class.
- Click to save your work.
-
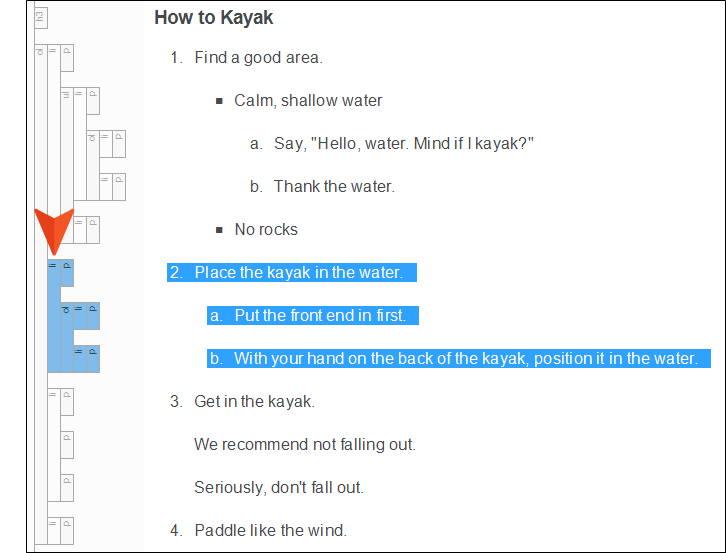
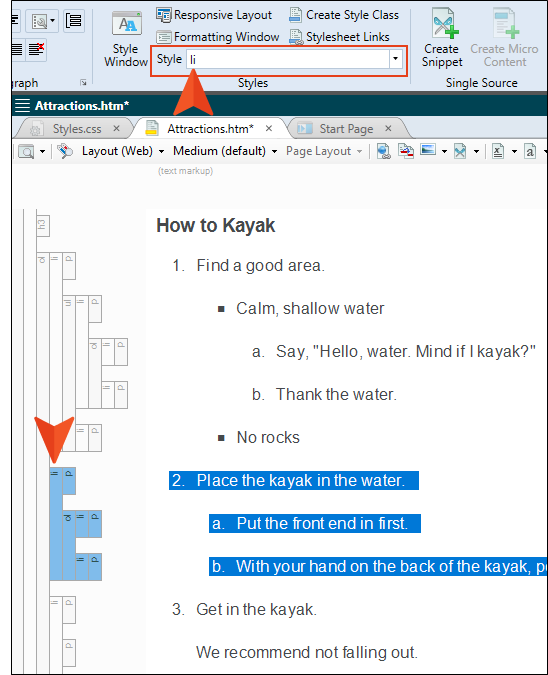
Open the Attractions.htm topic, and select (i.e., left-click) the li structure bar for step 2. The entire list item, including its sub-steps, should be highlighted.
-
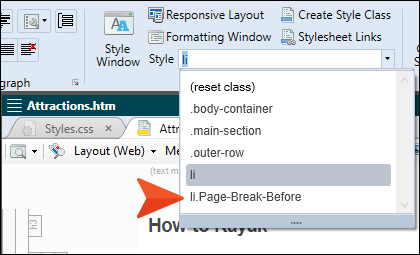
From the Home ribbon, click the Style drop-down and select li.Page-Break-Before.
- Click to save your work.
- Rebuild the PDF target, and open it when it finishes.
-
Scroll down in the PDF to pages 9-10, and notice that step 2 now begins at the top of page 10.
- Close the PDF.
How to Add Page Breaks Manually
Styles are almost always recommended over doing something manually. However, you might want to use the manual page break sometimes. For example, you might have a list that appears in multiple outputs, and in some outputs you want a page break to appear in a certain place, but in other outputs you might not want a page break. You could have two instances of a list item (one with a page break style applied and one without), then condition each list item for the different outputs. However, it might be simpler to just insert a manual page break and condition that for only the targets where the page break should occur. Keep in mind that with manual page breaks, the break always occurs after its insertion point.
-
Go back to the Attractions.htm topic and undo the application of the li.Page-Break-Before style class to step 2. In other words, you want step 2 to only use the parent li style.
-
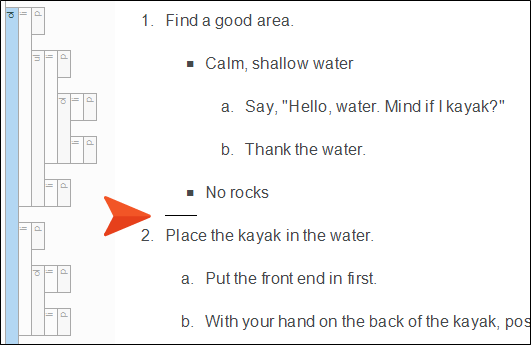
Place your cursor somewhere on the last line ("No rocks") under step 1. Then, press the down arrow key on your keyboard four times, until you see a horizontal line flashing between the steps.
-
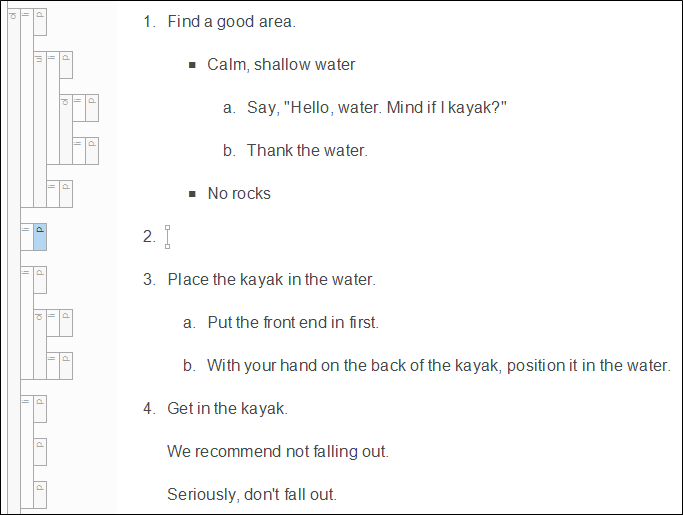
Press ENTER. You should now see an empty step 2. However, this number will go away when we are finished.
-
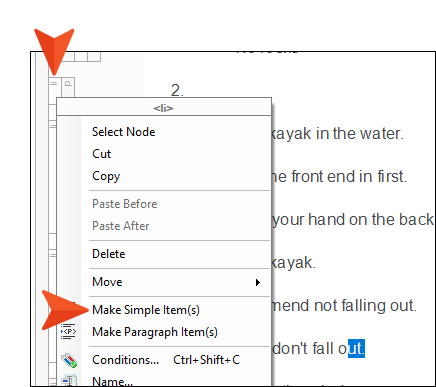
The empty list item has a <p> tag in it, like the others. We need to remove this tag before inserting the page break. So right-click the li structure bar and select Make Simple Item(s).
-
Place your cursor in the empty step 2. Then from the Insert ribbon, select Page Break. A gray bar appears at that location and the number is removed next to it.
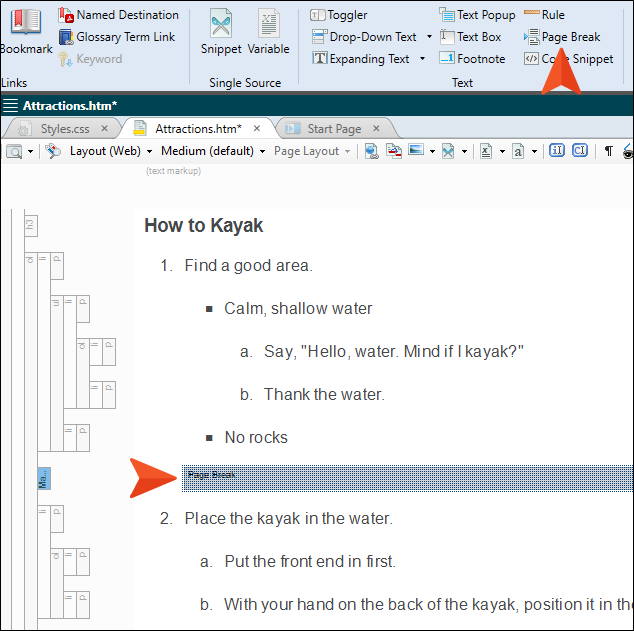
You don't need to condition the bar unless you want it to be used in only some print-based outputs but not others. It will automatically be ignored in online outputs.
- Click to save your work.
- Rebuild the PDF target, and open it when it finishes.
- Scroll down in the PDF to pages 9-10, and notice that step 2 begins on page 10.
- Close the PDF.

