 META TAGS TUTORIAL
After you create meta tags, you need to "enter" or "select" values for them, depending on whether you are dealing with a text meta tag (enter) or list/file tag (select). This can be done at a variety of file levels in a Flare project, and your setting is usually inherited by a file below it in the hierarchy. This starts at the top on the meta tag set. In some cases, you might find that it's a good idea to set a value in the meta tag set file, but often you'll just want to leave the value empty and set it at a lower level. Let's do a little of both in this tutorial.
[Menu Proxy — Headings — Online — Depth3 ]
How to Set a Value in a Meta Tag Set File
-
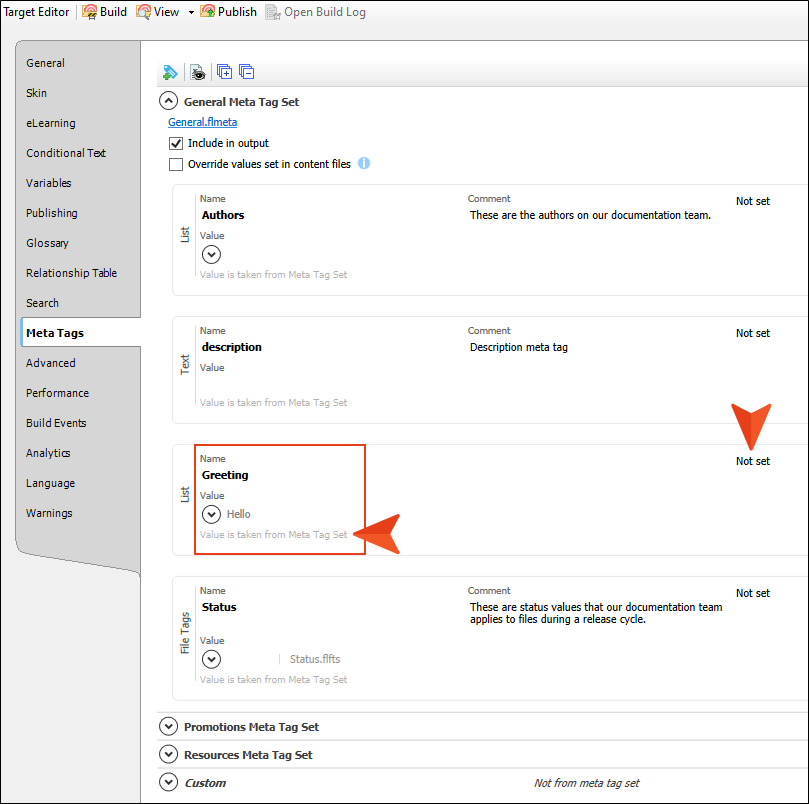
Open the General meta tag set.
-
We have four meta tags in this file. We'll leave the Authors and Status values empty, so that we can select specific values later, associating different topics (or other files) with a particular author or status.
We'll also leave the description meta tag value empty. That's because this particular meta tag (which is recognized by Google and other search engines) is designed to be set on individual topics, and the value will inevitably be unique for each topic. It's a best practice to have a description meta tag for each topic in order to help with search engine optimization (SEO).
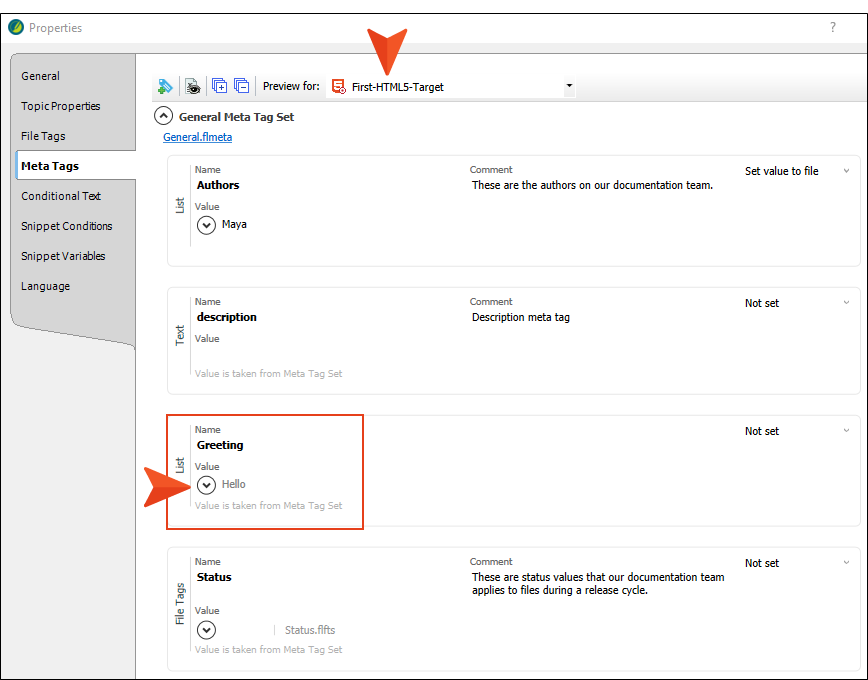
Let's focus on the Greeting meta tag. Select Hello. The idea is that this setting will be inherited by files below it, but you can override the value later for specific files.

-
Click
") to save your work.
to save your work.
How to Set a Value in a Target
-
In the Project Organizer, expand the Targets folder and double-click First-HTML5-Target.

-
Select the Meta Tags tab. Notice the three meta tag sets that you created earlier, in addition to a Custom section, which holds any new meta tags that you can add directly in the open file.
-
Expand General Meta Tag Set. You can see the "Hello" value that is inherited from the meta tag set. That is why the drop-down in the upper-right says "Not Set," because the value was not explicitly selected in this target.
-
Open the Second-HTML5-Target file, and open the Meta Tags tab in it. You will notice the same settings.
-
In the General Meta Tag Set section, expand Greeting. Then, remove the check mark from Hello and select Hi. Notice that the drop-down in the upper-right was automatically changed to "Set value to file," which means the value was explicitly set in this file, overriding what was selected above in the meta tag set.

-
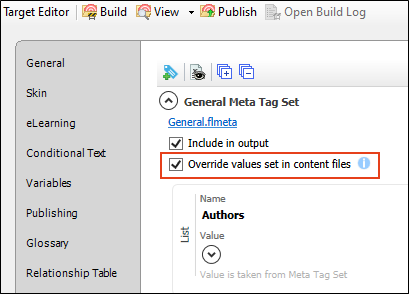
At the top of the General Meta Tag Set section, select Override values set in content files. This simply means that the "Hi" value will be used for all files in this target's output, even if you happen to explicitly select a different value on a topic or other file below the target level.
-
Click
to save your work.
How to View Meta Tag Values in the Output
We've talked about inheritance of meta tag values and overriding them. However, here is an important detail to know about that. The inherited values will be included in the output files, but inherited values are not included in the source file markup (as you will soon see). Only values explicitly set on a file are shown in the markup and therefore useful for content management of source files.
-
Open the First-HTML5-Target file, click Build, and when it is finished, open the output in a browser.
-
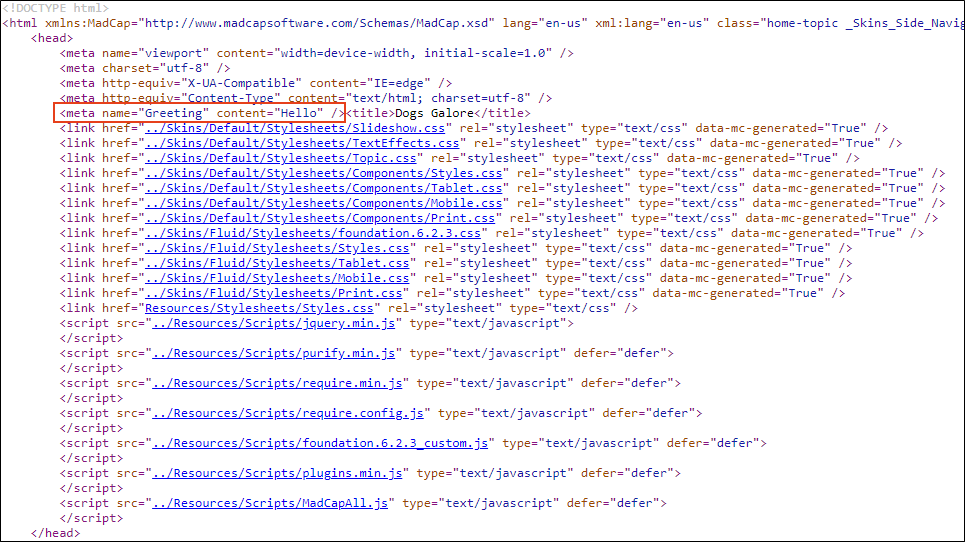
In the output , right-click on the Home topic and view the page source. Notice the meta tag within the <head> tag has the value (i.e., content) of "Hello." We didn't set this value directly on the Home topic (or on any other topics), but it was inherited from the meta tag set.
-
Open the Second-HTML5-Target file, click Build, and when it is finished, open the output in a browser.
-
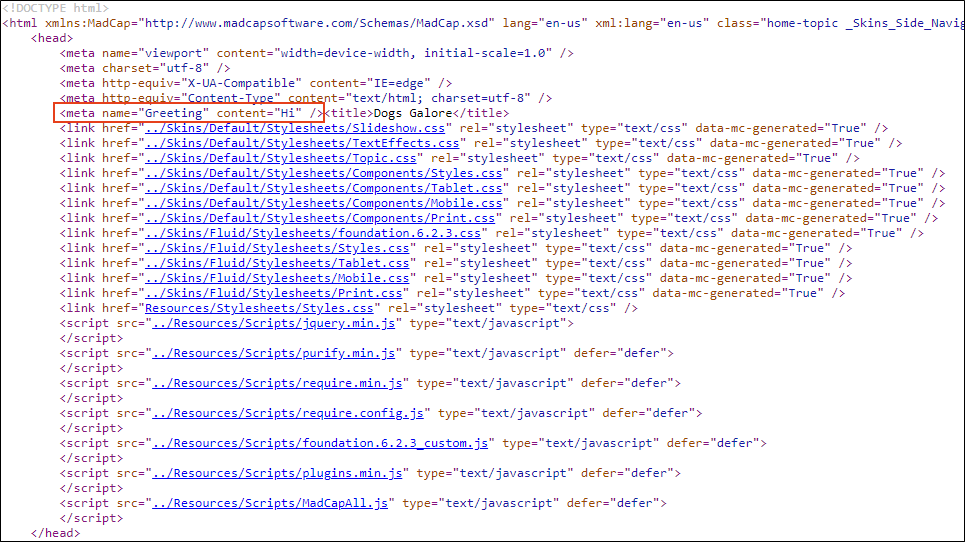
In the output, right-click on the Home topic and view the page source. Notice the meta tag within the <head> tag has the value (i.e., content) of "Hi." We changed the value in this target, so all of the topics in this target's output also use the value "Hi," instead of "Hello." Also, we selected the option in the target to "Override values set in content files," so if we had set the value of "Hey" directly on the Home topic, it would still use the target's value of "Hi" in the output.
So What?
The meta tag example you just saw in the target files might not have any SEO benefit, so you could be wondering, "What's the point? Why should I care if some meta tags are included in files in my output?" Well, one huge benefit of having certain meta tags included in the output is the integration with micro content and the ability to use meta tags to control which pieces of micro content show up where. For more on this, we recommend that you also walk through the micro content tutorials, and in particular the advanced one.
How to View a Topic's Markup
Before we set meta tag values on topics, let's take a quick look at a topic's code, or markup.
-
In the Content Explorer, expand the A-Introduction-Topics folder, and open the Getting-Started.htm topic.
-
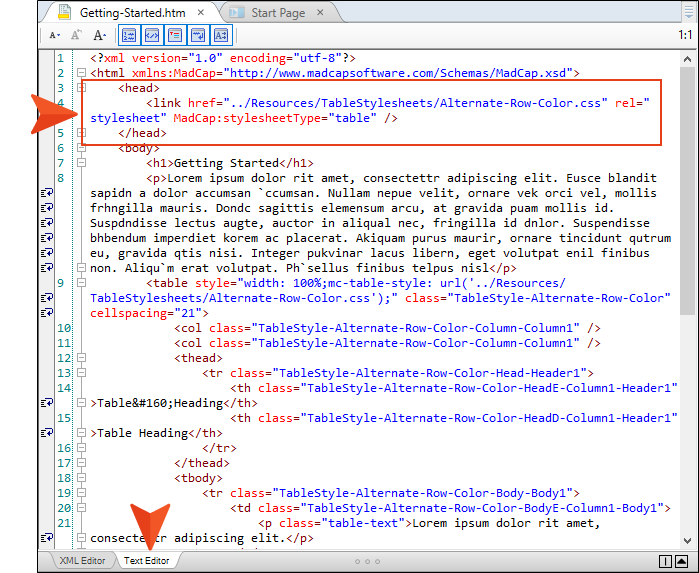
At the bottom of the XML Editor, click the Text Editor tab to see the markup.
-
Look in the <head> tag at the top of the editor. Notice that there is no meta tag in it.
How to Set a Value on Folders and Topics
-
In the Content Explorer, right-click Getting-Started.htm, and select Properties.
-
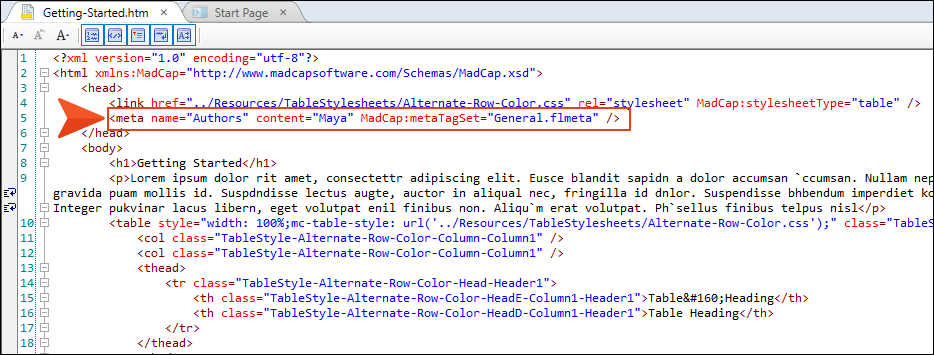
On the Meta Tags tab, expand General Meta Tag Set, and in the Authors section, select Maya.

-
Click OK. Now if you look at the markup for that topic, you will see the meta tag added to the source. This can be beneficial not only in the output, but also for content management of source files.
-
Expand the B-Breeds folder.
-
Right-click Australian-Shepherds.htm, and select Properties.
-
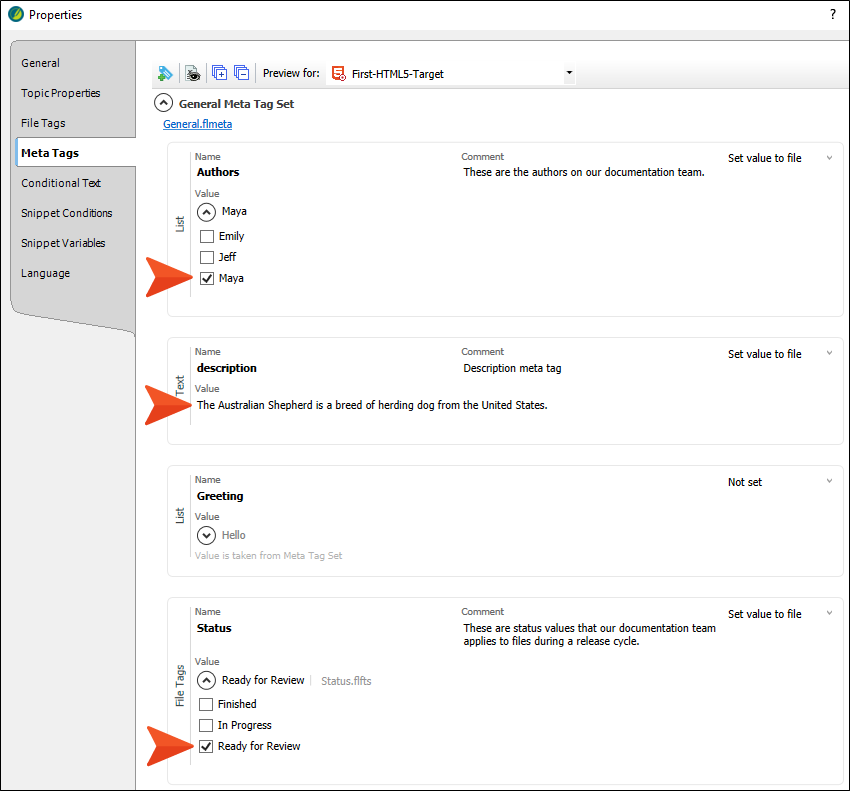
Select the Meta Tags tab, expand General Meta Tag Set, and set the following.
-
In the Authors section, select Maya.
-
In the Value field for the description meta tag, enter The Australian Shepherd is a breed of herding dog from the United States.
-
In the Status section, select Ready for Review.
-
-
Click OK.
-
Right-click Beagles.htm, and select Properties.
-
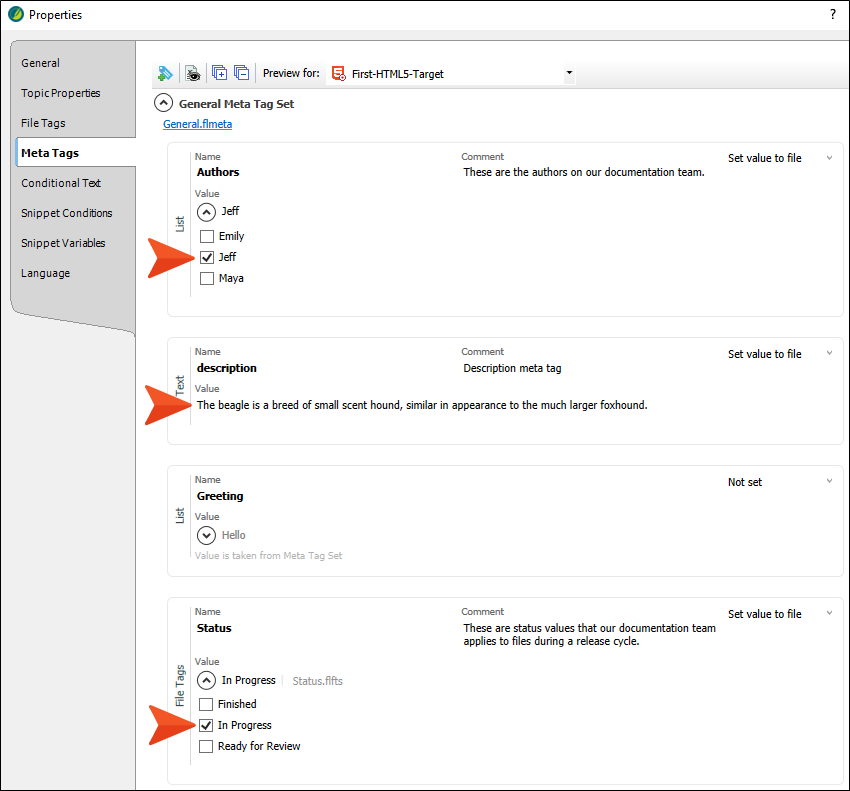
Expand General Meta Tag Set, and set the following.
-
In the Authors section, select Jeff.
-
In the Value field for the description meta tag, enter The beagle is a breed of small scent hound, similar in appearance to the much larger foxhound.
-
In the Status section, select In Progress.
-
-
Click OK.
-
Right-click Boxers.htm, and select Properties.
-
Expand General Meta Tag Set, and set the following.
-
In the Authors section, select Emily.
-
In the Value field for the description meta tag, enter The Boxer is a medium to large, short-haired dog breed of mastiff-type, developed in Germany.
-
In the Status section, select In Progress.

-
-
Click OK.
-
So far, we have set meta tag properties for specific topics. But now let's take a look at setting properties on a folder, which is useful if you want the same properties to be applied to all of the files below it. In the Content Explorer, right-click the C-Training folder, and select Properties.
-
On the Meta Tags tab, expand General Meta Tag Set, and in the Authors section select Emily and Jeff.

-
Click OK.
-
Open the properties for any topic under the C-Training folder, and notice that those authors are selected.
How to Set a Custom Value With a Variable on a File
-
In the Content Explorer, under the A-Introduction-Topics folder, right-click the History-Dogs.htm topic and select Properties.
-
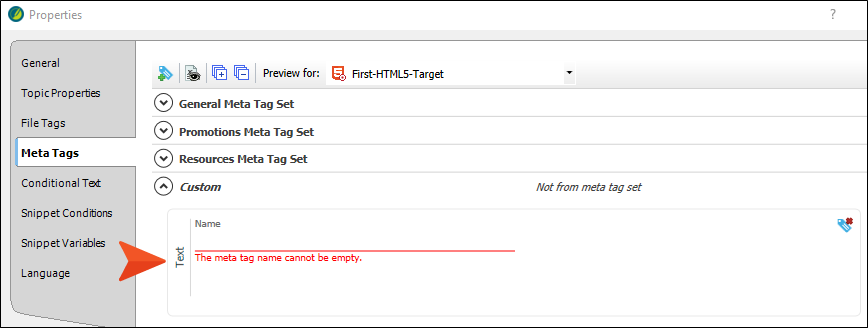
On the Meta Tags tab, click
 in the local toolbar.
This adds a new text meta tag in the Custom section.
Note The meta tag set is the only file where you can add list meta tags and link to file tag sets. In other files, you can only add text meta tags.
-
In the Name field, enter My Custom Tag.
-
In the Value field, enter This is a custom tag for.
-
After the last word, add a space and click the Insert Variable button
 to the right of the field.
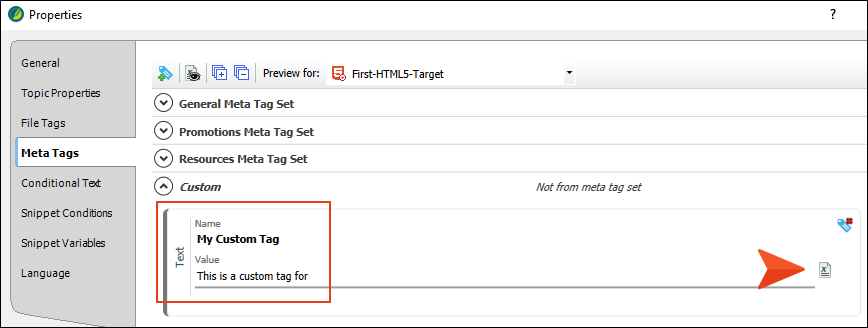
-
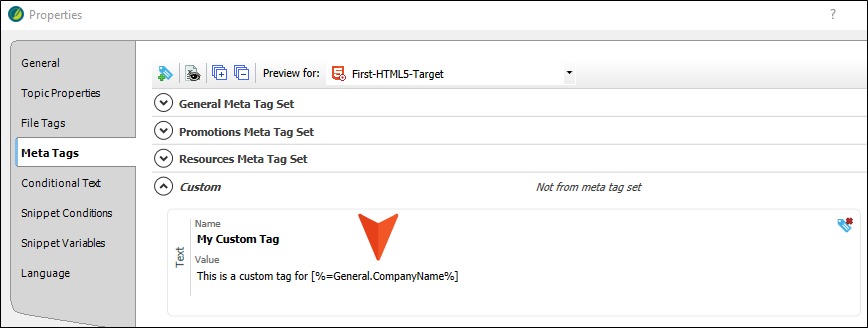
In the Variables dialog, select the CompanyName variable and click OK. The variable syntax is shown in the Value field.
-
In the local toolbar, click
 .
. 
This toggles to the actual variable definition, instead of the syntax. You can click the button again to see the syntax once more. This does not affect how the variable is shown in the source file or output (the syntax is always shown in the source file markup; the definition is always shown in the output page source).
-
Click OK.
How to Override a Value From a Target
-
In the Content Explorer, under the A-Introduction-Topics folder, right-click Getting-Started.htm and select Properties.
-
On the Meta Tags tab, expand General Meta Tag Set. Notice the Greeting meta tag with the value of "Hello," which is inherited from the meta tag set. Also notice that this is the value associated with the First-HTML5-Target file.
-
Click the Preview for drop-down in the local toolbar and select Second-HTML5-Target. Notice the value changes to "Hi," which is what we selected earlier for that target.
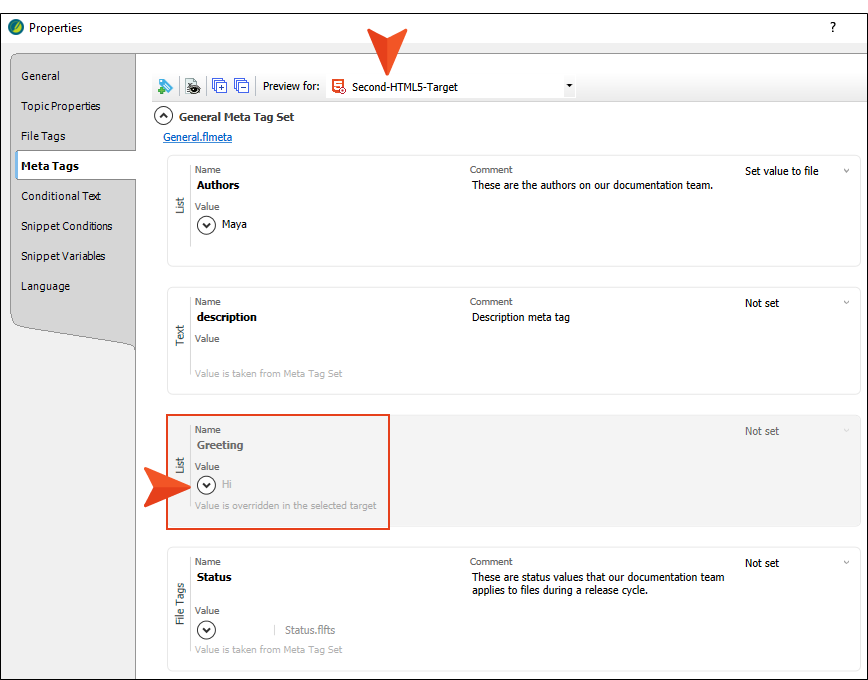
Also notice that the Greeting section is grayed out, because earlier we selected an option in that topic to override the value set in content files.
-
From the drop-down, select First-HTML5-Target.
-
That section is no longer grayed out, because we did not select the override option in this target. Expand the list of values, remove Hello, and select Hey.

-
Click OK.
What’s Noteworthy?
Note In this lesson, we've applied meta tag settings only to some files. However, there are other types of files that also support meta tags, such as the main project file, template pages, images, and multimedia files.

