 SINGLE-SOURCING TUTORIAL
Variables are shorter strings of content that exemplify creating content once, maintaining it in one place, and then reusing the same content multiple times. Unlike snippets, variables are unformatted bits of information, leaving them to inherit the formatting of the paragraph where they are inserted.
[Menu Proxy — Headings — Online — Depth3 ]
How to Create a Single Definition Variable
- From the Project Organizer, double-click the Variables folder.
- Double-click the General variable set. The Variable Set Editor opens.
-
In local toolbar click Add variable
 . A new variable row is added.
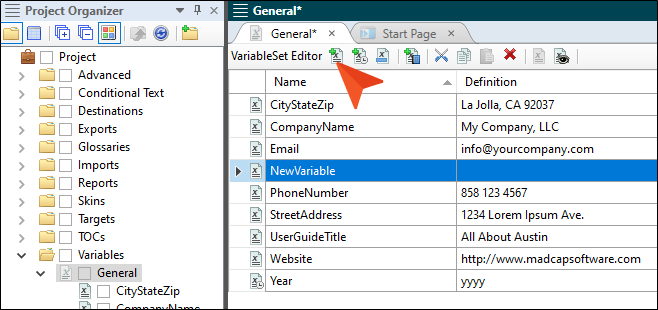
- Click in the New Variable field and give it a name. Type VersionNumber.
-
Click in the blank field to the right of the new variable, and press F2. Give it a definition by typing Version 001.

-
Click
") to save your work.
to save your work.
Notice the other variables listed in the Variable Set Editor. Variables are especially useful for information that is likely to change frequently such as a date or a version number.
Note When creating variables in a project, you might find you use some more often than others. You can pin those frequently used variables to easily find them. This can be done via the Variables dialog or from a topic's local toolbar by selecting Insert variable  .
.
How to Insert a Single Definition Variable
In this tutorial, let’s add our new variable to display along with other variables that already exist in the Austin project’s template page for online output.
- From the Content Explorer, expand Resources > TemplatePages, and double-click Home-Page.flmsp. The file opens in the XML Editor.
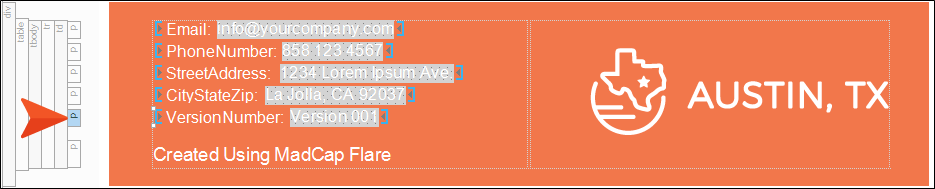
- Place the cursor after the "CityStateZip" variable.
-
From the Project Organizer, select the VersionNumber variable, and drag it to the cursor location in the XML Editor.

-
With the cursor after the "CityStateZip" variable, press ENTER to create a new paragraph footer.
-
Click
to save your work.
Note If you do not see markers in the form of brackets around variables, from the topic's local toolbar click Show tags  , and then Markers.
Note There are many ways to insert variables.
How to Create Multiple Definition Variables
Let's add an alternate phone number to the Austin project.
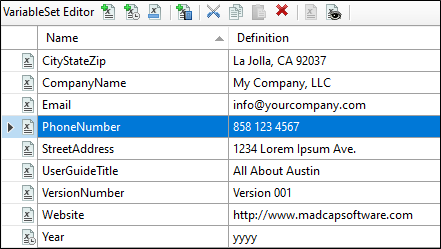
- Open the General variable set in the Variable Set Editor.
-
Select the PhoneNumber row.
-
From the local toolbar click Add variable definition
 . A new row is added for a new definition.
 -
Click in the empty cell that is added, and give it a definition. Type 858 555 5555 and press ENTER. This “grayed out” second entry is an alternate definition for the phone number variable.

-
Click
to save your work.
How to Change Multiple Definition Variables
When using multiple definition variables, by default the primary definition listed is applied to the project. But let’s override that and set the variable to the alternate phone number using the Target Editor.
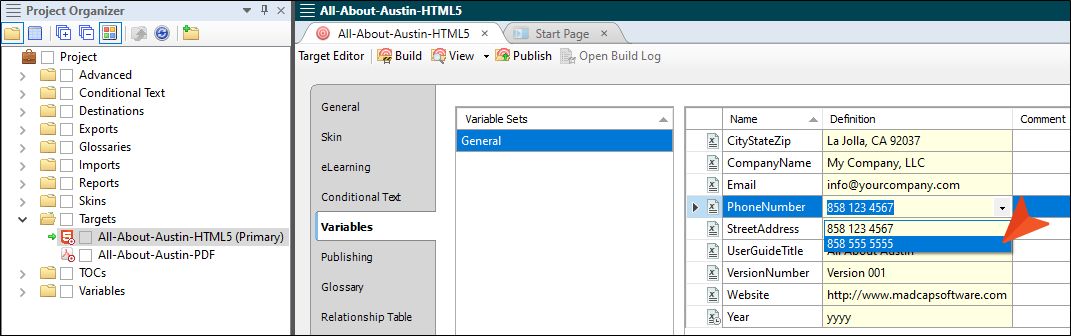
- From the Project Organizer, expand the Targets folder to see the available targets.
- Double-click the All-About-Austin-HTML5 (Primary) target. The Target Editor opens.
- Click the Variables tab. Notice the "PhoneNumber" variable includes a down arrow for its definition.
-
Click the down arrow and select the recently added phone number. (At this point, you could change any of the other the definition variable fields by simply clicking in the Definition cells and typing new content to override what was originally defined, but let’s not do that for this demonstration.)
-
Click
to save your work.
Note Variables created and defined in the Variable Set Editor are at the project level. As we just did, project-defined variables can be overridden at the target level in the Target Editor. As an aside for a more advanced user, snippet variables are defined at a topic level within snippets and override both project- and target-level variables.
How to Preview Output
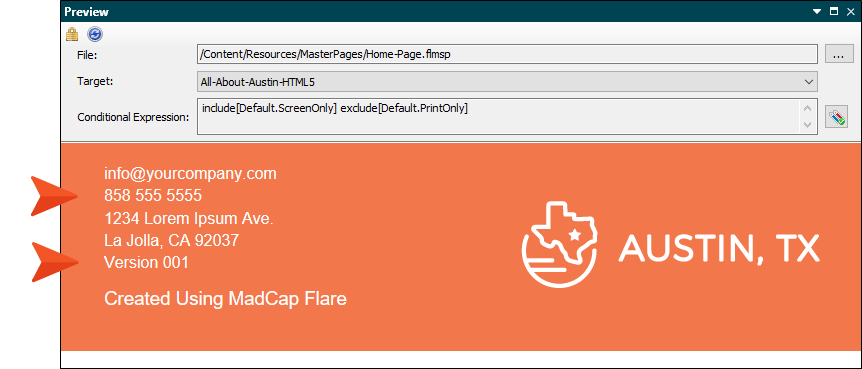
We've set some new variables, but are not quite ready to build output. Let’s view a preview of the topic that includes the variables to see what it looks like (you can do this for any content file).
- Open Home-Page.flmsp in the XML Editor.
-
From the local toolbar click the Preview as primary target
 drop-down, and select Preview as All-About-Austin-HTML5. Flare Desktop opens a Preview window with the current work displayed.
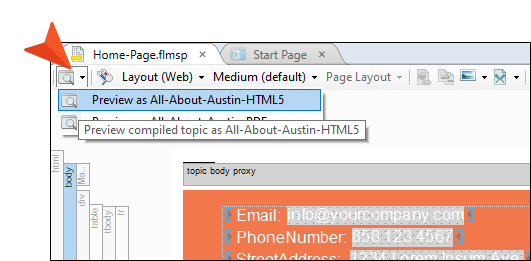
- Close the Preview window.
- From the Window ribbon, select Close All Documents.

