 STYLES TUTORIAL—USING MEDIA QUERIES
To start, let's create a new project based on Flare's Austin template.
Note This is a standalone tutorial. However, if you have completed the previous tutorials, you can skip this topic since a project has already been created.
Note If you plan to work with the project from the previous styles tutorials, the images you see as you go through this tutorial will be slightly different. If you want the images to match, then it is recommended to create a new project for this tutorial.
How to Create a New Project From a Template
- Select File > New Project. The Start New Project Wizard opens.
- In the Project name field, give your project any name you want.
- (Optional) In the Project folder field, you can enter a location where you want to save your project. By default, projects are saved in your Documents > My Projects folder.
- Click Next.
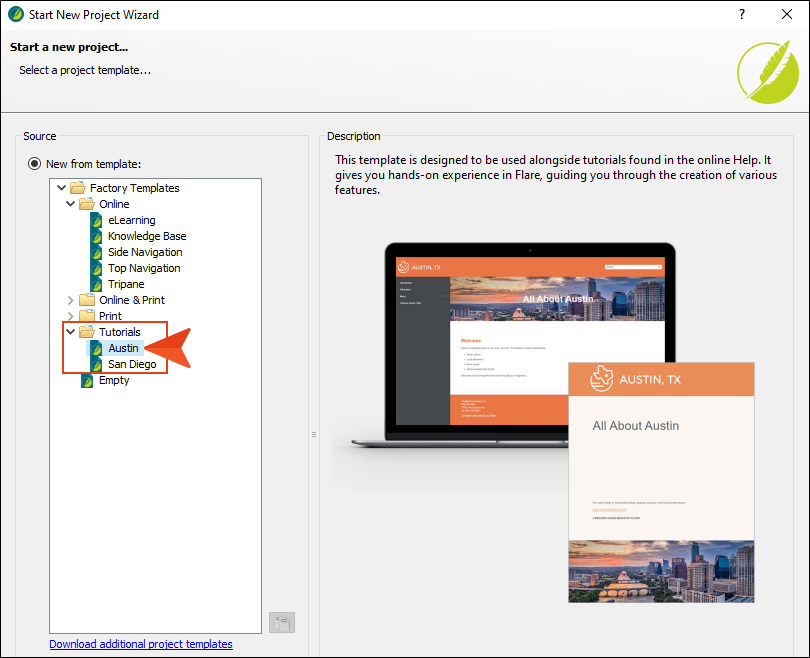
-
Under Factory Templates, expand the Tutorials folder. Select the Austin template.
-
Click Next.
-
For branding, keep the default settings. (This is where you could customize your project's look with branding, such as colors and logo.) Click Next.
-
Click Finish. The project is created and loaded into Flare Desktop.


