STYLES TUTORIAL—USING MULTIPLE STYLESHEETS
You can launch Flare Desktop and start authoring without having to think about styles right away. The first step in using styles in your topics is to add a new stylesheet. However, if a stylesheet was included in the template when you created the project, you can use that one instead of creating a new one.
[Menu Proxy — Headings — Online — Depth3 ]
How to Locate the Primary Stylesheet
When you start working in the Austin project, there is a stylesheet already set for the project. A stylesheet set at the project or target level is referred to as primary stylesheet, and a stylesheet set the content-file level is a local stylesheet. Let's take a look at the primary stylesheet.
-
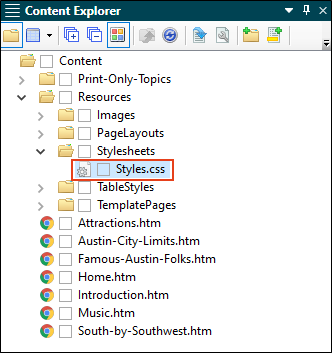
From the Content Explorer, expand Resources > Stylesheets. This is the default location for the project stylesheet, Styles.css. (If you use a different template for your project, you may see other stylesheets.)
-
From the Project ribbon, click Project Properties.

-
The Project Properties dialog opens. Select the Defaults tab. The Primary Stylesheet field is already populated with the Styles.css file.
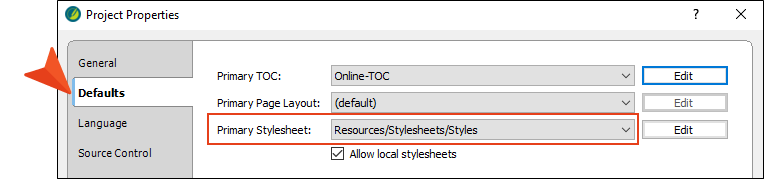
- Click OK.
-
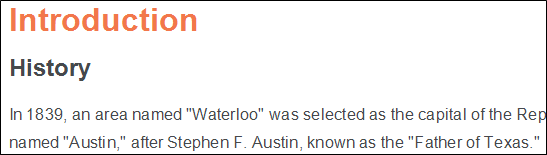
From the Content Explorer, double-click the Introduction.htm file. Notice the styles in the topic (orange h1, black h2, font size 12pt, etc.). The styles come from the stylesheet.
Note If you are working the Styles tutorials in a sequential order without creating a new project each time, keep in mind that styles have been changed in the Styles.css file. The images may not match for the Styles.css primary stylesheet in this tutorial.
- From the Project ribbon, click the Build Primary drop-down and select Build All-About-Austin-HTML5. The Builds window pane opens at the bottom of the Flare Desktop interface, and the target begins to generate. When the build finishes successfully, the Build Progress cell turns dark green.
-
Double-click the row to open the HTML5 output and view the styles in the output.
-
Repeat the steps above to build and view All-About-Austin-PDF.
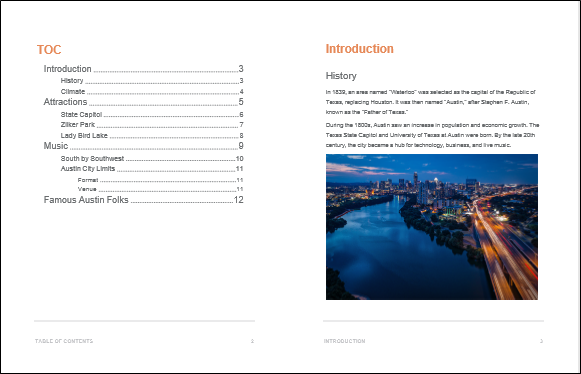
Notice the styles in the generated output files. They correspond to the styles from the primary stylesheet, and display headings in orange and black.
Tip The simplest and quickest way to get started with a new project is to create a single stylesheet and set it at the project level.
Note It is recommended to use one stylesheet for your project if you can get away with it. This means there is only one stylesheet to maintain. However, you might have a project where you need more than one stylesheet to meet your needs.
How to Add a Stylesheet
In some cases, having multiple stylesheets might make more sense for your project. Flare Desktop makes it easy to add extra stylesheets to a project.
-
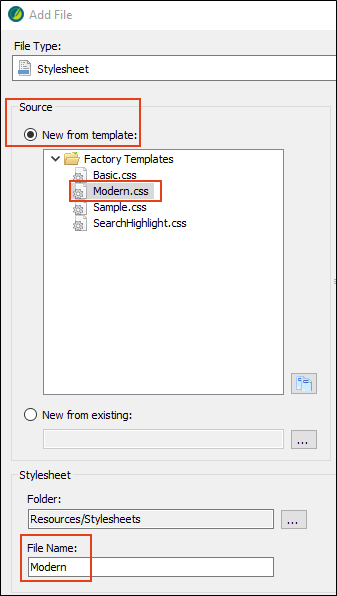
From the Content Explorer, right-click the Stylesheets folder, and from the context menu select New > Stylesheet. The Add File dialog opens. (You can add a stylesheet from any folder in the Content Explorer, but by initiating it from the Stylesheets folder, you direct it to store in that folder.)
- In the Source section, select New from template.
- Expand the Factory Templates folder, and select Modern.css.
-
In the Stylesheet section, in the File Name field, type Modern.
-
Click Add. The new stylesheet is added to the Stylesheets folder, and it opens in the Stylesheet Editor.
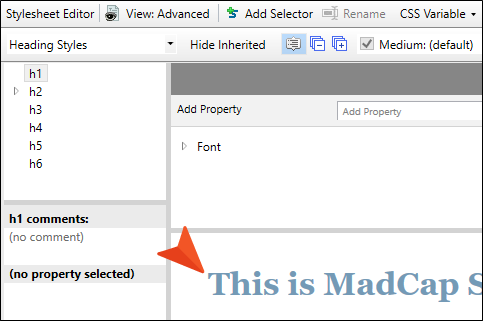
Note You can get a feel for how styles might appear by reviewing the Preview row (Simplified view), or the Preview section (Advanced view) in the Stylesheet Editor. For example, if you select the h1 element, that style displays to preview.