 STYLES TUTORIAL—UNDERSTANDING THE BASICS
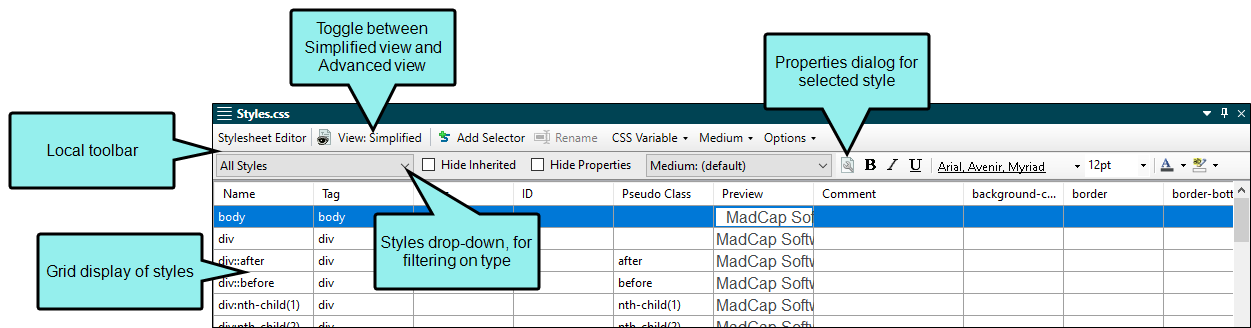
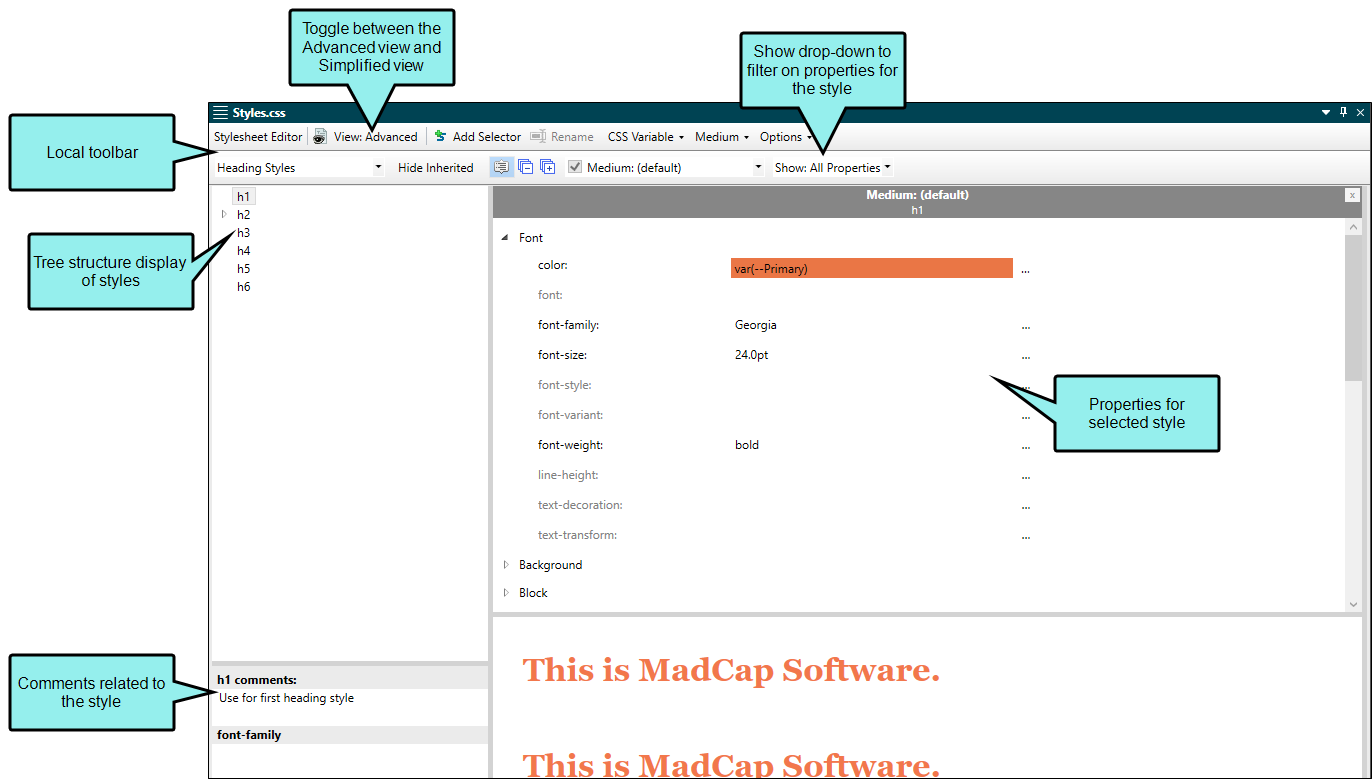
Let's take a closer look at the Stylesheet Editor and the two basic user interface views. The editor offers a Simplified view or an Advanced view for creating or editing styles within the regular stylesheet. Which one you decide to use in your workflow really depends on preference and what you want to do with styles. (You can also toggle between the views at any time.)
[Menu Proxy — Headings — Online — Depth3 ]
How to Use the Simplified View
- Open the Styles.css file.
-
In the local toolbar of the Stylesheet Editor, make sure the first button is labeled View: Simplified.

If it says View: Advanced, click it so it changes to the Simplified view. The Simplified view displays styles in a grid. Take a moment to scroll through the styles in the stylesheet.
-
From the Content Explorer, double-click Introduction.htm. The topic opens in the XML Editor to the right. Notice the text has different styles applied.
-
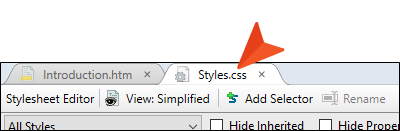
Click the Styles.css tab.
-
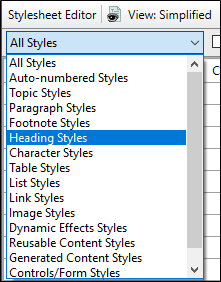
From the Styles drop-down, select Heading Styles.
- In the grid, select the h1 style element row.
-
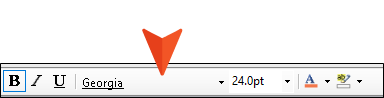
From the local toolbar Font Family drop-down, select Georgia.
- From the local toolbar, click
 .
. -
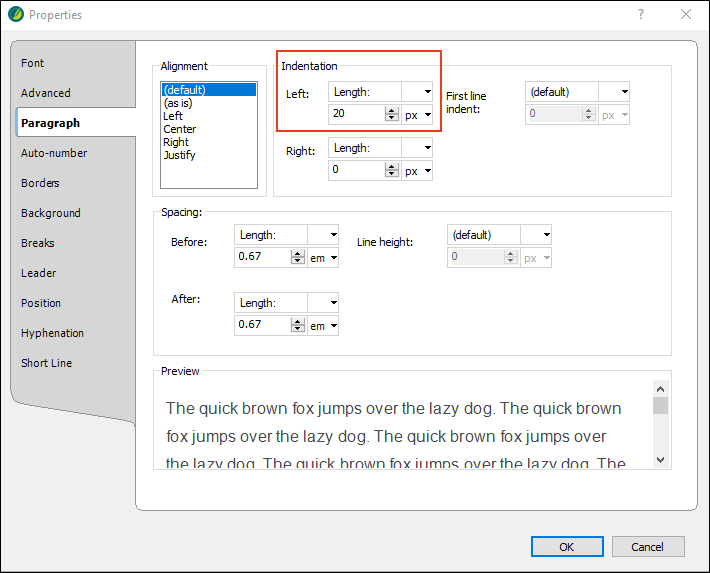
In the Properties dialog, select the Paragraph tab. In the Indentation section, type 20 for the left length. Click OK.
- Click
") to save your work.
to save your work. - Click off the h1 row. The Preview column updates to show the new property value.
-
In the h1 row Comment column, double-click in the cell. At the cursor prompt, type Use for first heading style. Press ENTER.

Note Making comments in the stylesheet is a simple way to keep track of information related to the style. Comments can be viewed and edited in all the various places where one might interact with styles.
-
Click
to save your work. -
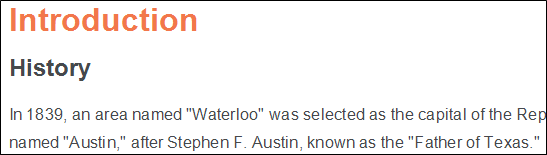
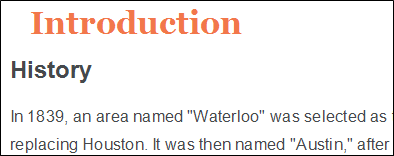
Open Introduction.htm. Notice the new design for the heading style. In fact, open any of the topics in the Austin project, and notice all the h1 elements were affected by the modification in the stylesheet.
Note An advantage of using the Simplified view is that you can apply a property to multiple styles at a time.
How to Use the Advanced View
-
In the Stylesheet Editor, toggle to View: Advanced.

The Advanced view displays styles in a tree structure. More styles settings are available in the Advanced view compared to the Simplified view. The Advanced view retains the filtered heading styles with the font change, and the style comment. Let’s do the same type of change, to get a feel for the different views.
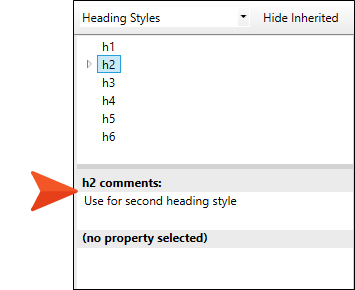
- In the left pane tree structure, select the h2 style element.
-
In the right pane, the style properties display. Let’s filter the properties that display for the h2 element. From the local toolbar, Show drop-down, select Show: Assorted Relevant Properties.

- Style properties can be listed in alphabetical order or grouped together in categories. Let's ensure the properties are grouped, so we can find what we want faster. In the local toolbar, click
 (Alphabetical view) to switch to
  (Grouped view). (Your view might already be set to the Grouped view.)
 - Let's assign the same font as before. Expand the Font group.
-
Locate the font-family property, and click
 to the right to select a value.
 -
From the context menu, select Georgia.
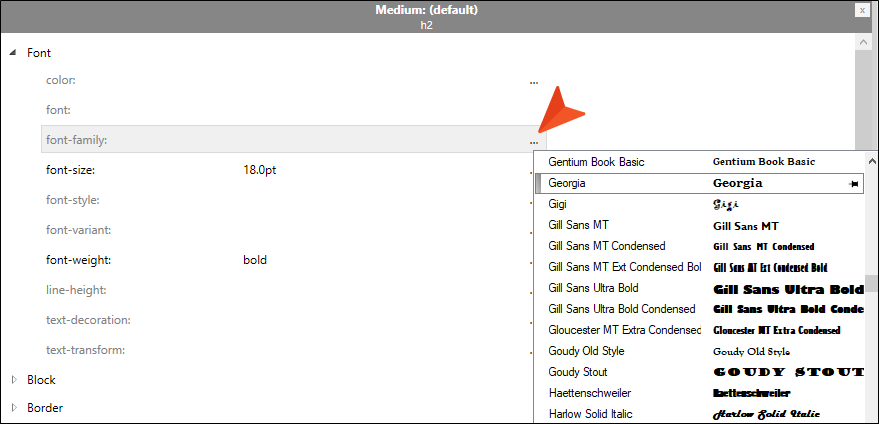
Note You might notice the font-family label is initially gray instead of a darker text. The gray text indicates there is an inherited style. An inherited style means it has no specific settings yet, and the style is inheriting default values from somewhere else. When you selected Georgia, the label changed from gray to the darker text. That means it is no longer inheriting its style. You have explicitly set a new value for the style.
-
In the h2 comments field, type Use for second heading style. This relates information about the style to other authors.
-
Click
to save your work. - Open Introduction.htm. The heading style has changed (as can be seen in all the topics containing the h2 element).
Note An advantage of using the Advanced view is that you can see and apply settings to multiple mediums and media queries at the same time.


