WORD IMPORT TUTORIAL
Dragging and dropping Word files into your Flare project is easy to do and fast. Single or multiple docs can be selected at once, and you can quickly customize how files are imported through the user-friendly wizard.
[Menu Proxy — Headings — Online — Depth3 ]
How to Drag and Drop Word Files
- With your new project open in Flare Desktop, launch your operating system’s File Explorer.
- From the File Explorer, navigate to the recently downloaded files for this tutorial. See Word Files for This Tutorial.
-
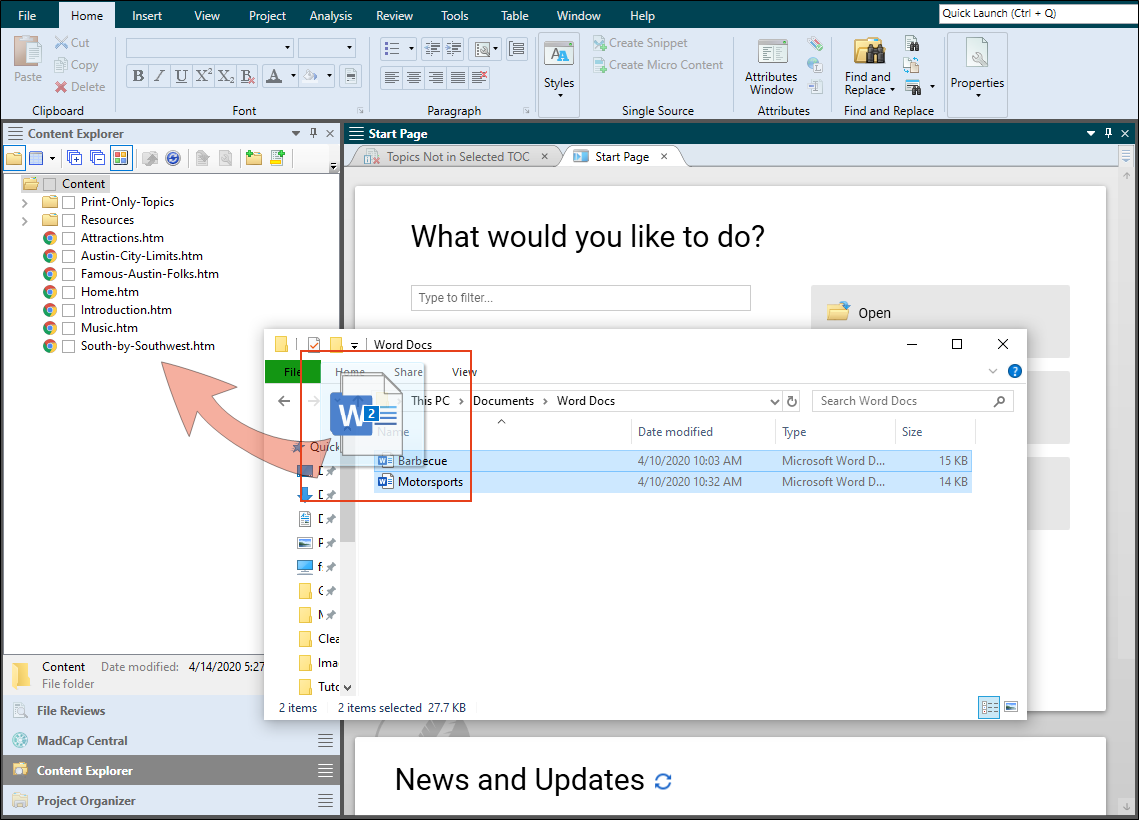
Select the two Word files, and drag and drop them into the root Content folder in Flare Desktop’s Content Explorer. Placing the files at the root level adds them next to the other existing files about Austin.
Tip When creating your own project, you can organize your files however you want. With larger projects it is logical to create subfolders under the root Content folder.
-
Since dragging and dropping Word files includes an import process in Flare Desktop, a Confirm Import dialog opens. Select the Import button.
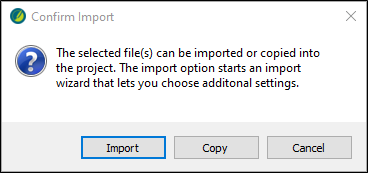
Note The Confirm Import dialog includes a Copy button. Selecting this option would just make a copy of the Word document and paste it into the Content Explorer as a Word doc rather than converting the file(s) to HTML format.
How to Work With the Wizard
Flare Desktop scans the import and automatically opens the Import Microsoft Word Wizard. If you’re in a hurry, you could just select the Finish button at the bottom of the wizard (Flare Desktop would break the documents up into HTML files based on the Word style headings). But wait! Let’s see what the wizard has to offer to customize the import.
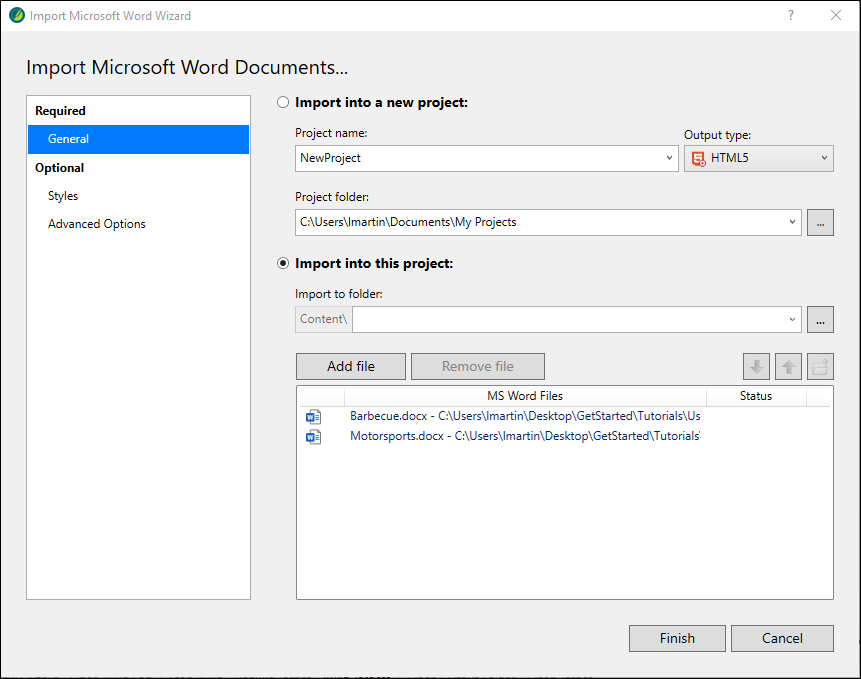
- In the left pane, select General (if it is not selected already). For this exercise, we want to import the Word docs into the open Austin project, not into a new project. On the right, ensure that Import into this project is selected, and that the two documents have been added and display under the MS Word Files column.
- In the left pane, select Styles. On the right, Flare Desktop lets you associate another stylesheet to the import process which would introduce more styles to the style mapping table from that new stylesheet. In this tutorial we are using the factory stylesheet (the Word styles get appended to the Flare stylesheet), so let's ignore the "Associate a stylesheet" field.
How to Map Styles
Being able to map styles in Flare Desktop is useful and time-saving for getting content into a project, but it works best if the document for import is created using styles. With the Style Mapping feature, topic breaks logically happen at heading styles, but you can create topic breaks anywhere by selecting other styles.
-
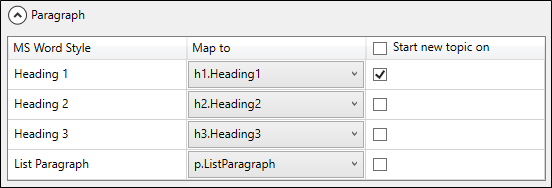
Let's take a look at the Style Mapping Paragraph options. In the left column you see the styles from the Word documents, and in the middle column you see how those Word styles mapped to the Flare style.
Note This tutorial does not include any character styles, but note that the Style Mapping Character options work in the same way as the Paragraph options. When working with your own Word documents, be sure to remove any inline formatting and use Word character styles instead.
-
In the Map to column, click the down-arrow next to h1.Heading1. Notice how the Word styles are appended to the Flare styles in the list.

-
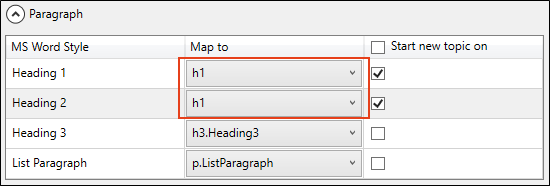
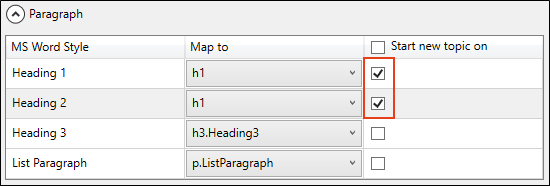
For this import, we want the Word headings to mimic the Flare heading styles. Select h1 to replace the h1.Heading1 style, and select h1 to replace the h2.Heading2 style.
-
For Heading 1 and Heading 2, select the Start new topic on box in the right column. When the files get imported, the mapped styles display in Flare Desktop as multiple topics and each topic shows as its own HTML file.
How to Set Advanced Options
- In the left pane of the wizard, select Advanced Options. The options you choose for your project depends on the needs of your project, but many times using the default settings is a good place to start.
-
For this tutorial, do the following to make your settings match the image below:
- In Styles, deselect Create new stylesheet. In this example, let’s use Flare Desktop’s factory stylesheet. The imported Word styles get added to the project’s primary stylesheet.
- In Topics, select Automatically set topic title and Avoid empty topics threshold.
- In Lists, select Use standard list style type.
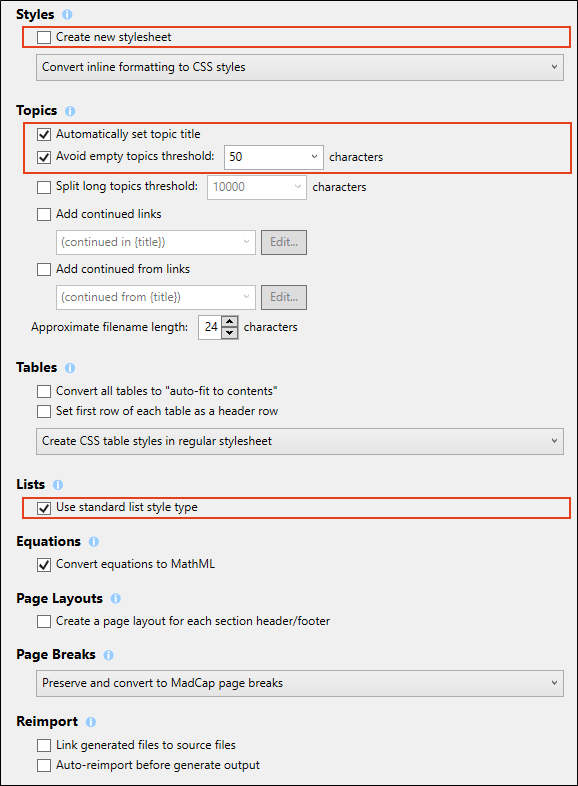
Note When importing a Word document, the wizard provides many advanced options for styles, topics, tables, lists, equations, page layouts, page breaks, and reimport. All of the options are explained in the Help system.
- Select the Finish button.
-
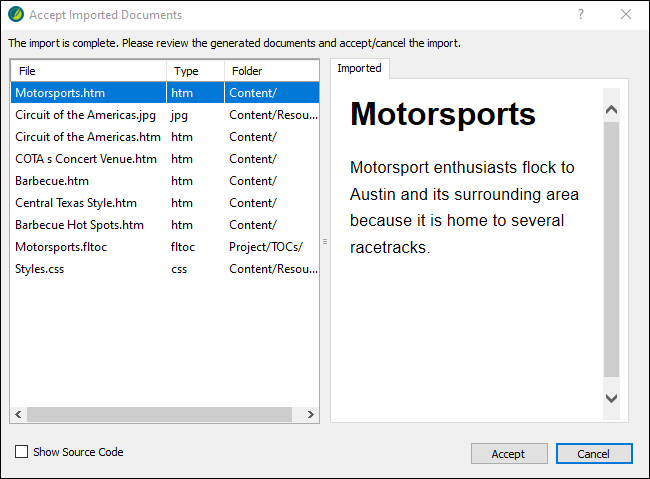
The Accept Imported Documents dialog opens to view the generated documents for import. Select Accept.
How to Open Imported Topics in the XML Editor
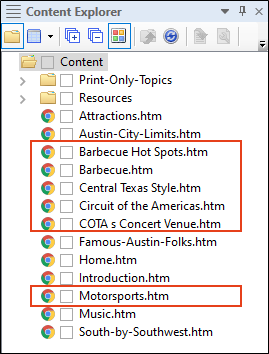
The new topics from the Word import display in the Content Explorer. Even though we started with two Word documents, more topics exist in the Content Explorer because Flare Desktop split them up where we told it to. Let's take a look.
-
Double-click the Barbecue Hot Spots topic to open it in the XML Editor. In the original Word doc the heading text had the style of Heading 2. In this tutorial we style mapped it to Flare’s h1 style. Also, the custom bulleted list from the Word doc displays as standard bullets.

-
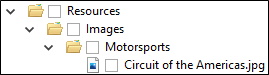
Double-click the Circuit of the Americas topic to open it in the XML Editor. Hover over the image and note its name (Circuit of the Americas.jpg).

In the original Word document, the image was embedded rather than inserted as a linked image. Flare Desktop automatically named the image based on the topic name and stored it in its own subfolder under Resources > Images. If the image had been linked, its name would have been preserved during the import.