 GETTING STARTED TUTORIAL
The San Diego project has condition tags set up for print-based and online output. In this lesson we will apply these conditions to a couple of paragraphs.
[Menu Proxy — Headings — Online — Depth3 ]
How to Apply Condition Tags
- In the Content Explorer, double-click Introduction.htm. The topic opens in the XML Editor.
-
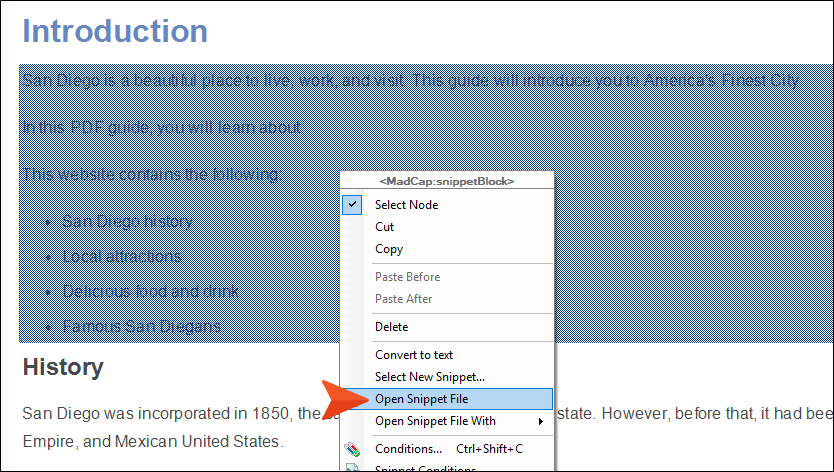
Right-click the snippet under the heading that you inserted previously. In the context menu, click Open Snippet File.
The snippet opens in a new tab.
-
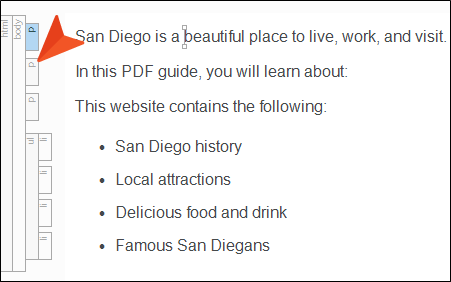
Right-click the p structure bar to the left of the paragraph that begins “In this PDF guide…”
-
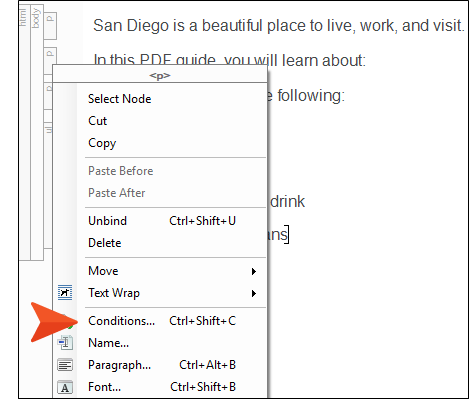
From the context menu, select Conditions.
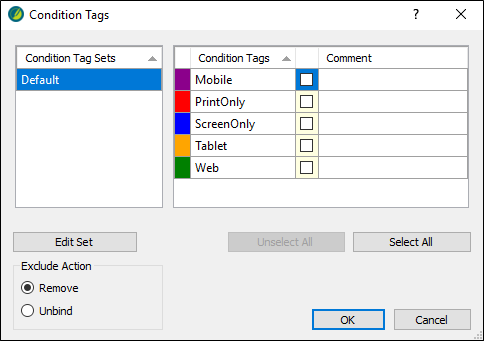
The Condition Tags dialog opens. In this dialog, you can see the Default condition tag set. There are some conditions in the set: Mobile, PrintOnly, ScreenOnly, Tablet, and Web.
Note In your own project, you can create as many condition tag sets and conditions as you need. And you don't need to use the ones provided in the Default condition tag set. They're simply a starting point for you.
- Since we want this heading to appear in our PDF, select the check box next to PrintOnly.
-
Click OK.
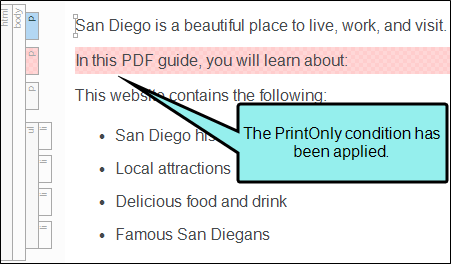
Note If you have the condition indicators enabled, the entire paragraph is highlighted red (this color does not display in the output). To hide the color, click
 in the bottom toolbar of the XML Editor to disable the indicator.
 -
Click
") to save your work.
to save your work.Now we will apply the other condition tag to the next paragraph. But this time we're going to do it a little differently. Conditions can also be associated with styles, so we're going to use that method.
- If you haven't yet closed the stylesheet, you can click the Styles.css tab at the top of the editor area. Otherwise, in the Content Explorer, navigate to Resources > Stylesheets and double-click Styles.css. The Stylesheet Editor opens.
- In the local toolbar, click Add Selector. The New Selector dialog opens.
- Previously in this tutorial, we created a class of the parent img style (see Creating Style Classes). But now we're going to create something called a "generic style class." This class will not be directly associated with any parent style, which means that any parent style can use it. In the HTML Element field, clear any text in it.
-
In the Class Name field, type OnlineOnly.
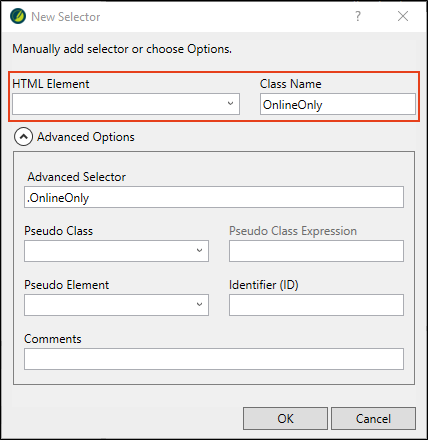
- Click OK.
-
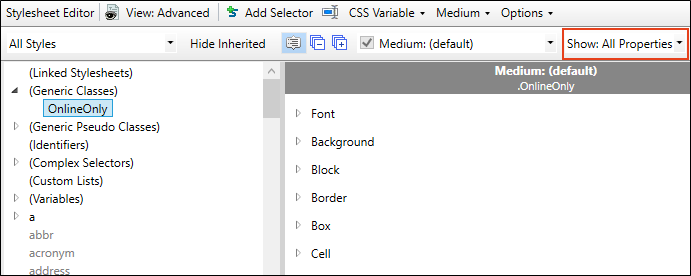
In the Stylesheet Editor, click in the drop-down in the upper-left corner and select All Styles.
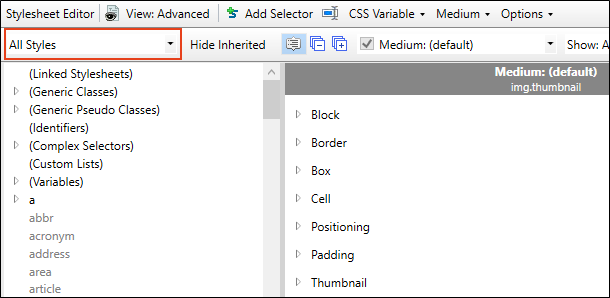
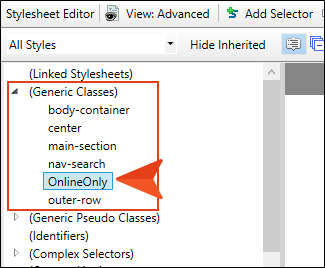
- In the list of styles below, expand (Generic Classes).
-
Select OnlineOnly, the class you just created.
-
In the Show drop-down field in the upper-right corner, select Show: All Properties.
-
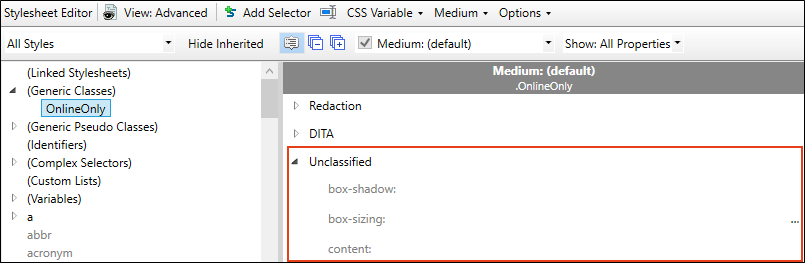
Scroll down and expand the Unclassified group below.
-
Scroll down until you find the mc-conditions property and click
 to the right of it.
The Condition Tags dialog opens.
- Since our new generic style class is intended for online content only, select the check box next to ScreenOnly.
- Click OK.
-
Click
to save your work. - Now we will apply that new generic style class to one of the paragraphs in our snippet. Go back to the San-Diego-Intro.flsnp snippet (remember, you can click its tab at the top of the editor area).
-
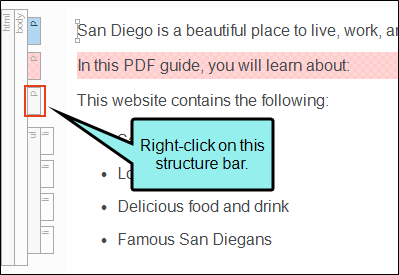
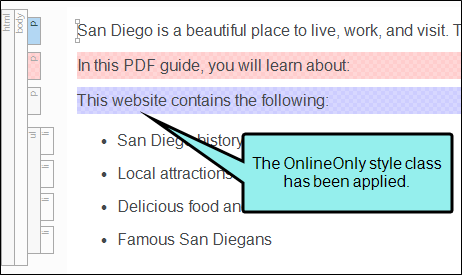
Right-click the p structure bar just to the left of the sentence that begins with “This website…”
-
In the context menu, select Style Class and then choose .OnlineOnly.
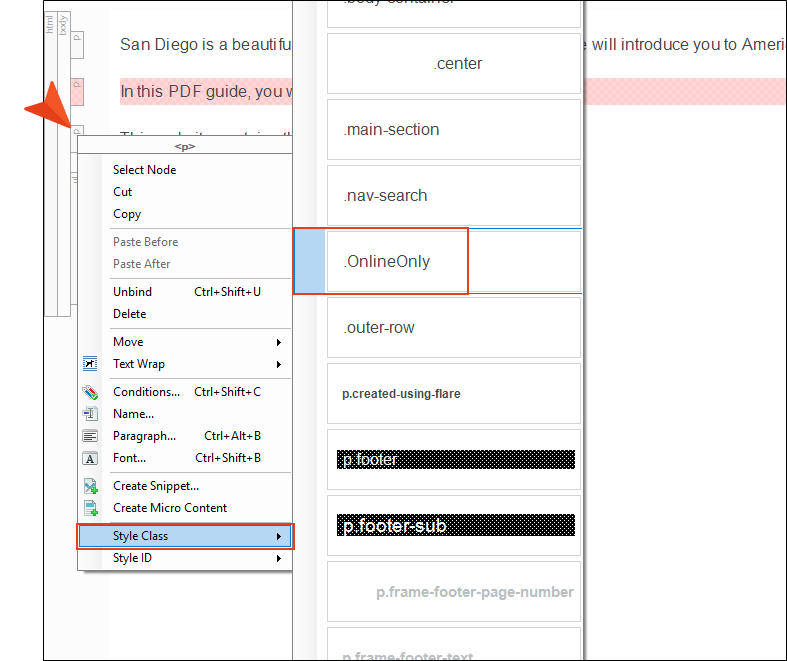
If you have condition indicators turned on, the entire paragraph is highlighted blue.
This second method might seem like a lot of steps, but remember, creating the style class and associating a condition with it is a one-time setup. Once that is done, you can apply the generic style class to any parent tag (e.g., p, ol, img) that you want to be shown only in online output. And that's a very quick task.
-
Click
to save your work.
How to Associate Condition Tags With a Target
You have applied condition tags to content, but they won't do anything if you don't also associate them with the targets you are going to build. Associating the condition tags with a target tells Flare Desktop which conditions to include or exclude when building the output.
We have already associated conditions with the PDF target for you. But you still need to associate conditions with your new HTML5 target.
- In the Project Organizer, expand the Targets folder.
- Double-click the All-About-San-Diego-HTML5 target. The Target Editor opens to the right.
- Select the Conditional Text tab. This tab lets you select which conditions will be included and which will be excluded from the output.
- Select the Default.PrintOnly row so that it is highlighted.
-
In the Action section on the right, click Exclude. We do not want to see content marked with the print condition in the HTML5 target.

- Select the Default.ScreenOnly row so that it is highlighted.
-
In the Action section on the right, click Include. We do want to see content marked with the screen condition in the HTML5 target.

Note You might be wondering about the other tags (Mobile, Tablet, and Web) and the “Display by Media Query” section under the Include and Exclude options. Those can be used if you want to limit the content with the condition to certain devices (i.e., you can specify that something should be shown only when viewed on a large screen, a tablet screen, or a mobile phone screen). We’re not going to cover those options in this tutorial, but you can learn all about them from the Help system.
-
Click
to save your work.

