MICRO CONTENT TUTORIAL—ADVANCED
By default, a new HTML5 target is set up so that your micro content displays as featured snippets above the search results. You also have the option of placing micro content in a different container, called a "Knowledge Panel," which can be useful for displaying any other kind of content you want.
[Menu Proxy — Headings — Online — Depth3 ]
How to Build and View Micro Content in the Output
To begin, lets see what initially happens in a search before making any changes.
-
In the Project Organizer, expand the Targets folder and double-click First-HTML5-Target.

-
Click Build, and when the target finishes generating, open the output.
-
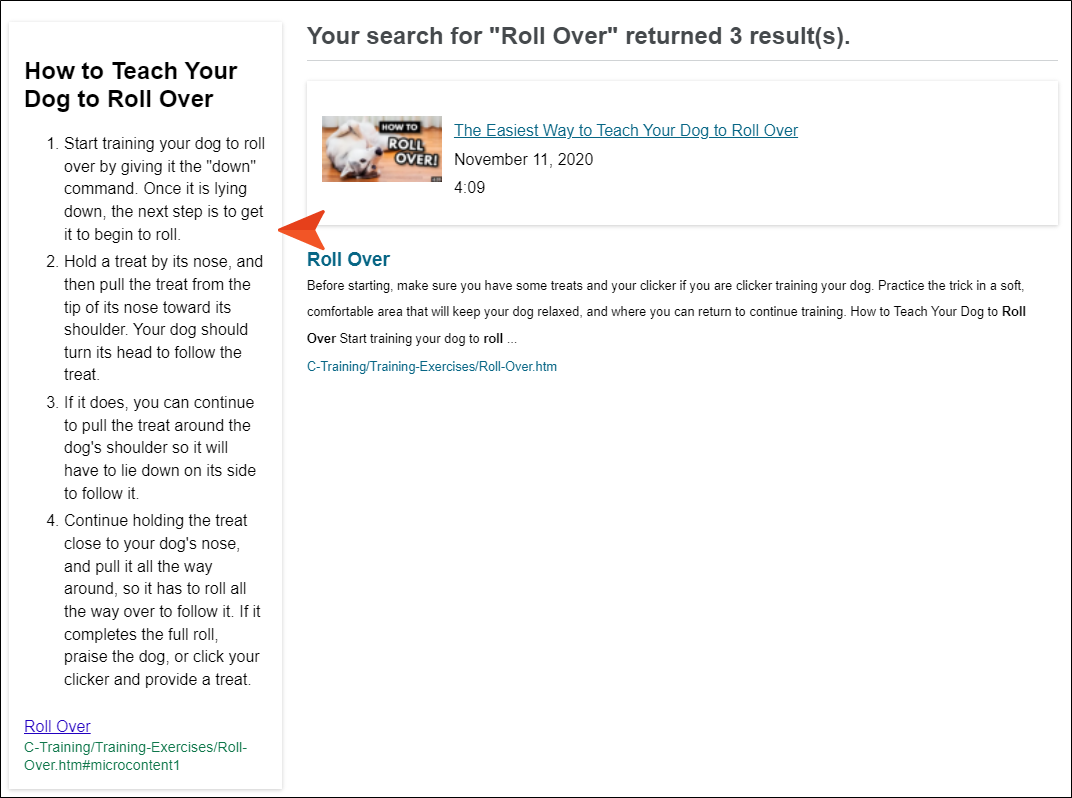
Search for Roll Over. Notice the micro content—in this case, a set of steps—above the search results.

How to Set Up Featured Snippets and a Knowledge Panel
-
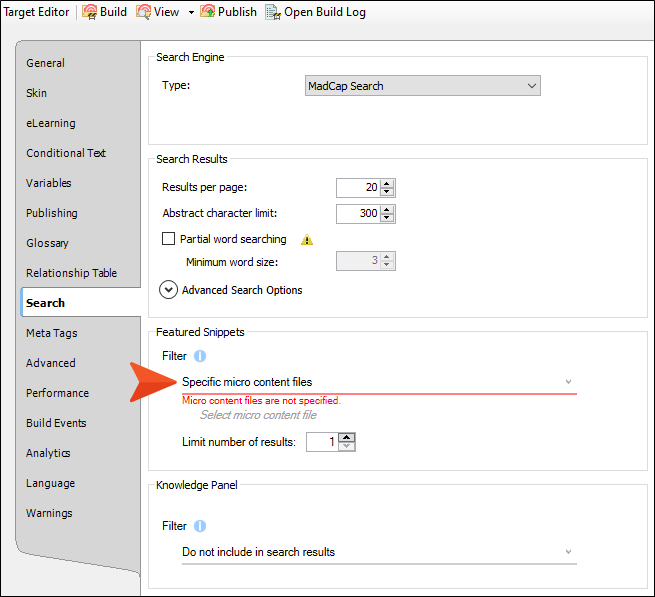
In the Target Editor, select the Search tab. Notice the Featured Snippet section is set to include all micro content files, and the Knowledge Panel section is set to not include any micro content files.

-
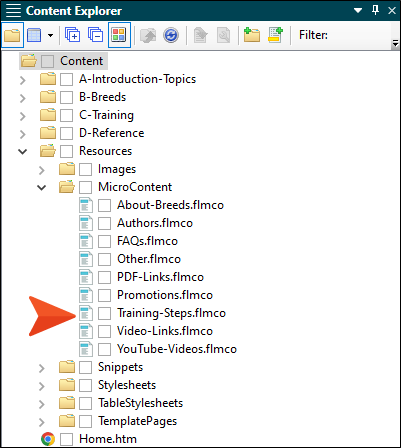
In the Content Explorer, expand Resources > MicroContent. Notice that there are several micro content files. The search result from the previous steps came from the Training-Steps micro content file, because it contained the best match for the search term used.
-
Take a couple of minutes to open the various micro content files and view the contents of each.
-
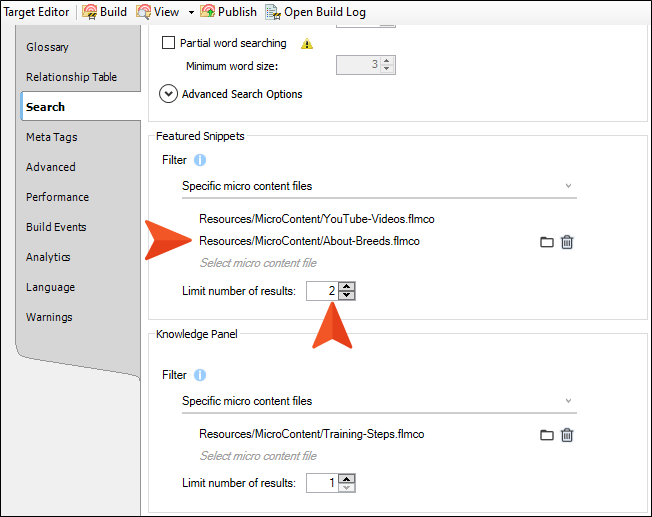
Go back to the Target Editor, and in the Featured Snippets section, set the filter to Specific micro content files.
-
In the next field, select Resources/MicroContent/YouTube-Videos.flmco.
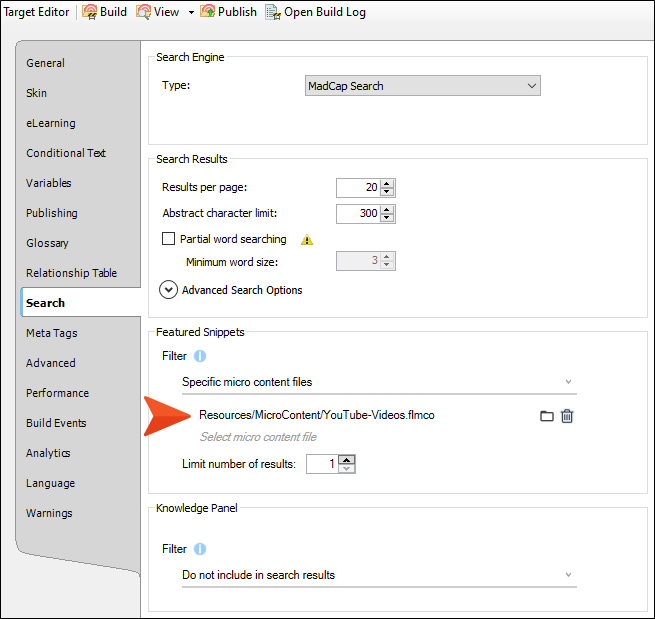
This means that the featured snippets area in the search results will only display micro content from this file, if a match exists.
-
In the Knowledge Panel section, set the filter to Specific micro content files. And in the next two fields, select Resources/MicroContent/About-Breeds.flmco and Resources/MicroContent/Training-Steps.flmco.
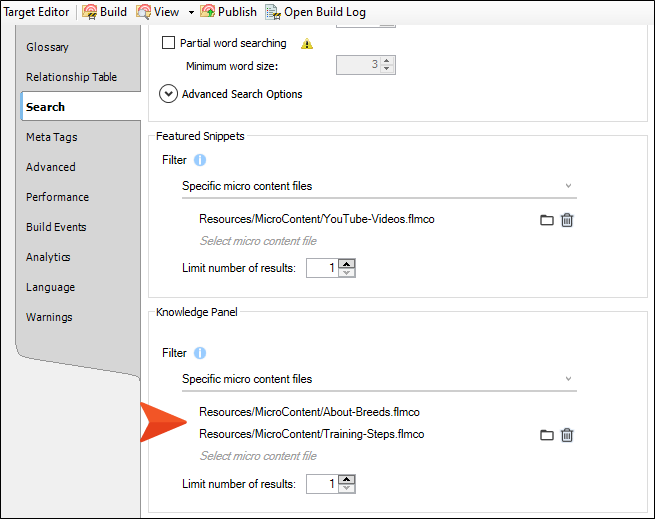
This means that the Knowledge Panel area (which displays by default on the right side of the search results) will only display micro content from these two files, if a match exists.
-
Click
") to save your work.
to save your work. -
Rebuild the target and view the output.
-
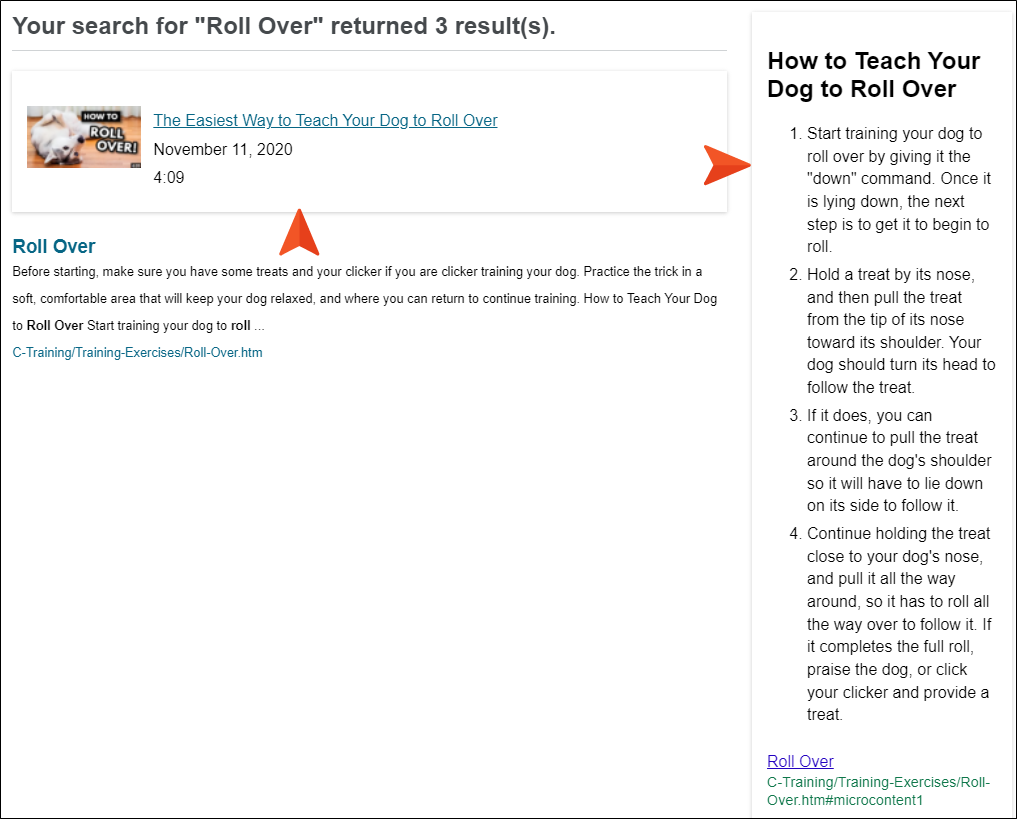
Once again, search for Roll Over. Notice the best match for the search term displays a new micro content result (a link to a YouTube video) in the featured snippets area and the previous set of steps in the Knowledge Panel.
-
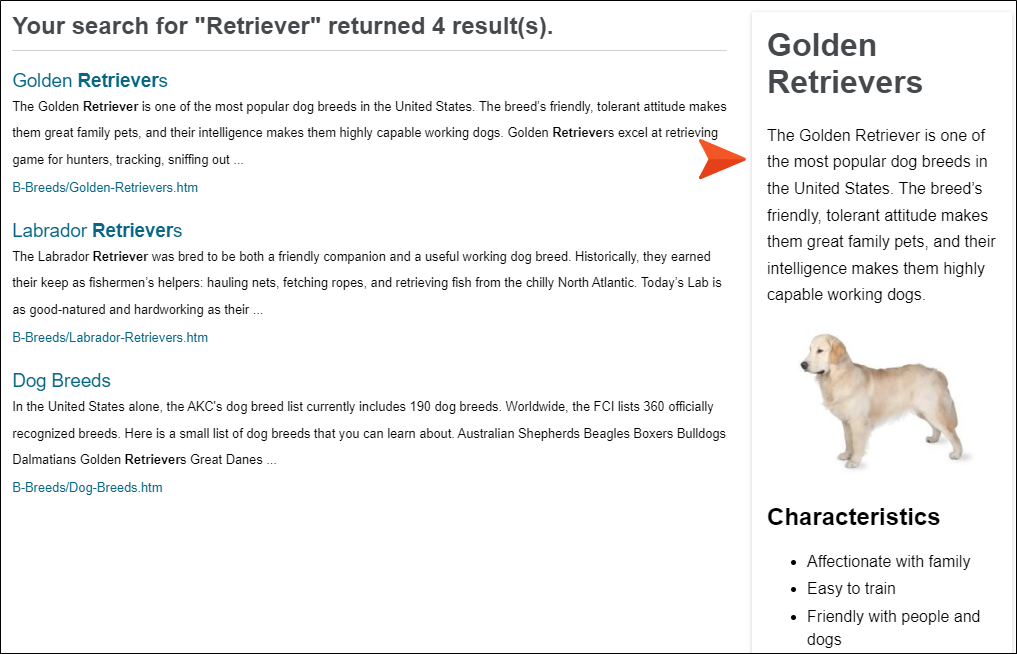
Search for Retriever. Notice that only one match is shown, this time in the Knowledge Panel.
-
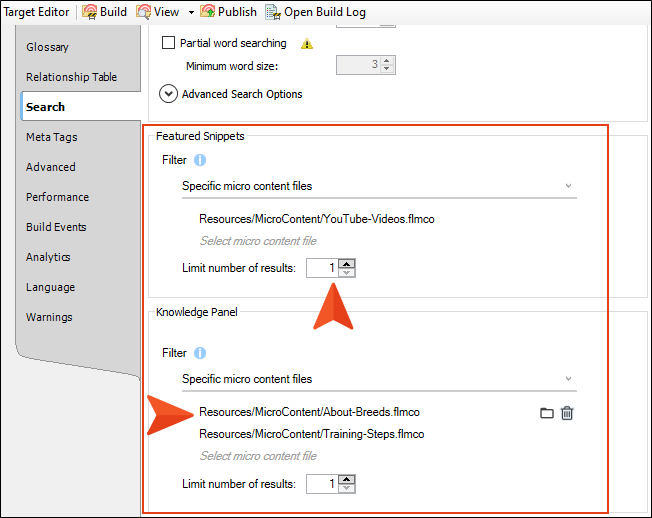
Let's make one more adjustment. In the Target Editor in Flare Desktop, hover over the About-Breeds.flmco selection in the Knowledge Panel section, and click
 to the right to delete it.
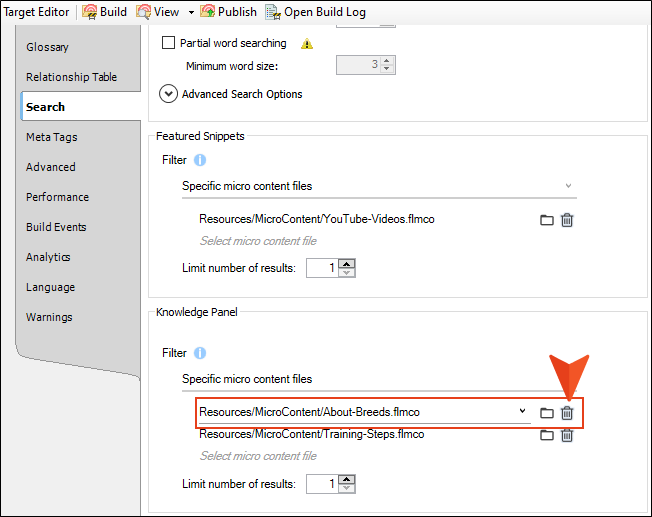
-
Add the About-Breeds.flmco file to the Featured Snippets section, and set the Limit number of results field to 2.
-
Click
to save your work. -
Rebuild the target and view the output.
-
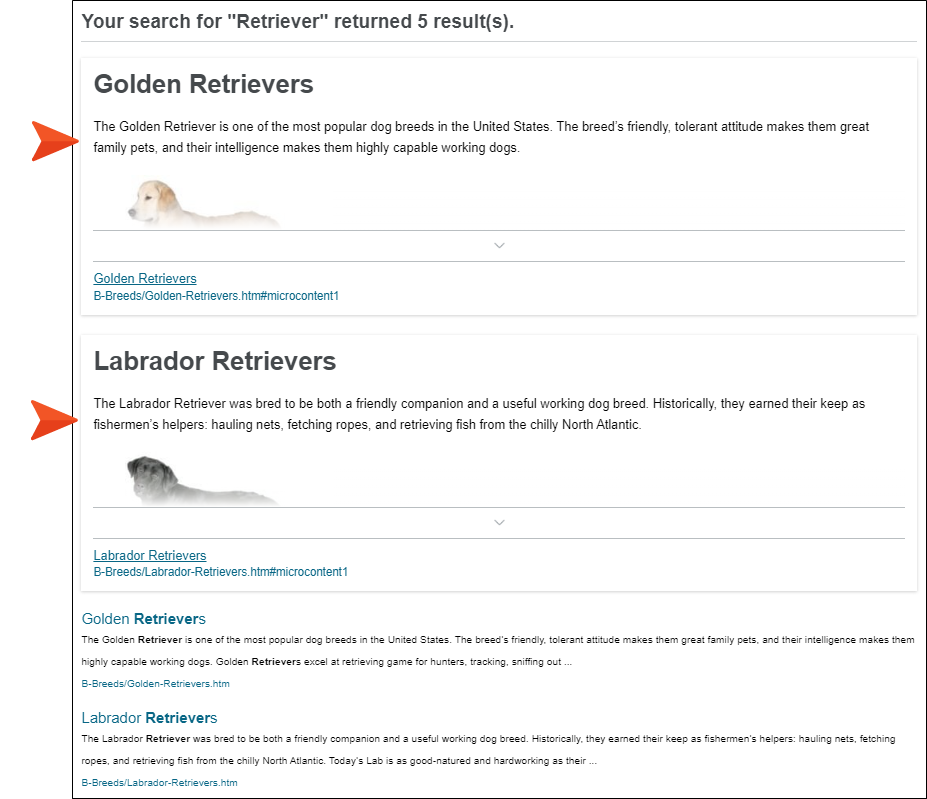
Search for Retriever. Only featured snippets are shown, but this time the top two results are displayed.
-
In the Target Editor, undo your changes so that the About-Breeds.flmco file is once again selected under Knowledge Panel, instead of the Featured Snippets section, and there is only 1 result to be shown for featured snippets.
-
Click
to save your work. -
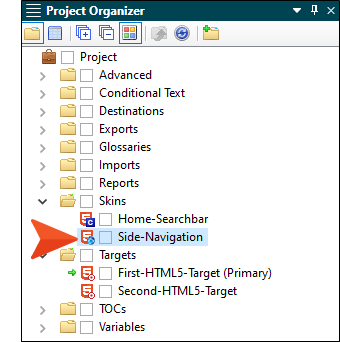
In the Project Organizer, expand Skins and double-click Side-Navigation.
-
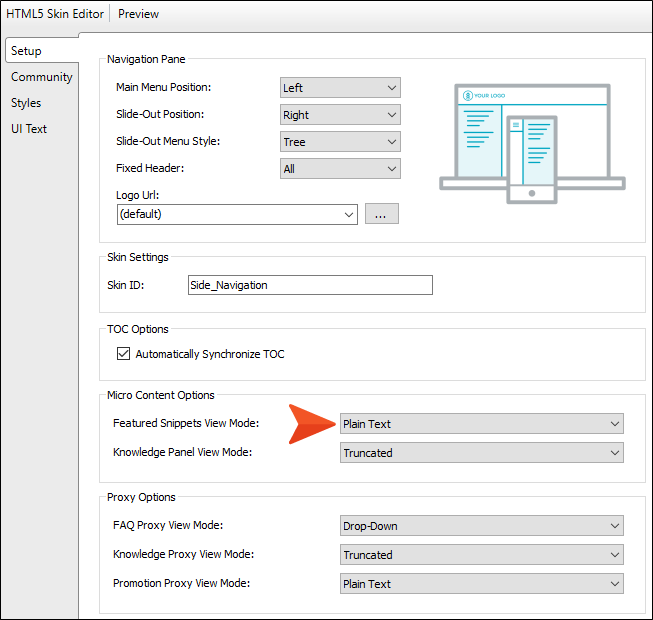
In the Skin Editor, select the Setup tab. Notice that both the Featured Snippets and Knowledge Panel View Modes are set to Truncated, which means Flare Desktop will add a clickable arrow at the bottom of the micro content if the container is not tall enough to show it all initially.

-
In the Featured Snippets View Mode field, select Plain Text, which means all of the micro content will be shown without a clickable arrow.
-
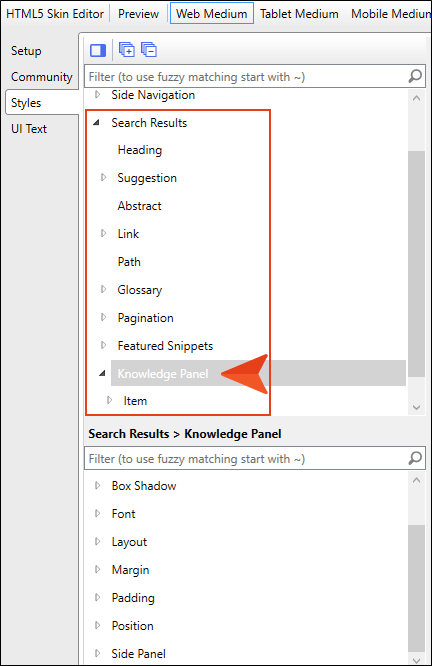
Select the Styles tab.
-
Expand Search Results and select Knowledge Panel.
-
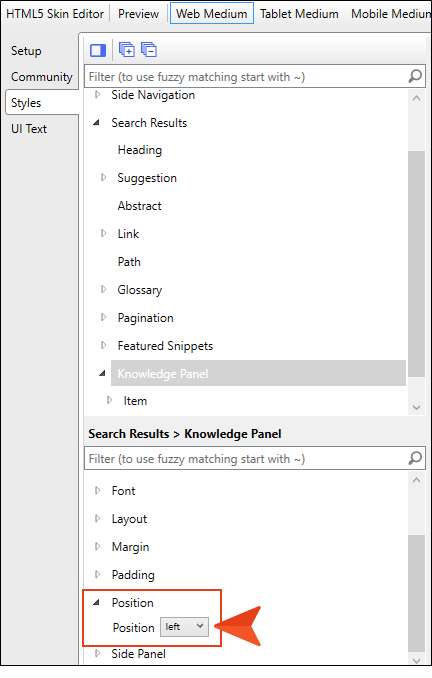
In the properties section below, expand Position and set the field to left.
-
Click
to save your work. -
Rebuild the target and view the output.
-
Search for Roll Over. Notice the Knowledge Panel is on the left.