 MICRO CONTENT TUTORIAL—BASIC
Using the methods already discussed in this tutorial, you can often accomplish much of what you want for micro content in search results. However, you might find that you want to make certain changes to control where micro content appears and how it looks. For example, you might want some micro content phrases to be included in some outputs but not others. Also, you might want the content to look one way in the topic but another way in the micro content, but you don't want to create two sets of content. So a good solution is to use conditions, styles, or both to single-source the content for these different purposes.
[Menu Proxy — Headings — Online — Depth3 ]
How to Exclude Micro Content Phrases From Outputs
- On the left side of the interface, open the Project Organizer.
- Expand the Conditional Text folder, and double-click Default. The Condition Tag Set Editor opens.
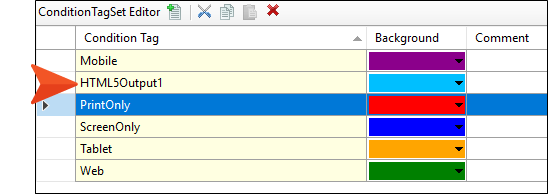
- Let's create two new conditions for our purposes. In the local toolbar, click
 . A new row is added and selected.
 -
Press F2 on your keyboard, select the text, type HTML5Output1, and press ENTER. We could change the default color associated with the new condition, but we'll leave it.
-
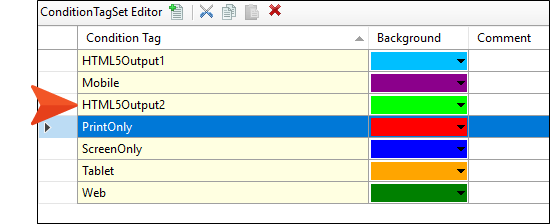
Repeat the previous couple of steps to create another condition called HTML5Output2.
-
Click
") to save your work.
to save your work. - From the Project Organizer, open the All-About-Austin-HTML5 target.
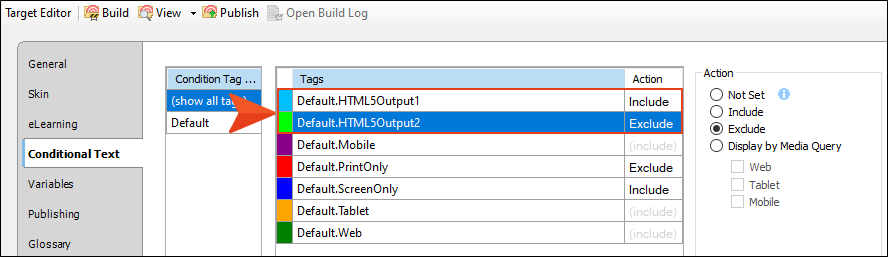
- In the Target Editor, select the Conditional Text tab.
-
Set Default.HTML5Output1 to Include, and set Default.HTML5Output2 to Exclude.
-
Click
to save your work. - Open the micro content file.
- On the left side of the editor, right-click the Music row and select Properties.
-
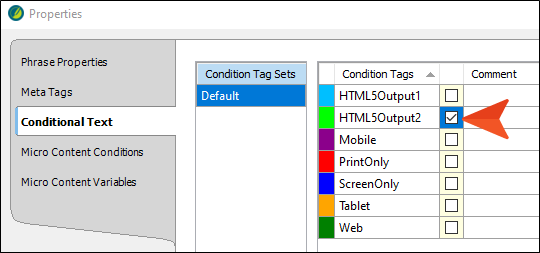
In the dialog, select the Conditional Text tab, and click the check box next to HTML5Output1.
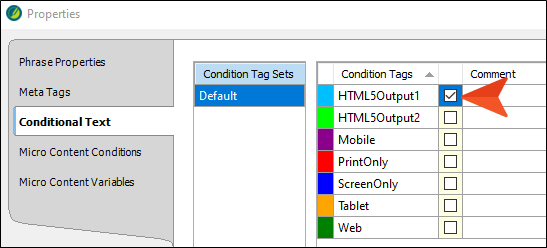
- Click OK.
-
Repeat the previous three steps for the zilker park row, but this time select the check box next to HTML5Output2.
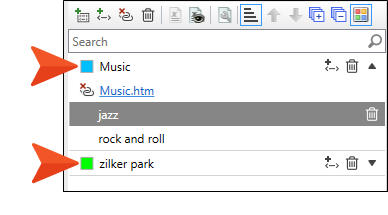
In the Micro Content Editor, you should see the corresponding colors next to each of the phrases.
-
Click
to save your work. - Build the All-About-Austin-HTML5 target, and view the output.
- Search for Music. Notice that the micro displays in the search results. That's because we included that condition in the target.
- Search for Zilker Park. Notice that the micro does not display in the search results. That's because we excluded that condition in the target
How to Exclude Content From the Micro Content
The following steps show how you can link to the same content, showing all of it when the full topic is viewed, but hiding some content when seen as micro content. We're going to do this using a condition, but you can also accomplish this using styles.
- From the Project Organizer, open the Default condition tag set. The Condition Tag Set Editor opens.
- Let's create a new condition for our purposes. In the local toolbar, click . A new row is added and selected.
-
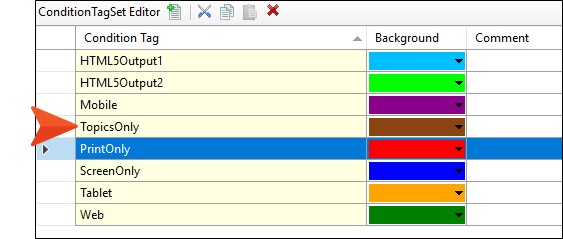
Press F2 on your keyboard, select the text, type TopicsOnly, and press ENTER. We could change the default color associated with the new condition, but we'll leave it.
-
Click
to save your work. - Open the Music.htm topic.
-
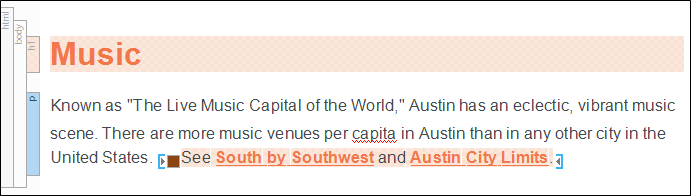
Apply the new TopicsOnly condition to the heading, as well as to the last sentence in the paragraph containing the cross-references
-
Click
to save your work. -
Open the micro content file. Then in the editor select either the main Music phrase or one of the alternate phrases, so that the linked response is shown to the right.
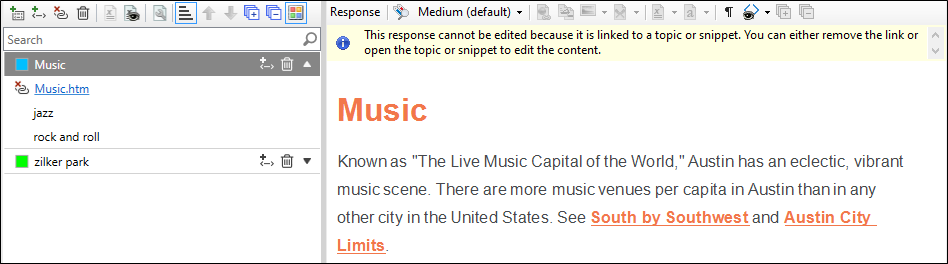
- On the left side of the editor, right-click the Music phrase, and from the context menu select Properties.
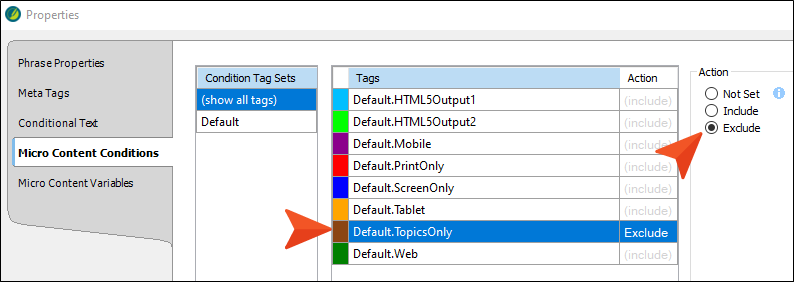
- In the Properties dialog, select the Micro Content Conditions tab.
-
Select the Default.TopicsOnly condition row, and to the right click Exclude.
-
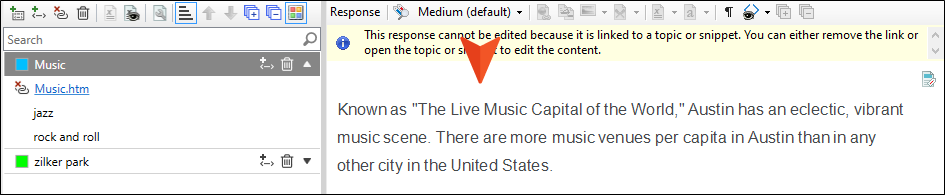
Click OK. Notice that the conditioned content no longer displays on the right side of the editor.
-
Click
to save your work. - Build and view the output.
-
Search for music. Notice that the heading and sentence with the cross-references are not shown in the micro content response.

-
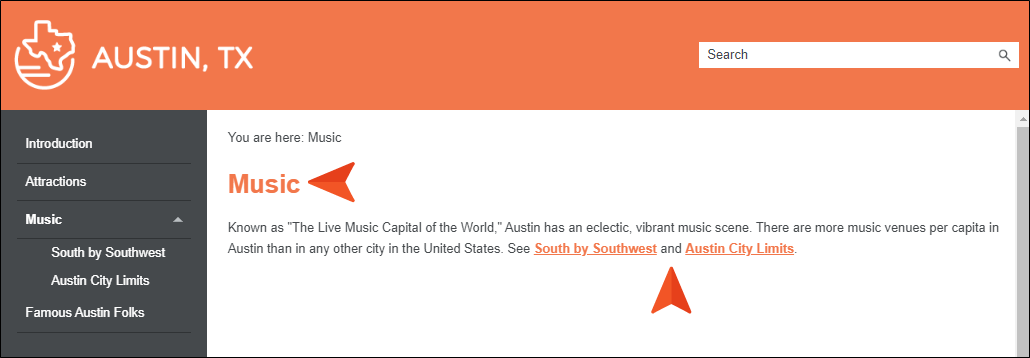
Click the Music link at the bottom of the micro content response to open the full topic. Notice that the heading and sentence with the cross-references are shown.
How to Make the Content Look Different
Sometimes you might want the content to look one way in the micro content search results, but a different way in the full topic. We will do this using styles.
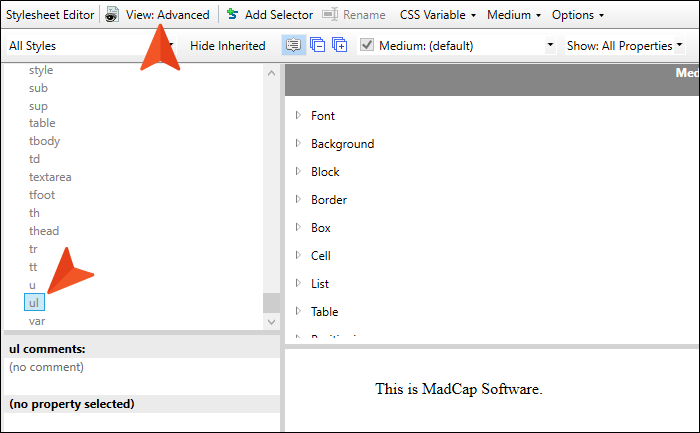
- From the Content Explorer, expand Resources. Then right-click the Stylesheets folder and select New > Stylesheet. The Add File dialog opens.
- In the File Name field, enter Micro-Content, and click Add. The new stylesheet is created and opens in the Stylesheet Editor.
- In the local toolbar, make sure the first button displays
 . If the button displays
  instead, then click it.
 -
On the left side of the Stylesheet Editor, select the ul style (which affects unordered, or bulleted, lists).
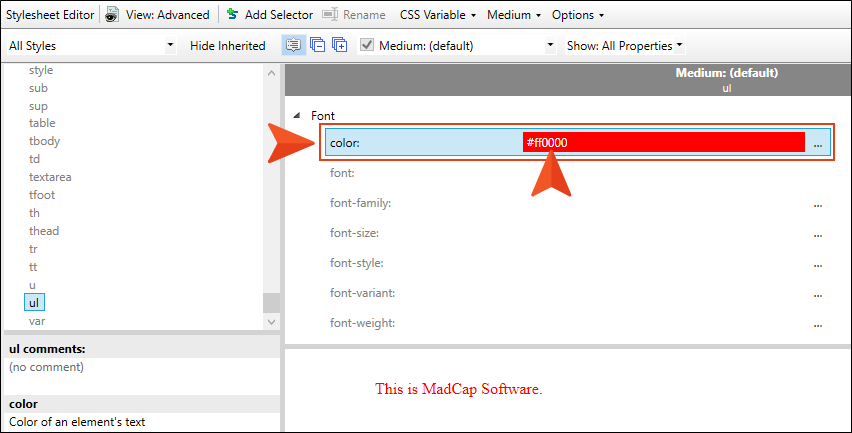
-
On the right side of the editor, set the color property to #ff0000 (or red).
-
Click
to save your work. - In the Content Explorer, expand Resources > MicroContent.
- Right-click My-Micro-Content.flmco, and select Properties.
- In the dialog, select the Stylesheet Links tab.
- On the left side of the dialog, double-click Micro-Content.css to move it to the right side, then click OK. This associates the micro content file with that stylesheet. The micro content file will still use the main stylesheet that is set at the project level, but when there are conflicts, the new stylesheet associated with the micro content file will have precedence.
- From the Content Explorer, double-click Famous-Austin-Folks.htm.
-
Let's make some micro content out of the bulleted list. Right-click the ul structure bar to the left of the list, and from the context menu select Create Micro Content.
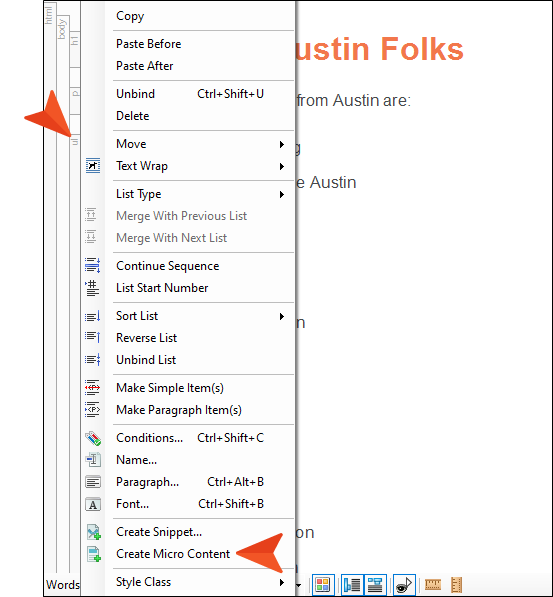
- In the Phrase field of the dialog, enter famous.
-
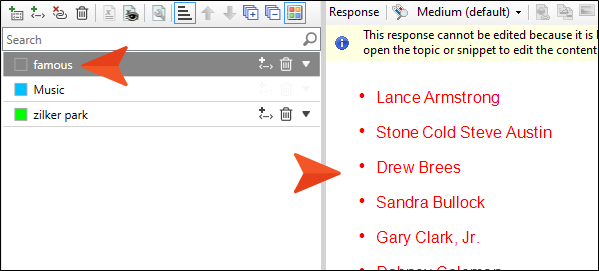
Click OK. The Micro Content Editor opens, with the new phrase selected and the linked response (the bulleted list) to the right.
- Click
 to save all files.
 - Build the All-About-Austin-HTML5 target, and view the output.
-
Search for famous. Notice that the list is red.
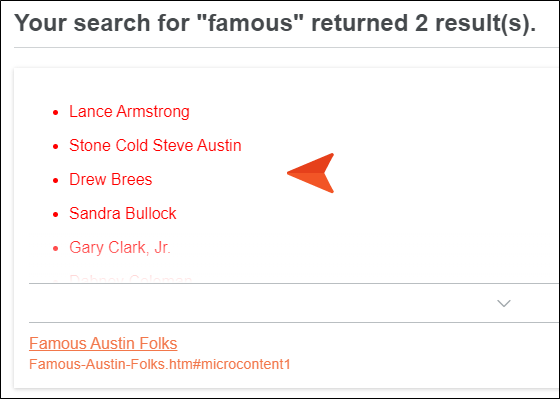
-
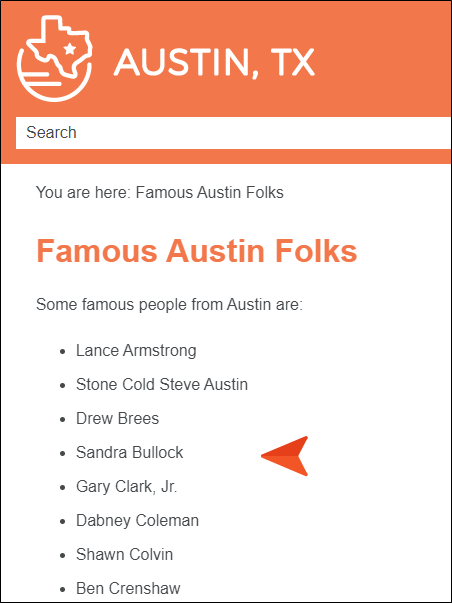
Click the link at the bottom of the micro content to open the full topic. Notice that the list is black (the default color, which we did not change in the main stylesheet).
Ta-Da!
Congratulations! You've reached the end of this tutorial. Be sure to check out others. See Tutorials.
We especially recommend that you walk through the Micro Content Tutorial—Advanced to discover even more micro content features and learn how they work.


