Options Dialog
This dialog lets you choose miscellaneous global settings. To open the Options dialog, select File > Options.
[Menu Proxy — Headings — Online — Depth3 ]
General Tab
|
Minimize to System Tray |
By default, when you minimize Mimic, a shortcut button on the main part of the taskbar lets you reopen the application. However, you can select this check box if you want to minimize Mimic to the system tray instead. With this option selected, a shortcut icon is placed in the system tray (i.e., notification area) of the taskbar when Mimic is minimized. You can click on this icon and select Restore to reopen the application. |
|
Auto-Reload Documents |
Select this check box if you want Mimic to reload documents automatically. |
|
Auto-Save Documents |
Select this check box if you want Mimic to periodically auto-save any open files. You can specify the number of minutes that should elapse between each auto-save. |
|
Close others when opening new document |
You can have multiple files of all types open in the interface at the same. By default, when you open a new file, other documents that are already open remain open. However, you can change this behavior so that files already open in the interface are automatically closed when you open a new document. You can use any of the following options:
|
|
Reset "Show Once" Dialogs |
There are some dialogs in Mimic that open just once to give you a message or warning when something changes or you switch modes. These dialogs have a check box labeled "Show this dialog." If you deselect that check box, you will not see the dialog again. However, you can use this reset feature to display that dialog (and all other "Show Once" dialogs) again the next time. |
|
Automatically Resize Low DPI Images |
Starting with Mimic Version 8, images with a very low DPI are rendered more accurately in the Frame Editor and the PDF output, usually resulting in slightly larger and more blurry images (as is consistent with their lower DPI). Therefore, if you upgrade from an older version of Mimic, you might notice images that looked a certain size before now look larger and more blurry (because their true DPI is being rendered more precisely). The best solution, and a long-term one, is to replace your lower-DPI images with higher-DPI images to be used in print output (ideally as close to 300 DPI as possible). But you also have the option to revert back to previous version behavior. If you select this option, the newer, more precise resizing from newer versions of the software is used. If you do not select this option, the behavior of older versions is used. |
Interface Tab
|
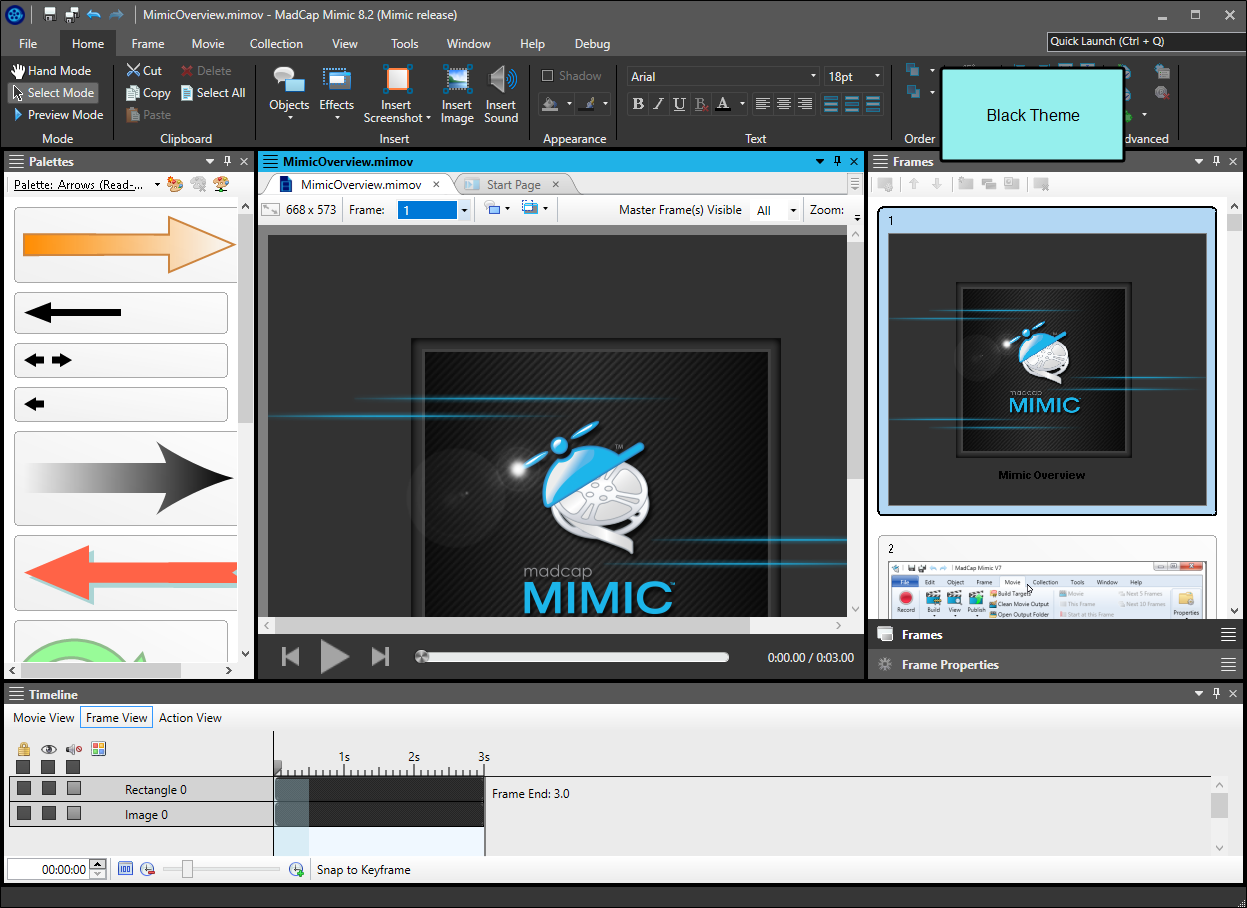
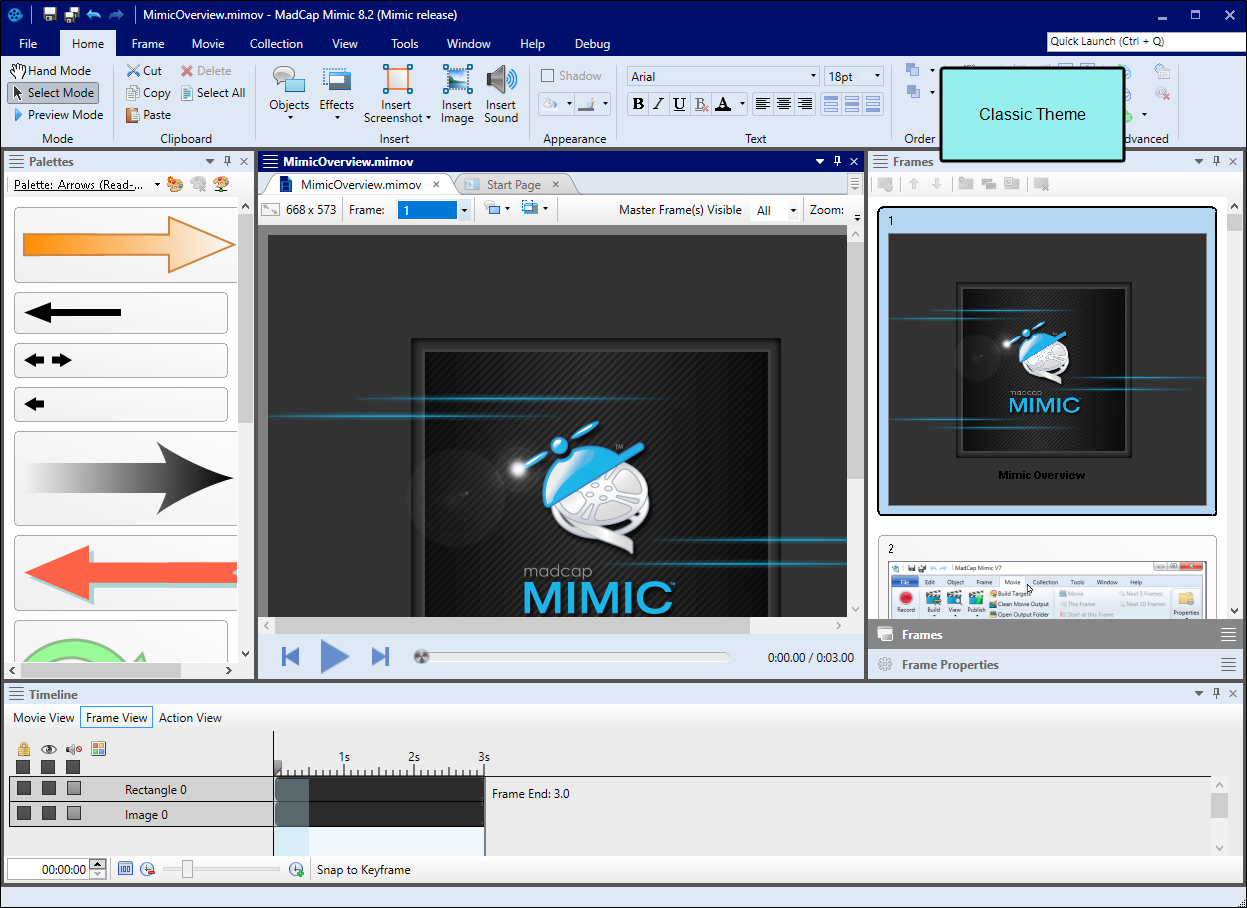
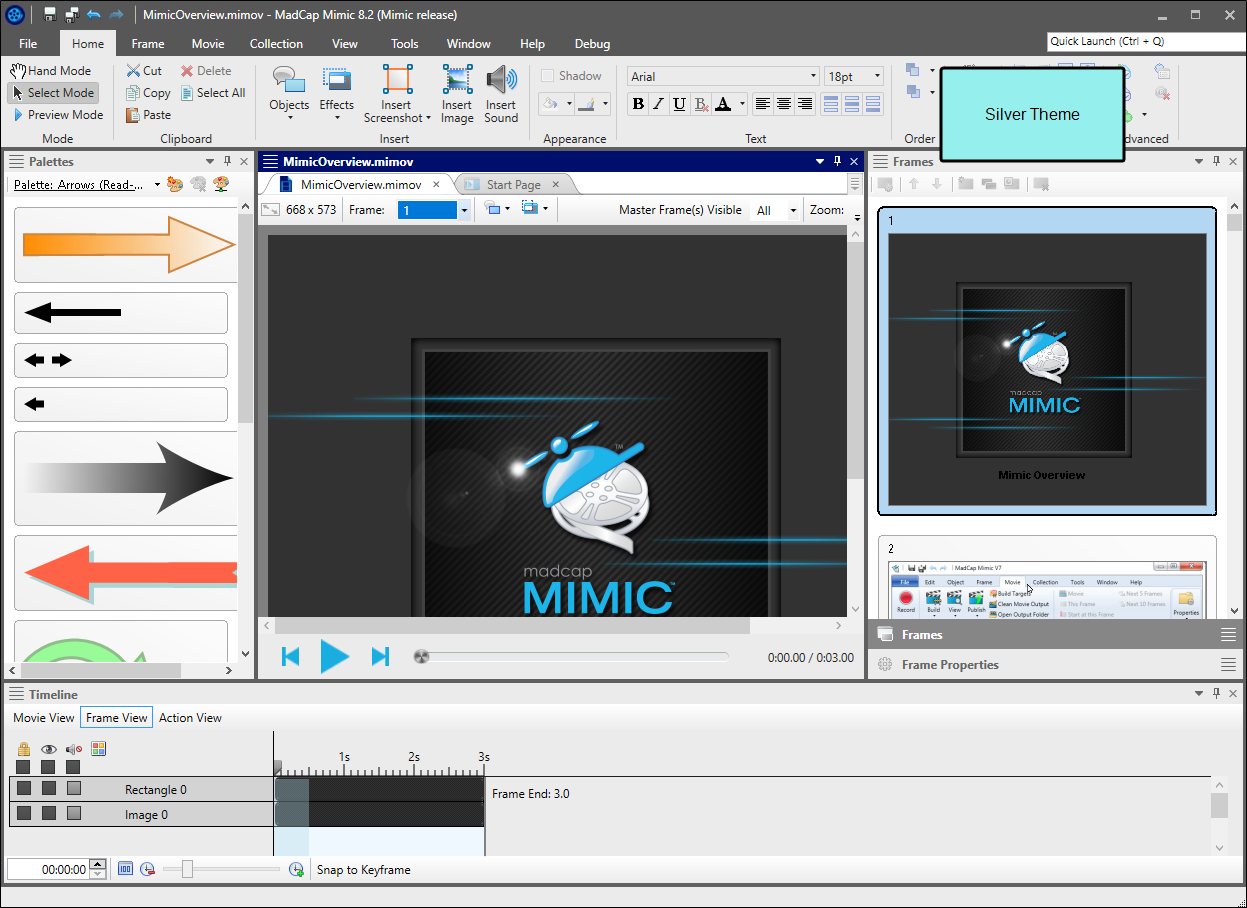
Theme |
You can click the Active Theme field and select a color scheme for the interface.
|
Proxy Server Tab
|
Use proxy server |
You might need to enable this option if your network has a proxy server and you require any network connection from Mimic (e.g., opening the online Help). After enabling this option, enter your company's proxy server information. You might need to consult your network administrator to obtain the necessary credentials. After completing the fields on this tab, close and restart Mimic for the changes to take effect. |
|
Address |
Enter the address of the proxy server. |
|
Port |
Enter the port for the proxy server. |
|
Enable authentication |
Enable this so that you can enter a username and password for access to the proxy server. |
Mimic Tab
|
Image Quality |
You can enter the editor image quality (DPI), as well as a maximum width and height in pixels. |
Spelling Tab
|
Select Global Dictionary Location |
A global dictionary is a file that contains words and can be used for spell checking by any Mimic By default, a new global dictionary is stored in your AppData folder, like all of your built-in dictionaries. However, you can select Use custom location to choose a different location for your global dictionary. For example, you might be working with a team of writers and want to make sure you are all using the same spellings for certain terms. By choosing a network directory, your entire team can use the same global dictionary. After selecting this option, click |
|
Installed Dictionaries |
This section displays information about the dictionaries that are installed and therefore available to your project. You can import additional dictionaries if you want.
|
|
Spelling Options |
You can use these fields to ignore any of the following when spell checking files:
|
 to choose the location.
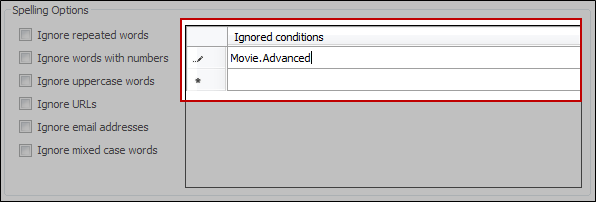
Keyboard Shortcuts Tab
|
Command Scope |
Lets you select a Mimic option to which you can assign a keyboard shortcut. It also displays the current keyboard shortcut assigned to the selected action. |
|
Key Assignment |
Lets you choose a key to apply as a keyboard shortcut to the option that is currently selected in the Action section. |
|
Modifier Key Assignment |
Lets you choose a modifier key ( the CTRL key, SHIFT key, and/or ALT key) to include in a keyboard shortcut combination. Click the check box next to a key name to include it in the keyboard shortcut combination. |
|
Options |
Lets you turn off the hot key feature by clicking Disable Hot Keys, or return to the factory default keyboard shortcuts by clicking Reset to Factory Defaults. |

