Recording New Frames
After you create a movie, you might find the need to add more frames to it. One method that you can use to add frames is to record additional frames, inserting them at any place inside the movie.
[Menu Proxy — Headings — Online — Depth3 ]
How to Record New Frames
- Prepare your screen or workspace for recording the new frames. This includes opening the application window(s) that you want to record and/or arranging your desktop exactly as needed.
- Open the movie and select View > Frames.
- In the Frames window pane, select an existing frame. The new recorded frames will be inserted immediately after that frame.
- Select Frame > Recording. Mimic minimizes and a rectangle with a red border appears on your screen, along with a task bar.
-
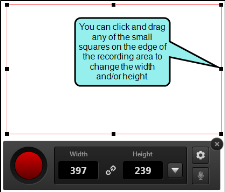
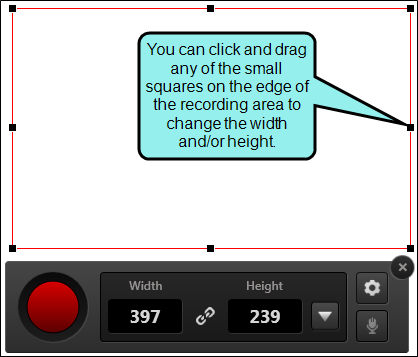
(Optional) Rearrange the recording area. You can use several methods and features to do this.
Drag Edge
You can resize the
Move Entire Recording Area
You can move the entire
 and dragging the area to a new location on your screen.
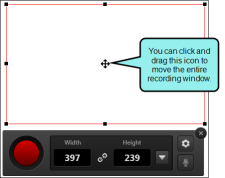
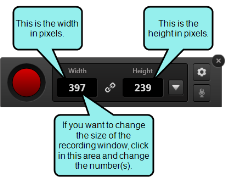
Type Width or Height
You can click in the number fields in the task bar to manually change the width and/or height of the
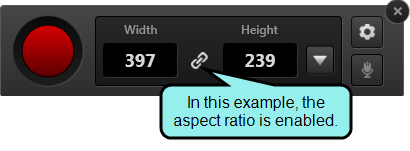
Maintain Aspect Ratio
You can click the chain button in the task bar to maintain the aspect ratio when you change the width or height of the
When this feature is disabled, the button displays as an broken chain image. If you then change one dimension of the capture window, the other dimension will not be resized automatically. For example, if you drag the window border to the left (to increase the width), the height will remain the same size.

When this feature is enabled, the button displays as a chain image. If you then change one dimension of the

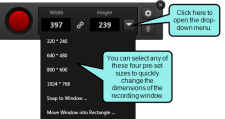
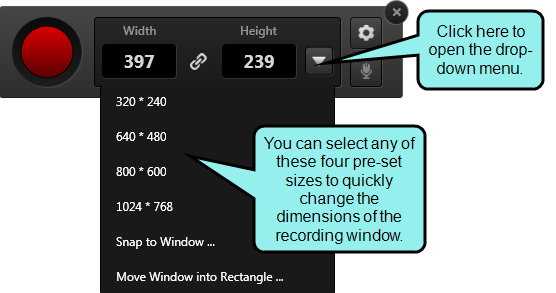
Choose Pre-Set Size
You can click the drop-down in the task bar and choose one of the pre-set window sizes.
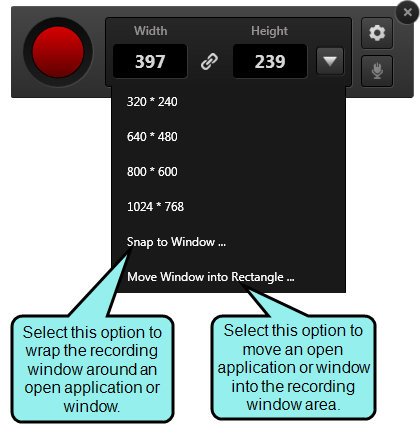
Snap/Move Into Rectangle
If you have a particular application or window open, and you want to capture it, you can choose an option to snap the

Note If you are using a newer operating system, you may need to enable window-based recording optimization.
Note Be aware that new frames will still be created in the same size as the existing frames in the movie. Therefore, if you make the
-
(Optional) Click
 on the task bar to specify the settings in the Recording Options dialog.
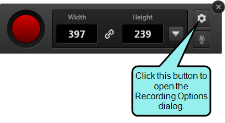
Select the appropriate options, as described below. When you are finished, click OK.
-
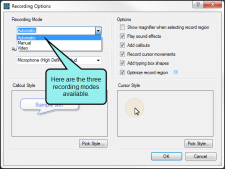
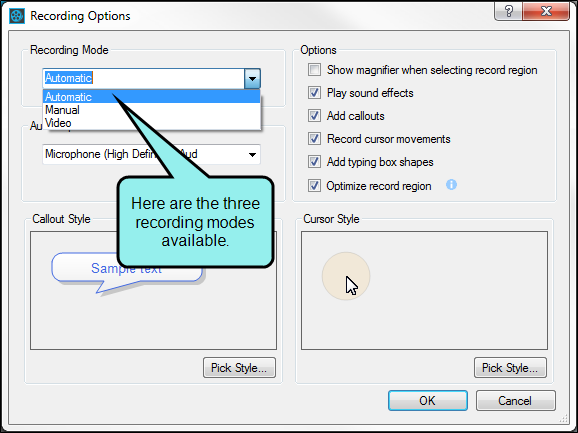
Recording Mode
 Read more…
-
Automatic Select this if you want Mimic to automatically capture images as you perform actions in the recording area. If you perform a dragging action in this recording mode, a single full-motion video (FMV) frame is created at that spot in the movie to capture that action.
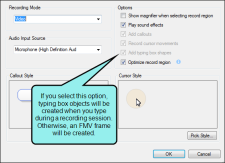
FMV may also used whenever you perform a typing action, depending on whether you select the Add typing box shapes (see below).
Note The automatic recording mode may not capture all of the changes happening on your screen. You can press the PRINT SCREEN key on your keyboard to manually create additional frames while recording.
- Manual Select this if you do not want Mimic to automatically capture the images. Instead, you must press the PRINT SCREEN key on your keyboard whenever you want a new image to be captured during a recording session.
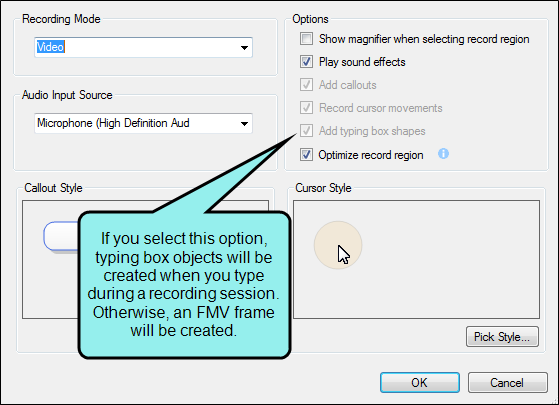
- Video Select this if you want to record FMV in a single frame. For example, you might use this option if you have an actual video running on your desktop and you want to capture its action.
-
-
Audio Input Source
Read more…
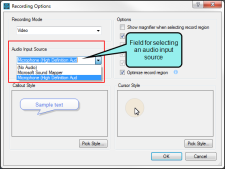
Note If you are recording a new movie, one audio file will be created for the entire movie. If you are recording new frames for an existing movie, one audio file will be created for just those frames.
- Show magnifier when selecting record region Read more…
- Play sound effects Read more…
- Add callouts Read more…
- Record cursor movements Read more…
- Add typing box shapes Read more…
- Optimize record region Read more…
- Callout Style: Pick Style Read more…
- Cursor Style: Pick Style Read more…
-
-
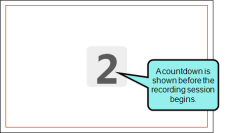
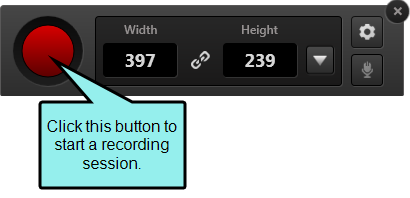
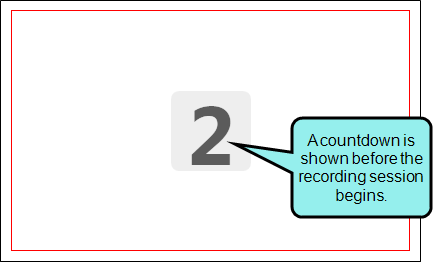
Click the red record button on the task bar.

You will see a countdown—3, 2, 1—before the recording session begins.
- After the countdown finishes, perform the actions that you want to record.
-
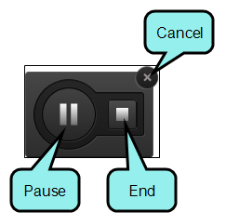
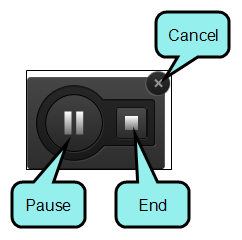
You can use the task bar or the keyboard shortcuts to end, pause, or cancel the recording.
Task Bar
The task bar is located below the recording area.
Keyboard Shortcuts
Here are the keyboard shortcuts available.
- END Start/stop
- SHIFT+END Abort
- PAUSE Stop
- SHIFT+PAUSE Pause
- PRINT SCREEN New frame
- SHIFT+PRINT SCREEN Start/stop video recording
After you stop the recording session, the new frames are added to the movie.
- Click
") to save your work.
to save your work.


What’s Next?
If necessary, you can continue enhancing the movie. Otherwise, you can finalize the movie by building and distributing it. See Editing a Movie and Building Movie Output Using the Interface.

