
The canvas is the area behind an image, the element that the image rests on. When you capture an image, the canvas is automatically the same size as the image itself. If you create a new blank image, the canvas size is 600 x 600 pixels. Either way, you can resize the canvas whenever necessary. You can do this on the individual image, or you can set the canvas size on a profile.
You can also manually resize the canvas using handles around its edge by dragging the canvas edges to your desired size, and you can choose to expand the canvas automatically if you place objects (e.g., callouts, shapes, text boxes) outside of the canvas boundaries.
If the image is resized for the output (e.g., on the Format tab), the canvas size is adjusted automatically.
[Menu Proxy — Headings — Online — Depth3 ]
Example
Example
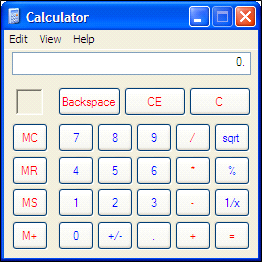
Let's say you have captured an image like this:

Currently, the size of the image is 260 x 260 pixels. If you double-click the image, you can use the Appearance tab to change the canvas size.

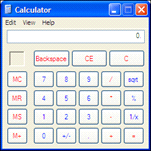
As a result, here is how the image now looks:
Now let's say that you use the Format tab to resize the image to 150 x 150 pixels. As a result, here is how the image looks in the output. Notice that the canvas was reduced in size along with the actual image.
How to Resize the Canvas Manually
- Capture or open an image, or open a new blank image.
-
Click and drag the white handles around the canvas edges to resize the canvas.
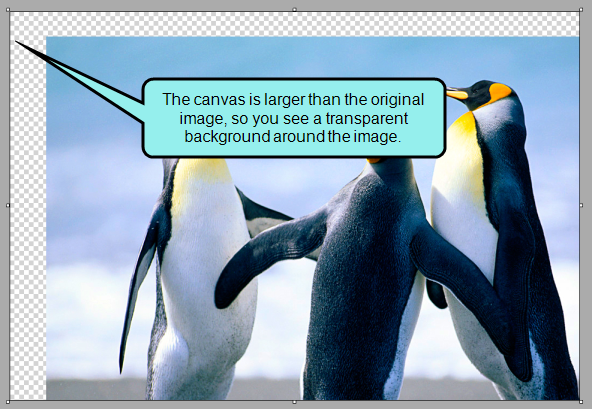
- If you drag the handles so the canvas is larger than the image, you will see a transparent background around the image.
- If you drag the handles so the canvas is smaller than the original image, you can effectively crop the edges of the image (see Cropping Images).
-
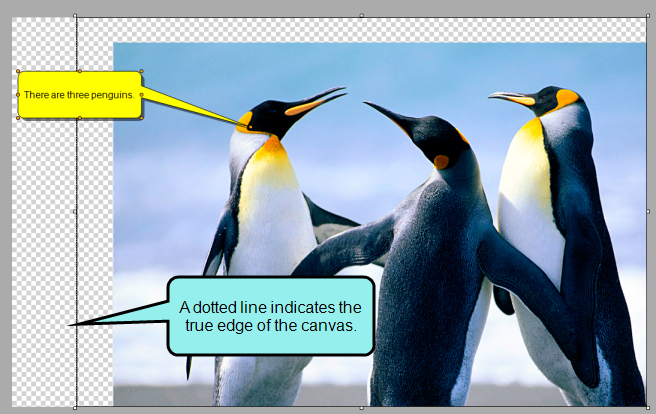
If you place an image object or object (such as a callout or shape) outside of the canvas's current boundaries, a dotted line appears to indicate the true edge of the canvas. See How to Auto-Adjust the Canvas Size to Include Objects
- Click
 to save your work.
How to Set the Canvas Size for an Individual Image
- Capture or open an image.
- Double-click the image (not the shape).
- In the File Properties dialog, select the Appearance tab.
- In the Canvas Size section, enter numbers in the Width and Height fields to set the size of the canvas (in pixels).
- Click OK.
- Click to save your work.
How to Set the Canvas Size for a Profile
- Select View > Profiles, and from the drop-down on the left side of the local toolbar, choose the profile.
- In the Profiles Editor, select the Appearance tab.
- In the Canvas Size section, enter numbers in the Width and Height fields to set the size of the canvas (in pixels).
- Click to save your work.
How to Auto-Adjust the Canvas Size to Include Objects
- Capture or open an image.
- Double-click the image (not the shape).
- In the File Properties dialog, select the Appearance tab.
- In the Canvas Size section, select Canvas Auto-Adjust to Include Objects.
- Click OK.
- Click to save your work.
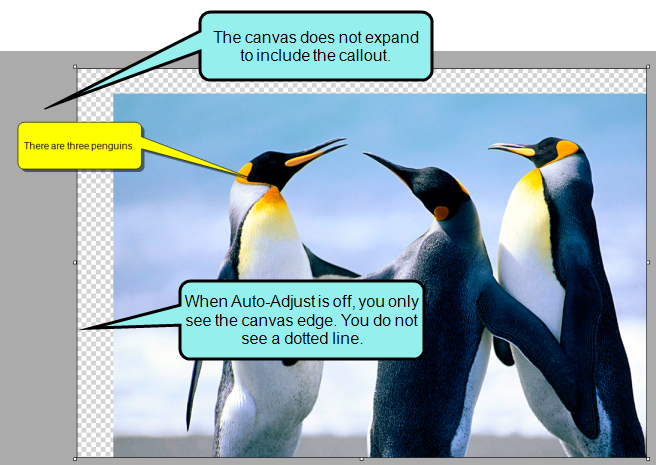
Note If you disable Auto-Adjust and add an object outside of the true canvas, it appears in the Capture workspace.
Note If you are using a drawing tool and Auto-Adjust is enabled, you will not be able to draw outside of the true canvas. The cursor changes to a no symbol to indicate areas outside of the true canvas boundaries where drawing tools are disabled.
Example
In this image, the canvas has been resized so it is larger than the image. You can see the transparent background around the image.
In this image, a callout is partially outside of the canvas boundary, and Auto-Adjust is enabled. A dotted line shows the true edge of the canvas.
In this image, a callout is partially outside of the canvas boundary, and Auto-Adjust is disabled. The callout is part of the workspace.
What’s Next?
If necessary, you can continue editing the image (e.g., adding objects, effects, a border, a callout; cropping the image; resizing the image). Otherwise, you can finalize the image by saving it. See Editing Images.