Setting the Destination for an Image

You can provide a destination for a captured image when you save the file. However, you also have the option of providing a default file destination in a profile. That location will then be the default destination for all images captured using the profile.
How to Set the Destination for an Image
- Select View > Profiles, and from the drop-down on the left side of the local toolbar, choose the profile.
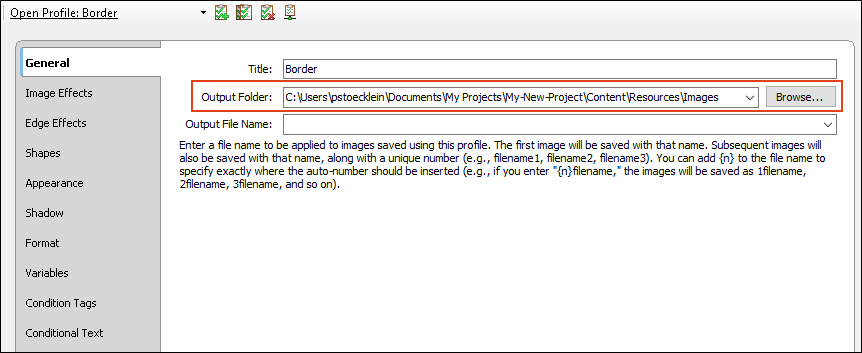
- In the Profiles Editor, select the General tab.
-
In the Output Folder field, type a path to a folder. You can also click the Browse button and then navigate to a folder.
Note If you plan to use the images in a MadCap Flare project, you can enter a path to the Resources\Images subfolder for that project. When you save the captured images, they will then be immediately available within that project.
Note Capture cannot auto-save images if a linked profile's output folder is set to another user's local directory. To ensure that your images are auto-saved, set linked profiles' output folders to a shared drive.
- Click
 to save your work.
 - (Optional) Capture an image and then select File > Save. The appropriate destination folder is already selected in the Save As dialog.