Building and Examining a Target
So far, we have done very little, but we have given Doc-To-Help enough to work with. If we build right now, we can take a look at what Doc-To-Help will do out-of-the-box. But first, let’s take a quick look at our Word document. If it is not already open, from the Documents pane double-click the SanDiegoQuickTour.doc file to open it.
It is structured like this:
- Heading 1 All About San Diego
- Heading 1 San Diego Attractions
- Heading 2 Balboa Park
- Heading 2 San Diego Zoo
- Heading 2 Petco Park
- Heading 1 San Diego Colleges and Universities
Your Doc-To-Help project will use this structure to create topics, the table of contents (TOC), and automatic links.
Select the Target ribbon, and notice that the left section of this ribbon is named after the choice of your active target. This is initially set to NetHelp by default.
-
On the Target ribbon, click the face of the Build button (not the down arrow).
-
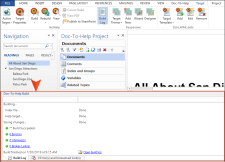
The default NetHelp target generates. The Doc-To-Help Build window pane displays at the bottom while the build is in progress.
Once the build is completed, Doc-To-Help prompts you to view the target. Click Yes.
Warning Your browser’s security settings may block display of NetHelp. If so, click Allow blocked content to view your target.
The TOC structure is based on the heading styles. Since Balboa Park, San Diego Zoo, and Petco Park used Heading 2 styles under the Heading 1 of San Diego Attractions, they were converted to subtopics.
-
In the TOC of the NetHelp output, click the San Diego Attractions topic. The topic has three automatic subtopic links—Balboa Park, San Diego Zoo, and Petco Park—which were created by Doc-To-Help based on the document structure. We will learn later how to add custom subtopics, but these are created automatically.
-
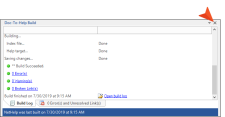
In Word, click X in the upper-right corner of the Doc-To-Help Build window pane to close it.
-
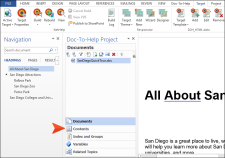
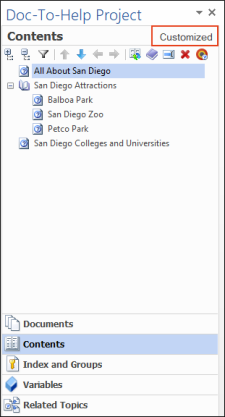
In the Doc-To-Help Project panel (Doc-To-Help > Project Panel), click the Contents accordion bar.
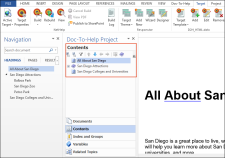
The TOC is displayed. It looks exactly like the TOC in the NetHelp output.
In the Doc-To-Help ribbon, you can use the Add, Rename, and Delete options to edit the names of your topics and modify the TOC. Once a change is made in the TOC, the word "Customized" displays in the top-right of the Contents pane to indicate the TOC has been modified.
However, the automatically generated TOC uses a logical structure and is ready to be used for your project, so we will leave it as is.
-
On the Project ribbon, click Topics Panel.
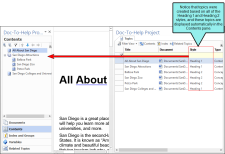
The Topics window pane opens, showing the topics that were automatically created when you generated the target. Each Heading 1 and Heading 2 style starts a separate topic in the project. This makes it possible to create links between topics, and more.
Now that we have seen our baseline, let's add more to this project.
Next, let's insert an image.


