The eLearning skin component contains information that dictates the general appearance for the course. You can choose which navigation buttons and controls to use, and customize how they display in the output.
[Menu Proxy — Headings — Online — Depth3 ]
How to Add the eLearning Toolbar Skin Component
-
From the Project Organizer, right-click the Skins folder, and select Add Skin.
-
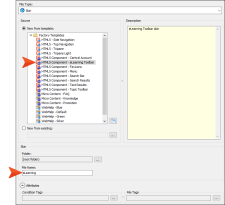
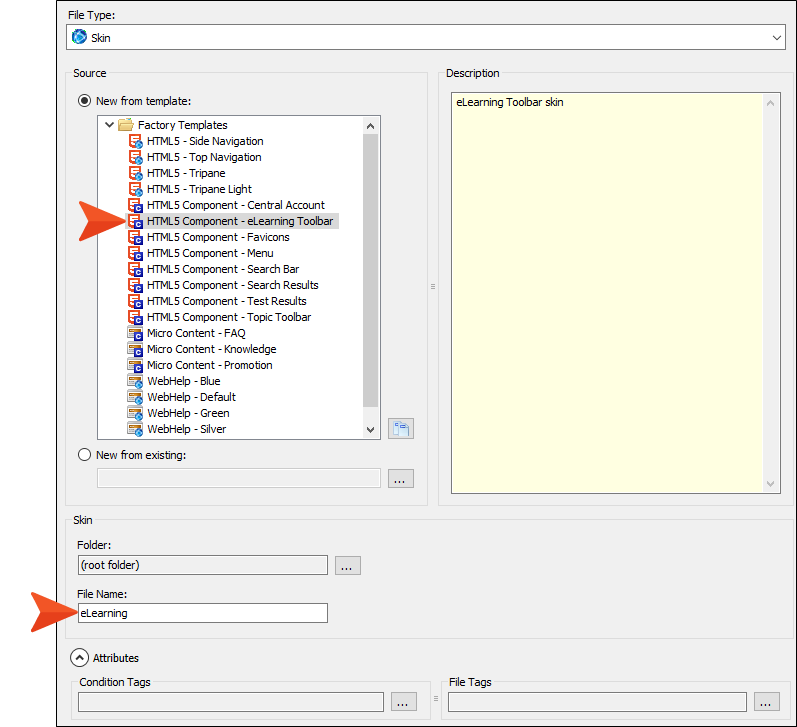
From the Add File dialog, expand Factory Templates, and select HTML5 Component – eLearning Toolbar. Give it a file name (e.g., eLearning), and click Add.
-
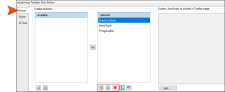
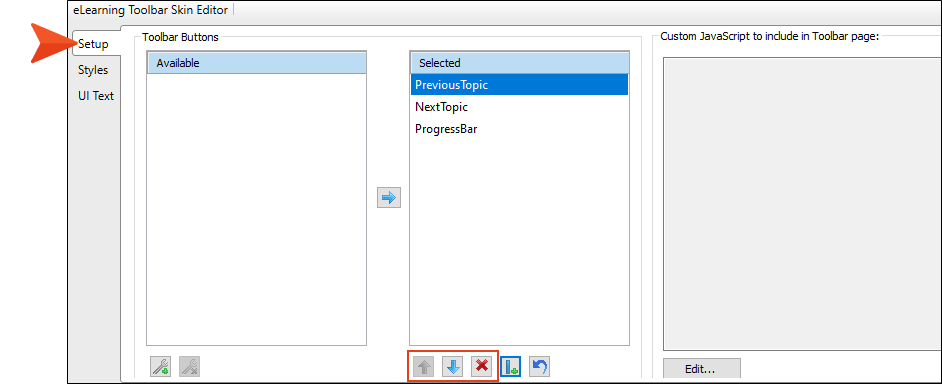
In the Skin Editor, from the Setup tab, determine which toolbar buttons you want to display in your test. By default, the toolbar buttons are: PreviousTopic, NextTopic, and ProgressBar.
You can use the local toolbar to add, delete, and reorder the toolbar buttons.
-
Click
") to save your work.
to save your work.
To customize how the eLearning skin component looks for the output, see Editing the eLearning Toolbar Skin Component.
What’s Next?
With the content, table of contents, proxies, and skin component finished, the course is ready for output. See the next step in the process, Editing a Target for eLearning Output.


