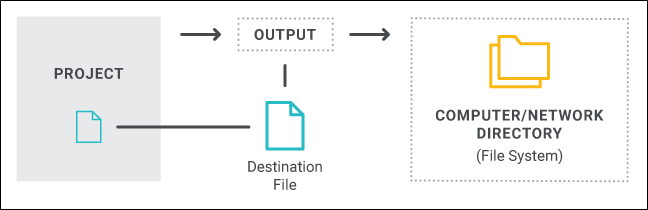
You can create a destination file using File System if you want to publish output files to a location on your computer or to another drive on a network.
[Menu Proxy — Headings — Online — Depth3 ]
How to Create a Destination File Using File System
- Open the Project Organizer.
- Open an existing destination file or add a new one.
- In the Destination Editor, click in the Type drop-down field, and select File System.
-
In the Directory field, enter the folder where the output files will be published. You might enter something like this: public_html/Help/FictionSoftPro. You can also leave the default setting of "public_html" if you are publishing to the root directory on the server.
Note When you publish output, only the files and subfolders within your target's output folder are sent to the destination. The target output folder itself is not included. For example, let's say you have a target named "AdvancedOutput." If you want the output to be placed in a destination with the same folder name, you need to create the "AdvancedOutput" folder at the final location first. Then in your publishing destination file, you can point to that exact folder. When you publish the output, the necessary files will automatically be placed inside it.
- (Optional) You can the Comment field to provide a description of the destination so that its purpose is clear.
- (Optional) In the View URL field, you can enter an address corresponding to your publish destination. This field is for your own internal purposes, and is simply a quick way for you to open the output associated with the destination by clicking the button to the right.
-
(Optional) You can select the following upload options.
- Upload Only Changed Files Select this option if you want Flare to republish only the files that have changed. This can save significant time.
- Remove Outdated Published Files Select this option if you want Flare to identify files that were previously published to the destination but are no longer in the source files. Flare will then remove such files from the destination.
- Click
") to save your work.
to save your work.

