


This first step in creating a slideshow is to insert it into a
[Menu Proxy — Headings — Online — Depth3 ]
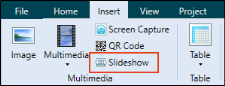
How to Insert a Slideshow and Navigate in It
- Open the content file.
- In the XML Editor place your cursor where you want to insert the slideshow.
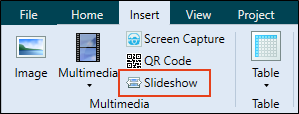
- Select Insert > Slideshow.
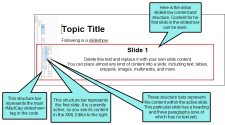
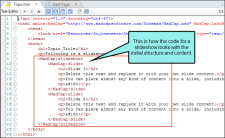
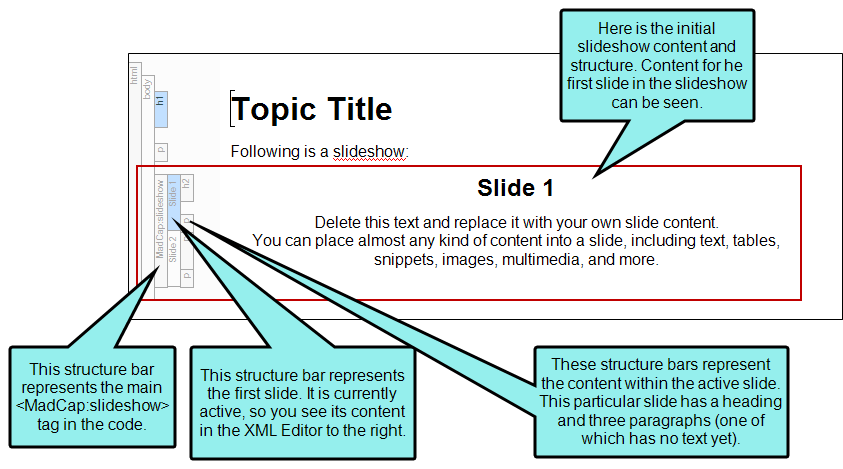
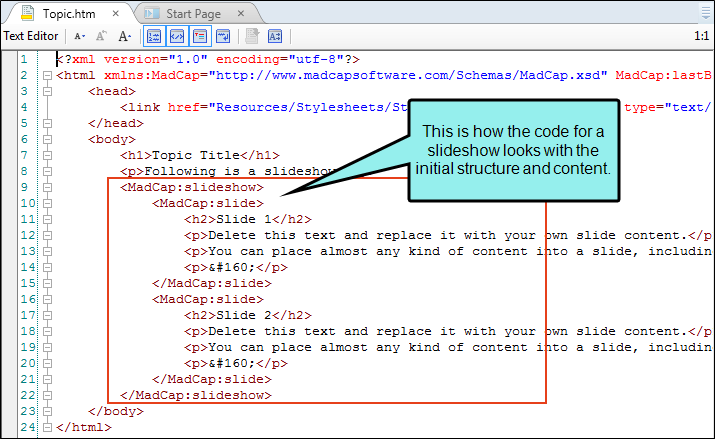
The initial slide structure and content consists of a <MadCap|slideshow> tag containing two <MadCap|slide> tags, one for each slide in the slideshow. Within each <MadCap|slide> tag is some default text that you can replace with your own content (e.g., image, video, other text, table), just as you normally would in a topic or snippet:
In the XML Editor, you can view only one slide at a time. However, you can navigate to the other slides in the slideshow. When you click in or hover over the slide area in the XML Editor, buttons hover to the right and left of the content. You can use these buttons to navigate to the previous or next slide, remove the slide, or add a new slide.
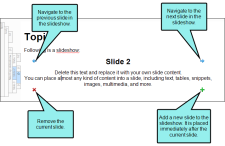
You can also use the structure bars to navigate, add slides, or remove slides.
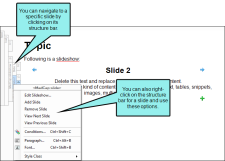
In addition, you can right-click in a slide and access these options from the context menu. However, when using this method, make sure you do not right-click on content such as an image within the slide. Otherwise, you will see the context menu related to that image, rather than the context menu related to the slide.


What’s Next?
After creating a slideshow, you can edit the content itself or the settings applied to the slideshow and individual slides. You can also edit your stylesheet to change the look of the container and different elements of the slideshow. See Editing Slideshows.
