


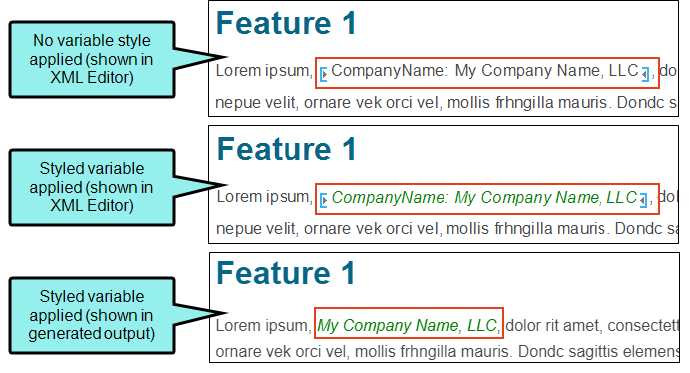
A styled variable lets you change the way a variable looks—making it easier for you to identify your variables in the output as well as in the XML Editor. This is mainly achieved by editing the stylesheet property settings for the MadCap|variable element. When a styled variable is applied, it can be seen in the XML Editor and in any generated output type.
[Menu Proxy — Headings — Online — Depth3 ]
How to Style Variables
- From the Content Explorer, open the stylesheet that you want to modify.
- In the local toolbar, make sure the first button displays
 . If the button displays
  instead, then click it.
 - On the left side of the editor, make sure the list shows inherited styles (i.e., light gray items). If not, from the local toolbar click the Hide Inherited button.
-
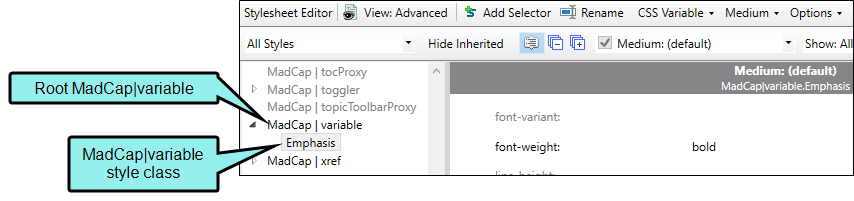
Select the root MadCap|variable style or a class you have created for it

Note You can also add a generic class to a variable. This can be useful to achieve the same look for a variable that a non-variable might have. Editing a generic class affects one or as many instances of a variable that you apply the class to. If your project does not include a generic class, you can create one.
- If you created a custom or generic class, apply it to the desired variables.
- Open the content file containing the variable.
- Click the variable.
- From the Home ribbon, select the Style drop-down, and choose the defined style class.
-
Click
") to save your work.
to save your work.
How to Style a Specific Variable
It is recommended to use this method if you want the style of a certain variable to look the same for every instance of it in the project.
- Open the Project Organizer, and expand the Variables folder.
- Double-click the variable set.
-
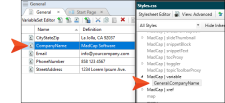
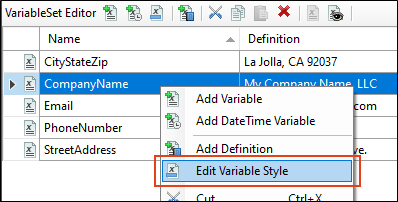
In the Variable Set Editor, select the row of the variable that you intend to edit, and in the local toolbar, click
 .
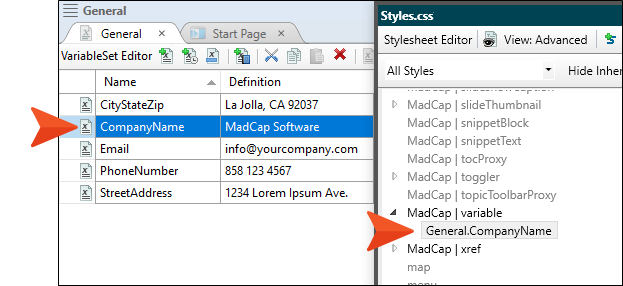
.The stylesheet opens and a new class is added under the MadCap|variable style in the stylesheet. These are auto-generated style classes that will automatically apply to the matching variable, without having to manually apply the style class when used in the content.
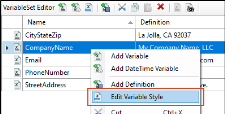
Note Alternatively, you can right-click the variable row, and from the context menu select Edit Variable Style.
Note You can edit a style for one variable at a time. If you attempt to multi-select variables to edit, the Edit Variable Style option is disabled.
- Edit variable style properties for the preferred look.
-
Click
to save your work.
What’s Noteworthy?
Tip Styled variables do not allow for partial- or character-level styling within a variable. If you need to style more than the variable as a whole, it is recommended to use snippets instead.
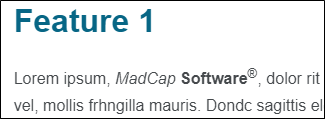
For example, you can use snippets for character-level styling (e.g., show a company name with italic, bold, and superscript text). The image below is not a variable, it is a snippet.
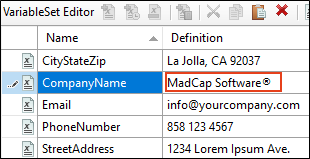
Or, you can copy a symbol from a content file into the Variable Set Editor's plain text grid. The exact results of how a symbol might look in the output depends on the font type used.
Note When you add styles to variables, keep in mind the standard cascading stylesheet (CSS) rules for precedence apply.
Note The styled variables feature is applicable and possible to apply to all variable types, not just custom basic variables. See Types of Variables.


