LISTS TUTORIAL
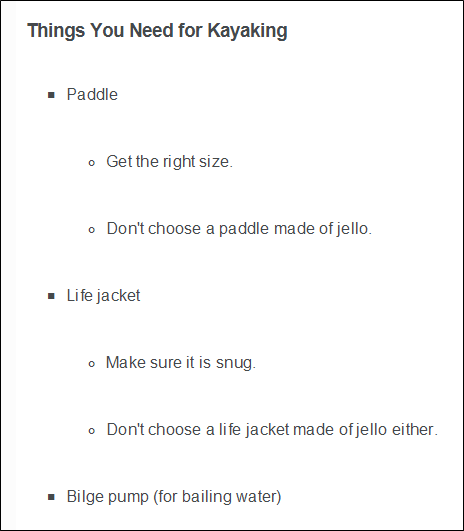
We have a couple of multi-level lists. However, those lists aren't using the kinds of numbers and bullets that we want at the various levels. So let's make some style changes.
[Menu Proxy — Headings — Online — Depth3 ]
How to Control the List Style Type for First-Level Bullets
- From the Content Explorer, expand Resources > Stylesheets. Then double-click Styles.css.
-
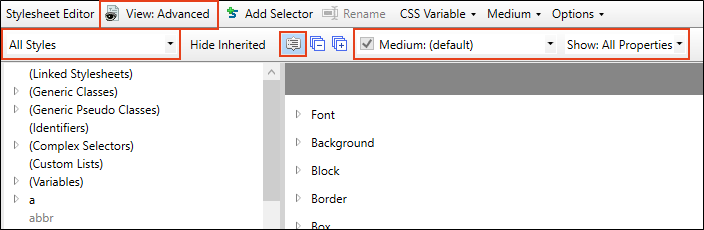
Make sure the following are selected in the Stylesheet Editor.

-
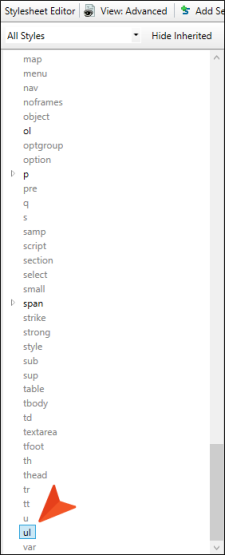
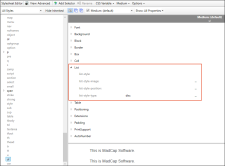
On the left side, scroll down and select ul. This style controls the first level of unordered (or bulleted) lists.
-
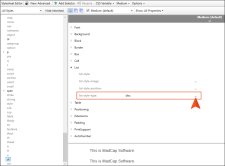
On the right side, expand the List group.
-
Notice that the list-style-type property already has "disc" as its selection. A disc is a solid, round bullet. We want to change this so that the first level of a bulleted list uses a square instead. So to the right of this property, click
 .
.
-
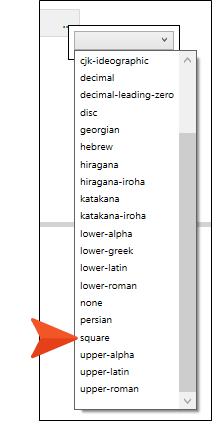
From the menu, scroll down and select square.
- Click
") to save your work.
to save your work. -
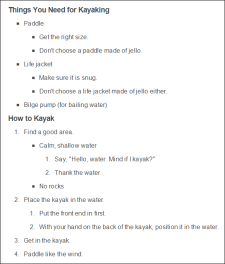
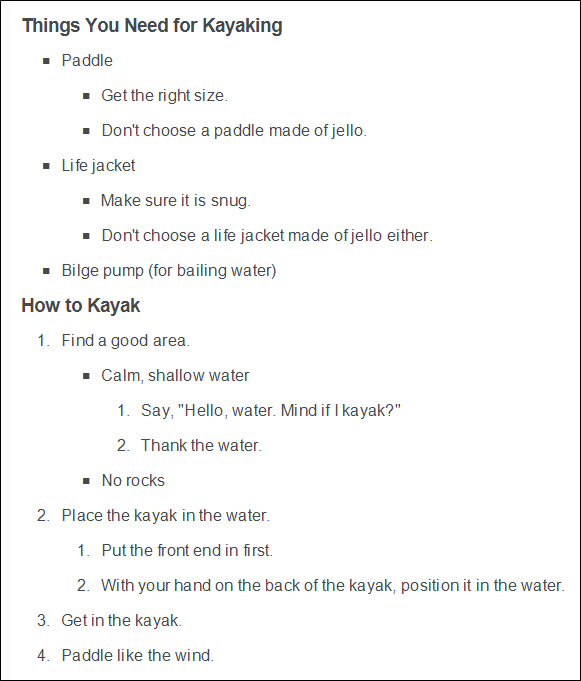
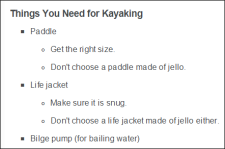
Go back to the Attractions.htm topic. Notice that the bulleted lists now use squares. Even the second-level lists are using squares, because they are inheriting the setting from the first level.


How to Control the List Style Type for Second-Level Bullets
- Go back to the stylesheet.
-
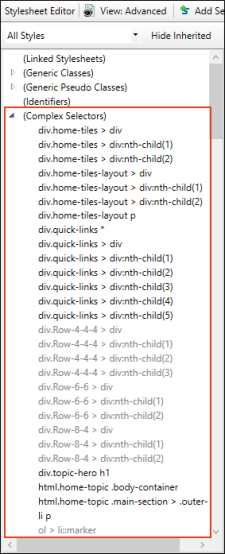
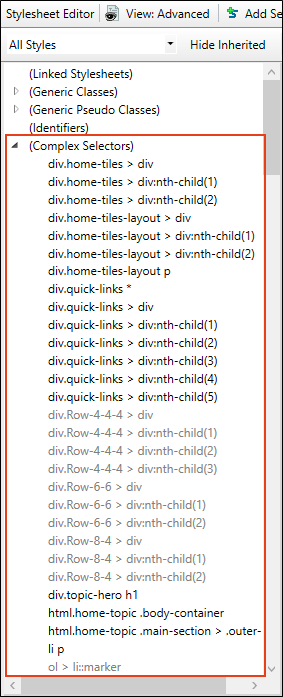
On the left side, scroll up and expand (Complex Selectors).
-
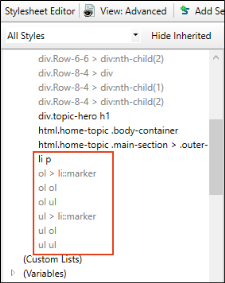
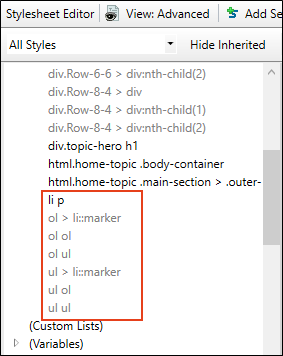
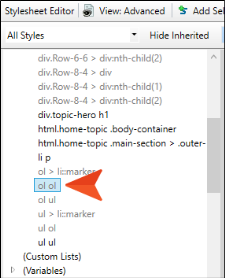
Scroll down to the styles that begin with li p. These are complex (or advanced) selectors related to lists that are already in the stylesheet. Some are displayed in gray because no explicit settings have been placed on them yet. A complex selector is a style that combines two or more selectors in some way. When you see a complex selector that separates the individual selectors by a simple space (e.g., ol ol), that means you are telling Flare what to do in case one selector is found inside another selector in a topic. In our case, we have some nested bulleted lists with two levels (i.e., ul ul). We also have some nested lists within a numbered (ol) list. You can even combine numbered and bulleted lists together, which we have created in the previous lesson. So "ol ul ol" means a numbered list within a bulleted list, which in turn is inside a numbered list.
-
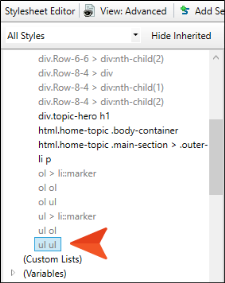
We could make changes to multiple combinations of lists, but we are only going to change a couple of them. First, select the ul ul complex selector.
-
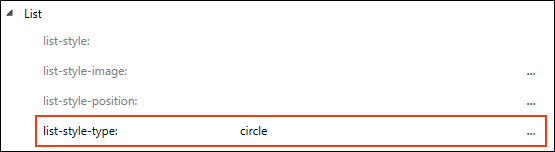
On the right side, notice that "square" is already selected as the list-style type, since it is inheriting form the simple "ul" selector that we already changed. But we want our second-level bullet items to use something different. So click
, and from the menu select circle.
- Click to save your work.
-
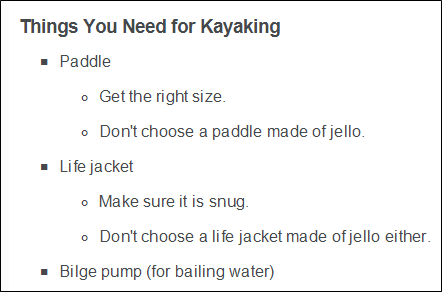
Go back to the Attractions.htm topic. Notice that the second-level bulleted lists now use circles, but the first-level bulleted lists still use squares.

How to Control the List Style Type for Second-Level Numbers
- Go back to the stylesheet.
-
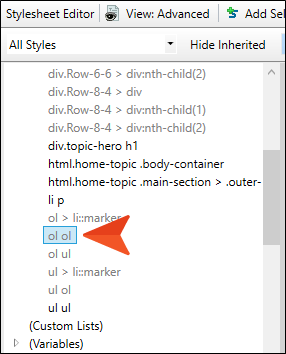
On the left side, select ol ol.
-
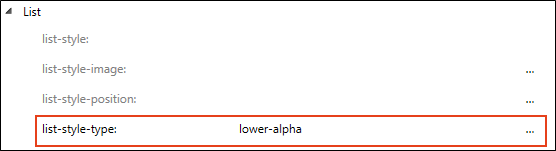
On the right side, notice that "decimal" (a regular number) is already selected as the list-style type, since it is inheriting form the simple "ol" selector. That's what we want for the first-level bullets, but not the second level. So click
, and from the menu select lower-alpha.
- Click to save your work.
-
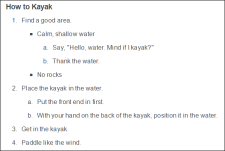
Go back to the Attractions.htm topic. Notice that the second-level numbered lists now use lower-alpha characters, but the first-level bulleted lists still use decimals.

Note In this tutorial, our project stylesheet already had the complex selectors that we needed. However, you can always create new complex selectors if you need something else (e.g., a "ol ul ul ol" selector).
How to Control the Spacing Between List Items
Changing the list-style-type property isn't the only way you can modify the look of lists. You can make all kinds of changes (fonts, borders, spacing, indentation, etc.), and not just to the main ol and ul containers. You can also adjust the look of li selectors (or list items). Let's do that now to increase the amount of space between items in a list. Therefore, we're going to change the bottom and top margins. If we wanted to change the indentation, we could edit the left margin setting.
- Go back to the stylesheet.
-
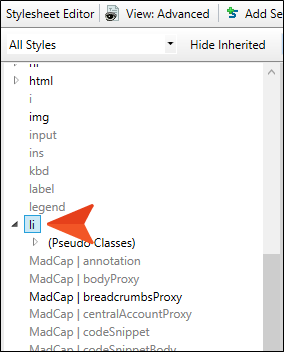
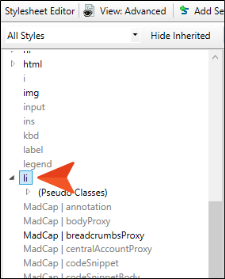
On the left side, scroll down and select li.
-
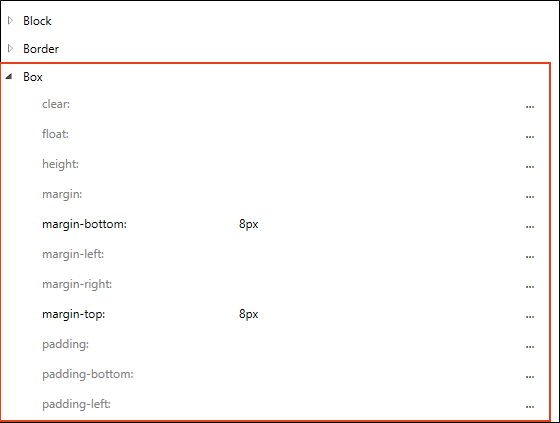
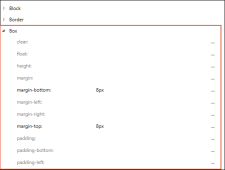
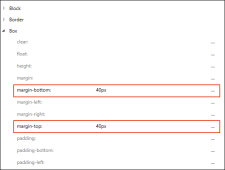
On the right side, expand the Box group.
-
Change the margin-bottom and margin-top values to 40px. Click outside of the second cell after you enter the value. A margin of 40px is way more than what we really want, but we'll do this temporarily so you can see the results.
- Click to save your work.
-
Go back to the Attractions.htm topic. Notice that the increased spacing.

- Go back to the stylesheet and change the values to 16px. Click outside of the second cell after you enter the value.
- Click to save your work.
- Go back to the topic and notice the change.
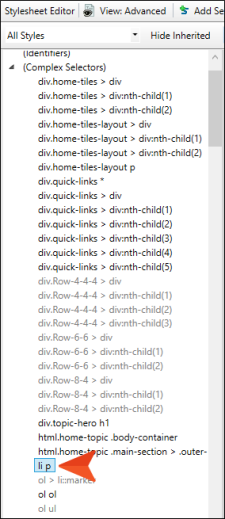
-
There is another related style to change. In the stylesheet, scroll up to the (Complex Selectors) group, and select li p. We need to make the same change to this complex selector because it will account for list items where a paragraph tag occurs within it, which is what we will be covering in the next lesson.
- Set the margin-bottom and margin-top values to 16px. Click outside of the second cell after you enter the value.
- Click to save your work.