 MICRO CONTENT TUTORIAL—ADVANCED
Let's move beyond the simpler featured snippets and Knowledge Panel options and see what's possible with the micro content proxies, starting with the Knowledge proxy.
The Knowledge proxy lets you display filtered micro content items in HTML5 output. Results are dynamic, generated at runtime in the browser, using search engine rankings. You might use a Knowledge proxy to display content such as information about a person, a company, technical specifications, related tasks, etc.
Knowledge proxies can be used in both search results and topics. In this lesson, we'll add a proxy so that it displays micro content in topics. You can insert a Knowledge proxy into individual topics, but you'll probably find that it's usually less work to insert it into a template page, so that many (or all) topics are affected. But just because you insert a proxy into a template page, that doesn't mean the same micro content will always display in each topic. We'll take a look at how you can control what is shown for each topic by using filters.
[Menu Proxy — Headings — Online — Depth3 ]
How to Filter via a Micro Content File and Meta Tag Values
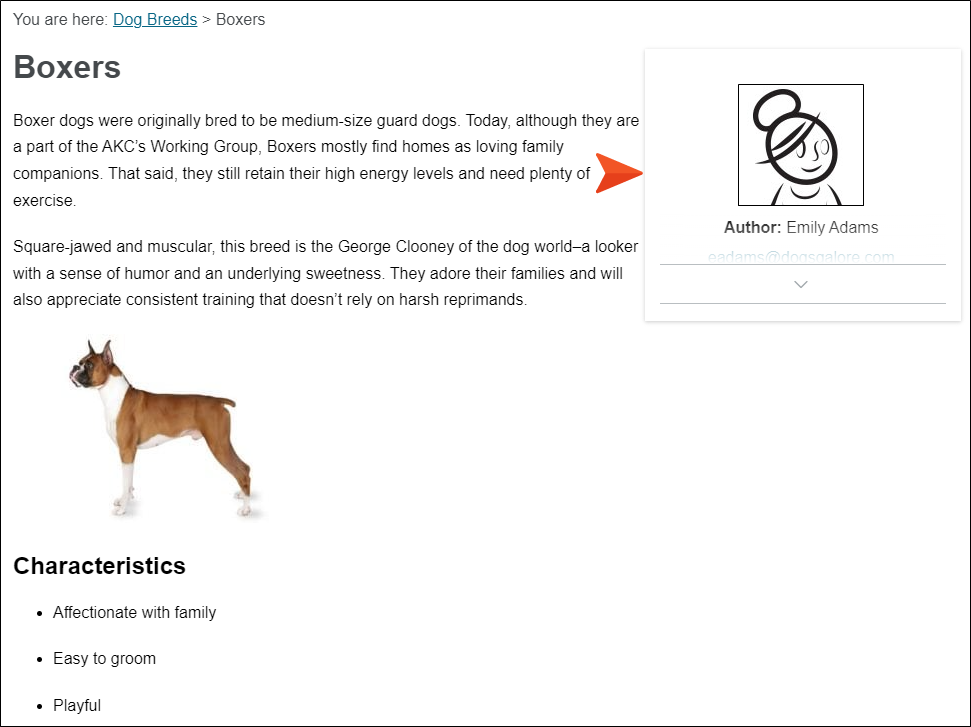
Let's use a Knowledge proxy to add micro content containing author information. The idea is that the profile of the author responsible for writing a particular topic is shown to the right of that topic.
-
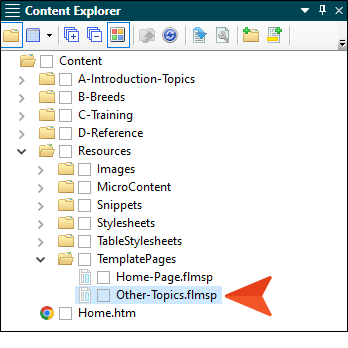
In the Content Explorer, expand Resources > TemplatePages.
-
Double-click Other-Topics.flmsp, which is the template page that all of our topics will use, except for the main Home page topic.
-
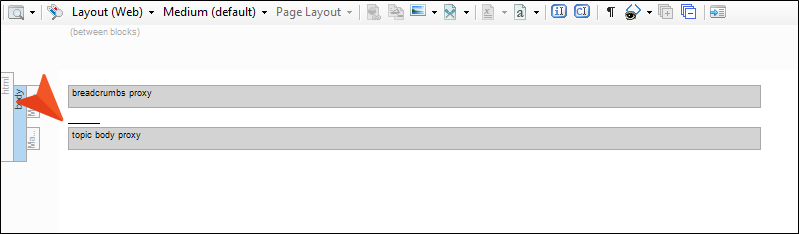
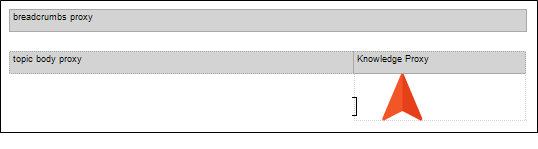
The template page already has two proxies in it—one to display breadcrumbs and the other the main topic body content. Since we want our micro content to display to the right of the topic body, let's use a feature called a responsive layout to hold our Body and Knowledge proxies. Click the gray bar representing the topic body proxy. (If you do not see the bar, you probably need to turn your markers on from the drop-down button in the local toolbar.)
A horizontal cursor should be flashing near the proxy.
-
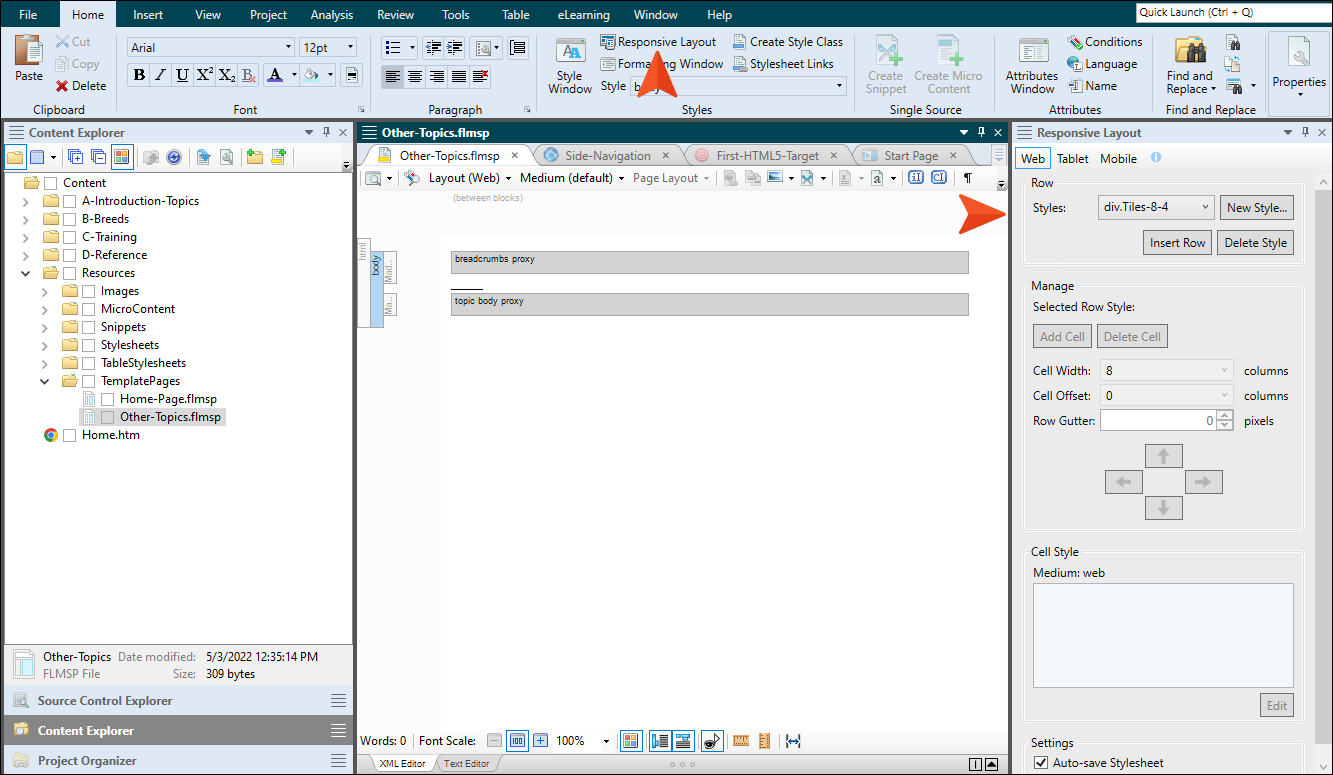
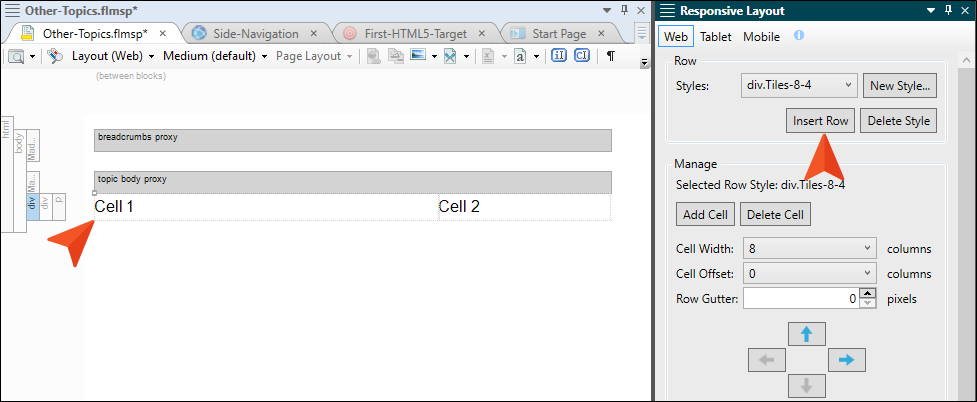
Select the Home ribbon at the top of Flare Desktop, and select Responsive Layout. A window pane opens on the right side of the interface.
-
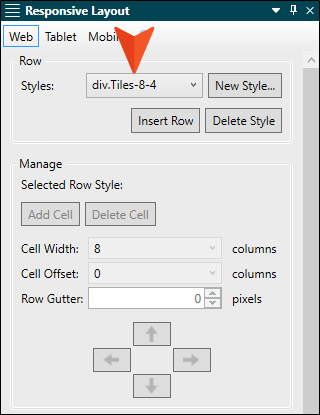
In the Responsive Layout window pane, click the Styles drop-down and select div.Tiles-8-4. This is a responsive layout design that has already been added to the project. It contains two cells. The first cell uses two-thirds of the space (8) and the second cell uses the other third (4), adding up to 12, the number that represents all of the available space in the row.
Note A responsive layout isn't required to insert the Knowledge proxy. It just makes it easier to get the configuration that we want, with the main topic content on the left and the micro content on the right.
-
Under that drop-down, click Insert Row. You should see a row with two cells (you might need to first click somewhere in the topic). It doesn't matter if the row was added above or below the Body proxy, because we're going to move that proxy anyway.
-
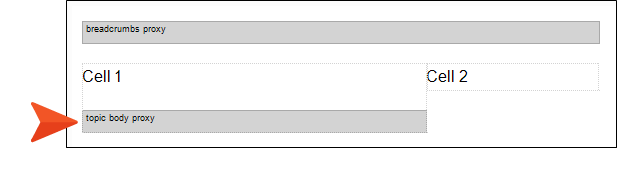
Click and drag the topic body proxy bar next to the Cell 1 text. The bar will be added below the text.
-
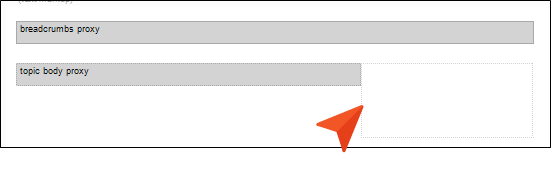
Delete the Cell 1 text.
-
Add two empty paragraphs below the Cell 2 text, and then delete that text. We're going to insert a proxy in the first empty paragraph and use the second empty paragraph later.
-
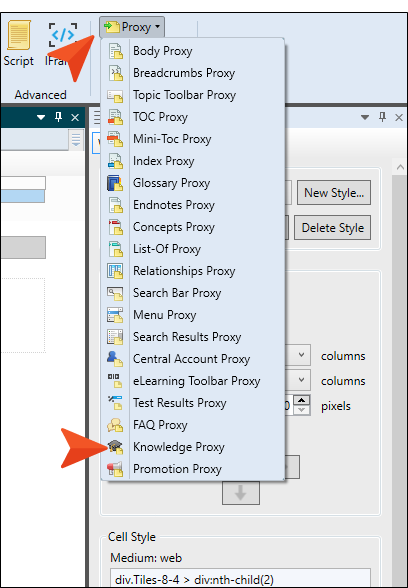
Click in the first empty paragraph of the second cell. Then, in the Insert ribbon, select Proxy > Knowledge Proxy.
-
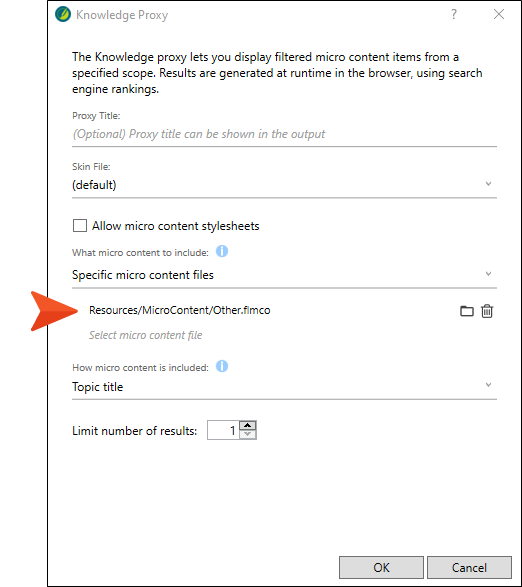
The first few fields in the Knowledge Proxy dialog are optional, so we're going to leave them alone. There are two filter fields toward the bottom of the dialog, which let us target the specific micro content to be included in the output. In the What micro content to include field, select Specific micro content files.
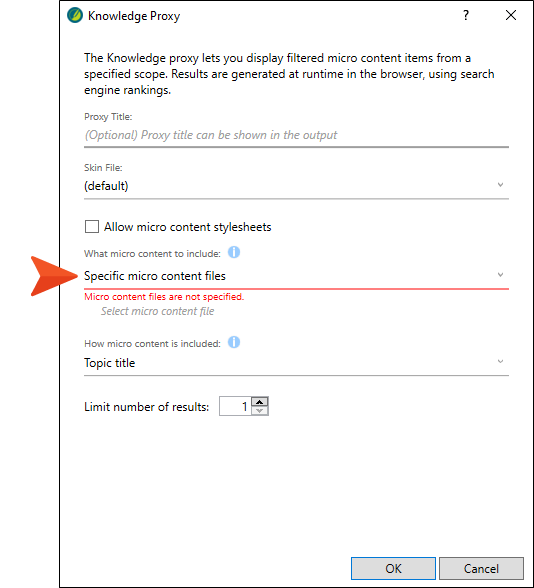
Note We will deal with the first couple of fields (Proxy Title and Skin File) in the proxy dialogs later. However, in this tutorial we won't be using the field for allowing micro content stylesheets, which has to do with creating a different look for micro content than the rest of your content.
-
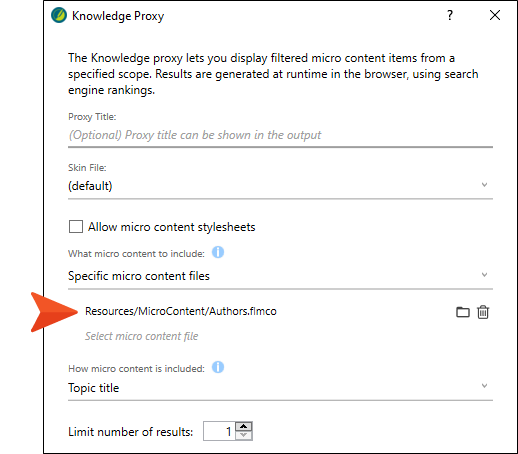
In the field just under that, select Resources/MicroContent/Authors.flmco. By doing this, we are limiting the possible pieces of micro content that can be used for this container. Only micro content from that file will be used.
-
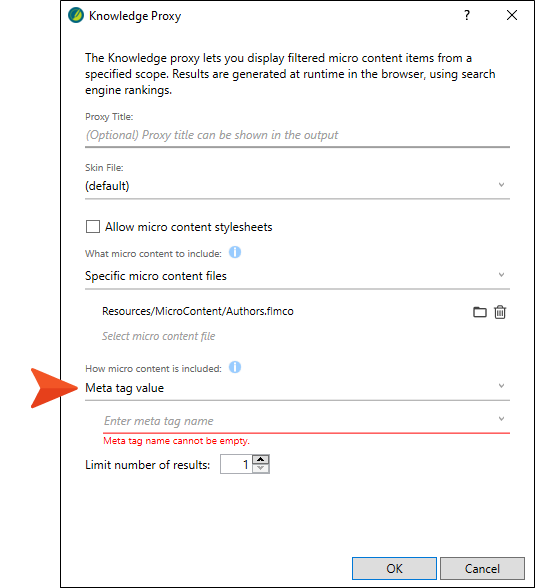
In the How micro content is included field, select Meta tag value.
-
In the field just under that, select Authors.
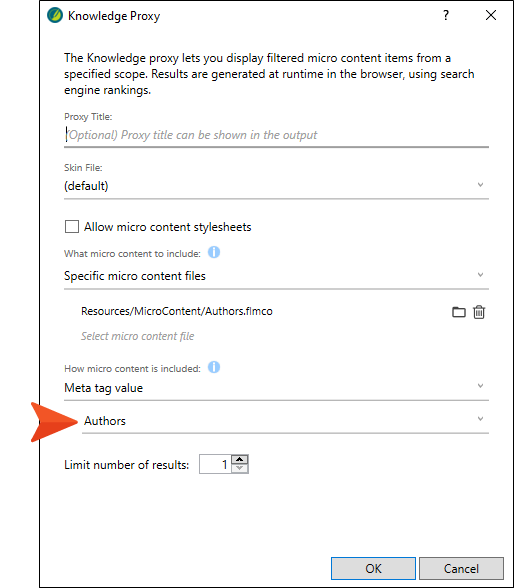
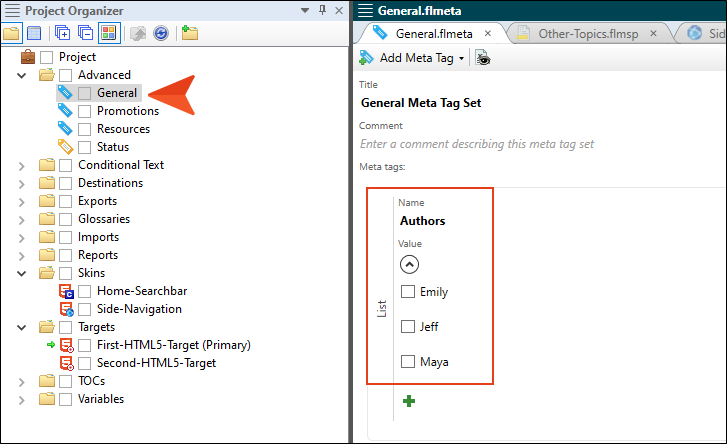
If you worked through the Meta Tags Tutorial, you might remember that we created a meta tag set called "General," and within that file we added a meta tag called "Authors," with three names: Emily, Jeff, and Maya. That is the meta tag and its values that we are going to use in this lesson.
-
Click OK. The Knowledge proxy is inserted next to the Body proxy.
-
Click
") to save your work.
to save your work. -
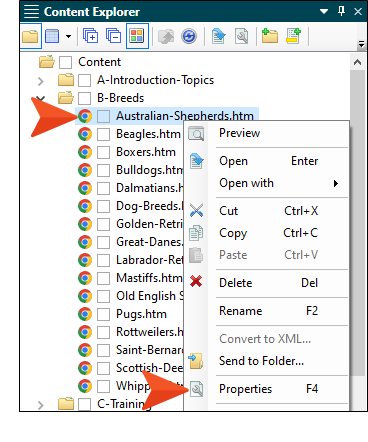
We need to make sure that the meta tag values with each author's name are associated with the appropriate topics. Once again, if you completed the Meta Tags Tutorial, you might recall that we associated the first few dog breed topics with these authors. To review, expand the B-Breeds folder in the Content Explorer, right-click Australian Shepherds, and select Properties.
-
On the Meta Tags tab, expand General Meta Tag Set, and notice that under Authors, Maya is selected.
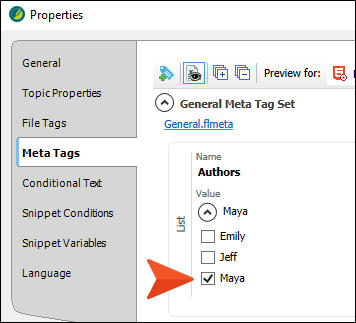
In the same way, the Beagles topic is associated with Jeff, and the Boxers topic is associated with Emily.
-
Close the dialog.
-
Build the First-HTML5-Target file, and when it is finished, open the output.
-
On the left side of the output, expand Dog Breeds, and select Australian Shepherds, Beagles, and Boxers. Notice the information about each author is shown on the right side of the topic. If you were to open any of the other dog breed topics, you wouldn't see any author associated with them, because we haven't assigned the meta tags to those topics yet.
So for Knowledge and Promotion proxies, Flare Desktop looks at the meta tag value associated with a topic, and if it finds a phrase in the micro content file that matches that value, it displays the response.
How to Filter via Micro Content With Meta Tags
Let's add a second proxy to our template page. This time we'll use it to display some dog training steps next to selected topics. It's similar to what we just accomplished above, just using slightly different settings. As is the case with many features in Flare Desktop, there are often many ways to accomplish the same thing.
-
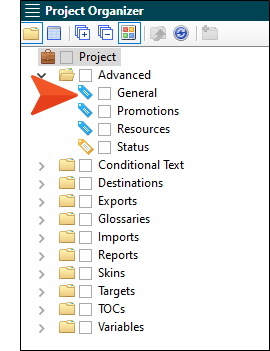
Before we add our proxy, let's look at our meta tag set to see the meta tags we'll be using. In the Project Organizer, expand Advanced and double-click General.
-
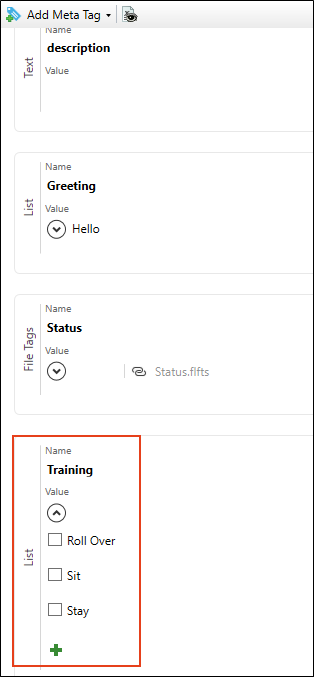
At the bottom of the editor, expand Training, and notice the three values: Roll Over, Sit, Stay.
-
Go back to the Other-Topics template page where we inserted the responsive layout.
-
Click in the empty paragraph after the first Knowledge proxy. Then, in the Insert ribbon, select Proxy > Knowledge Proxy.
-
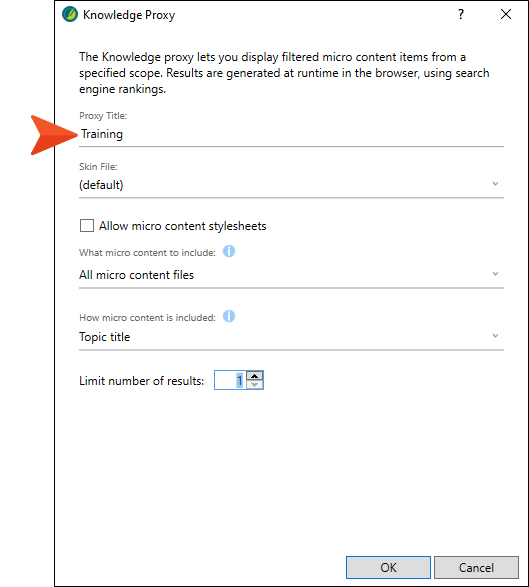
This time, let's give the container a title. In the Proxy Title field, enter Training.
-
In the What micro content to include field, select Micro content with meta tags.
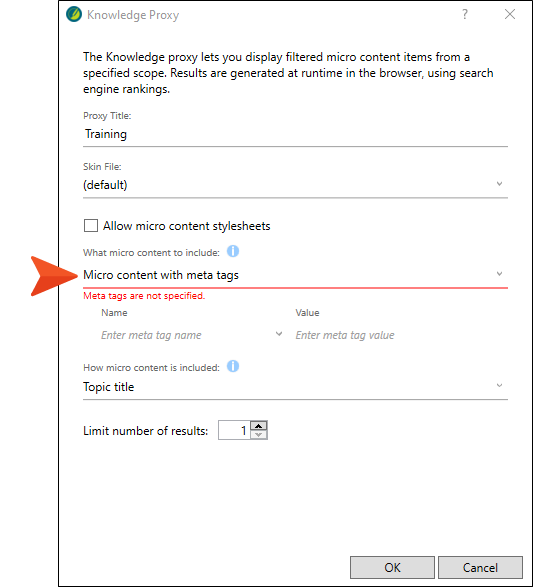
-
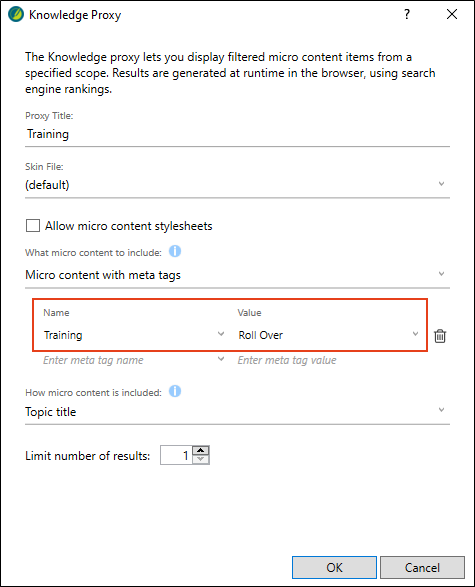
In the Name drop-down field under that, select Training, which is the meta tag that we just reviewed above. Then, in the Value drop-down field, select Roll Over.
-
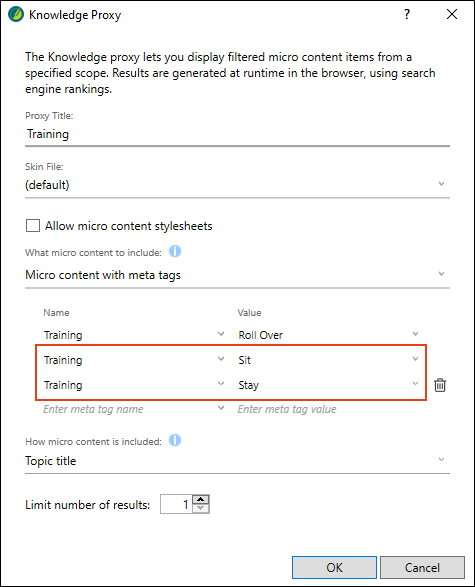
In the next two rows, select Training again in the Name field, and select Sit and Stay in the Value field, respectively.
-
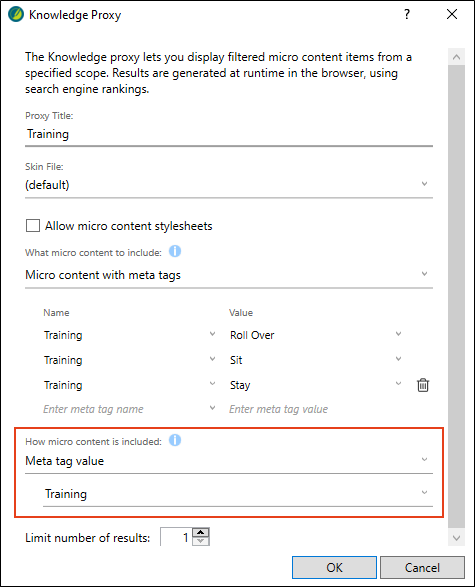
In the How micro content is included field, select Meta tag value. Then, in the drop-down under that, select Training.
-
Click OK. The new Knowledge proxy is added under the first one. And because we added a title to it, we can easily identify its purpose.

Note It's possible that you might want to add a proxy title so that you can identify it where it's inserted, but you don't want the proxy title to display in the output. In that case, you can edit the skin file so that the title is hidden in the output.
-
Click
to save your work. -
Since we're using meta tag names and values, we need to make sure they are associated with the relevant topics. In the Content Explorer, expand the B-Breeds folder (if it isn't already expanded).
-
Right-click Australian-Shepherds.htm and select Properties.
-
On the Meta Tags tab, expand General Meta Tag Set > Training, and select Roll Over.

-
Click OK.
-
Repeat these last few steps for the topics Bulldogs.htm (selecting the Sit meta tag value) and Dalmatians (selecting the Stay meta tag value).
-
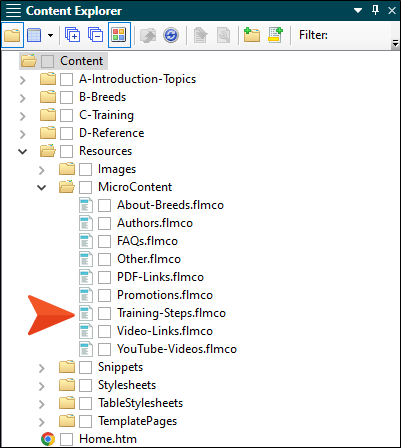
Next, we need to associate the meta tag values with the appropriate micro content phrases. In the Content Explorer, expand Resources > MicroContent, and double-click Training-Steps.flmco.
-
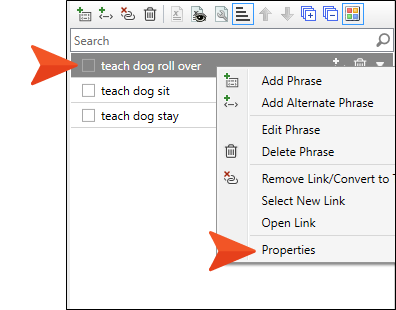
Right-click teach dog to roll over and select Properties.
-
On the Meta Tags tab, expand General Meta Tag Set > Training, and select Roll Over.
-
Click OK.
-
Repeat these last few steps for the other two phrases, selecting the Sit and Stay meta tag values accordingly.
-
Click
to save your work. -
Build the First-HTML5-Target file, and when it is finished, open the output.
-
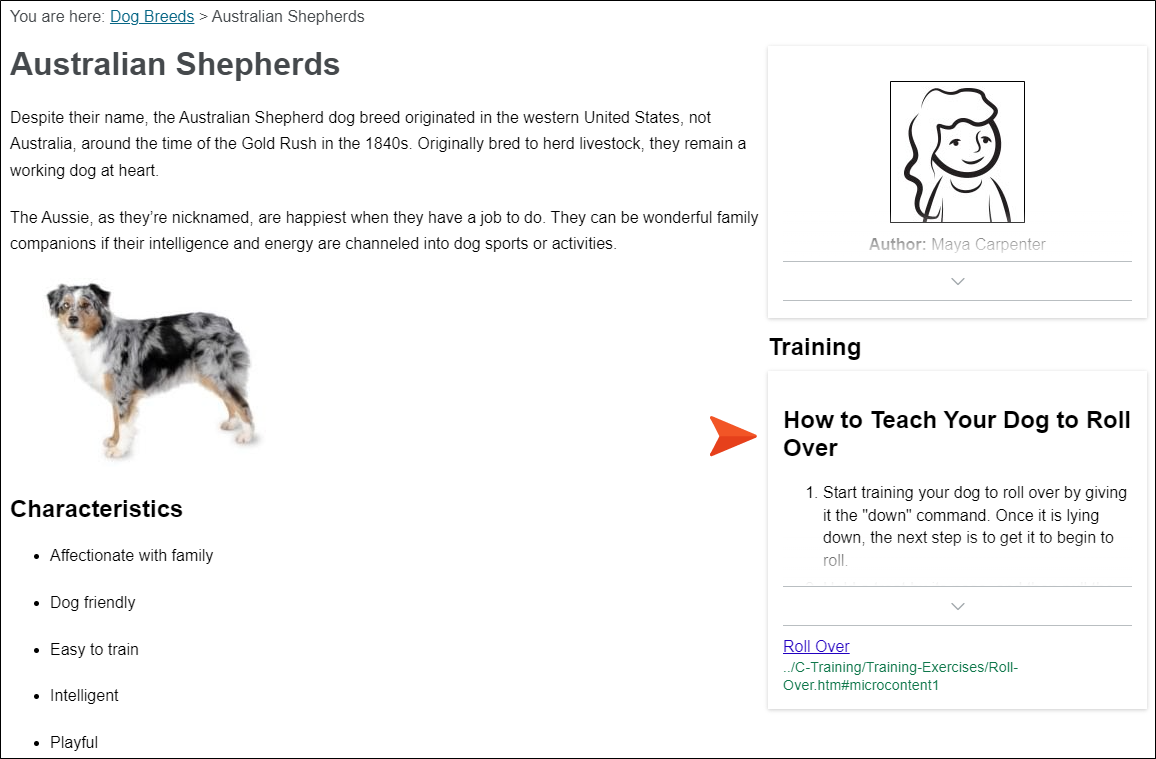
On the left side of the output, expand Dog Breeds, and select Australian Shepherds, Bulldogs, and Dalmatians. Notice the training steps to the right. In the case of the Australian Shepherds topic, it appears under the author profile added previously.
How to Filter via Topic Title
Another way to filter Knowledge proxy (and Promotion proxy) results is by using the topic title. By topic title, we mean the metadata that is added to the <head> tag in a topic's markup. This will usually be the main heading text found in a topic (usually an <h1> tag), so you might not need to do anything. But you can enter a custom topic title in the properties for that file if you want.
-
In the previous output, expand Training Dogs on the left side and select Training Exercises. Then open each of the topics under it: Roll Over, Sit, and Stay. Notice that Jeff is the author associated with each topic, and that is the only micro content shown on the page. However, Emily is also assigned to these topics, but her profile isn't showing because we limited the results to just 1. So let's increase the number of results, and then let's add different micro content under the author profiles by using the topic title.
-
In Flare Desktop, open the Other-Topics template page.
-
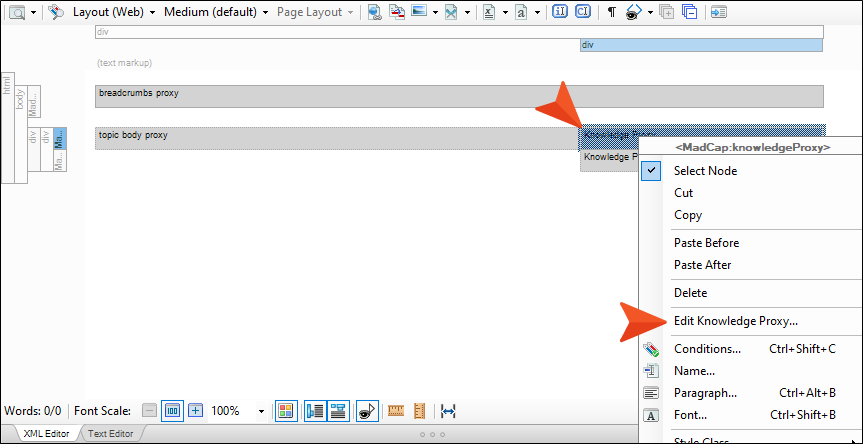
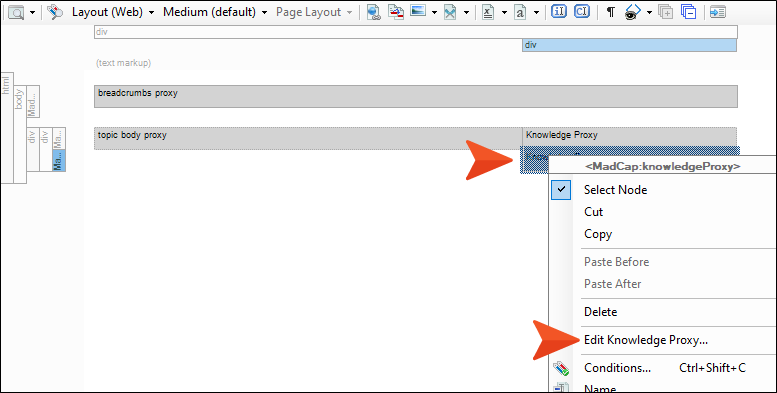
Right-click the first Knowledge Proxy bar that we initially added for author profiles, and select Edit Knowledge Proxy.
-
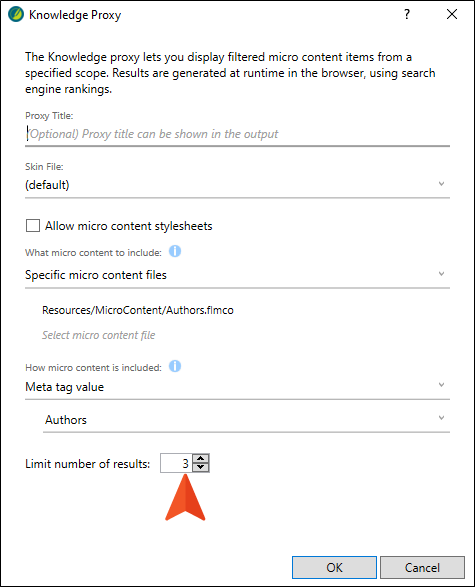
At the bottom, change the Limit number of results field to 3 (since we have three possible authors), and click OK.
-
Right-click the second Knowledge Proxy bar and select Edit Knowledge Proxy.
-
Remove the text from the Proxy Title field.
-
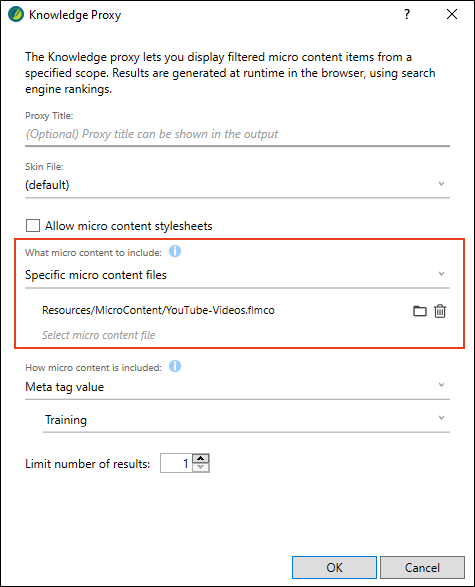
In the What micro content to include field, select Specific micro content files, and in the first drop-down under it select Resources/MicroContent/YouTube-Videos.flmco.
-
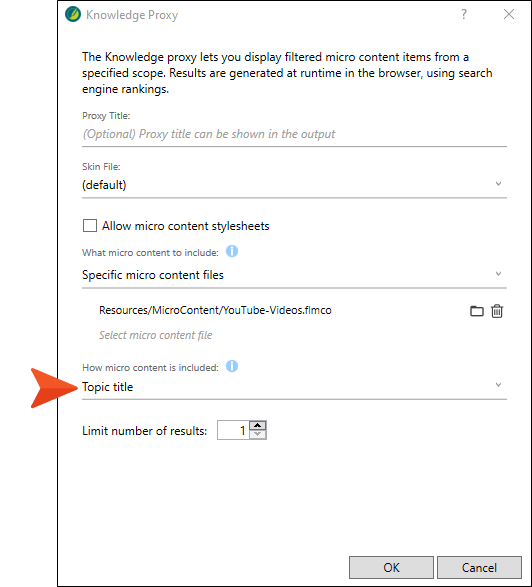
In the How micro content is included field, select Topic title.
-
Click OK.
-
Click
to save your work. -
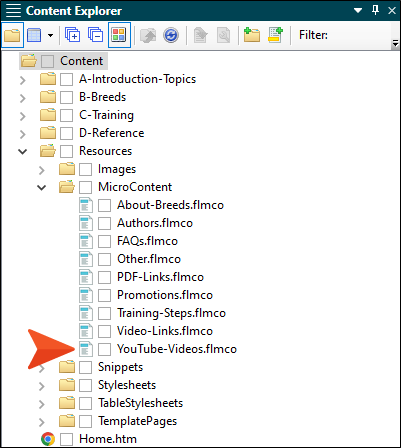
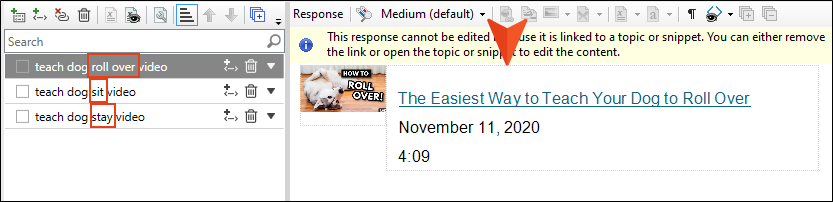
In the Content Explorer, expand Resources > MicroContent, and double-click YouTube-Videos.flmco. This is the micro content file that we told Flare Desktop to pull from if topic title matches exist.
-
Notice that there are only three micro content phrases in this file (with no alternate phrases associated with any of them). Each phrase has a response that includes an image, some text, and a link to a YouTube video. The first phrase contains the text "roll over," the second contains the text "sit," and the third contains the text "stay."
-
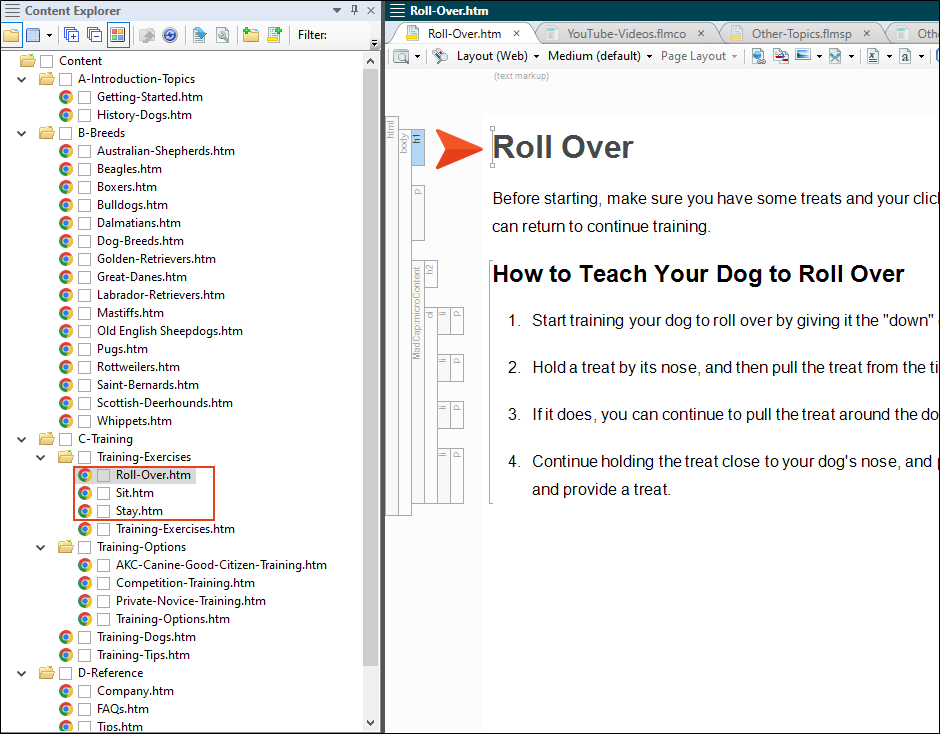
The next question is, "Are there any topics with titles that might share keywords with those micro content phrases?" And sure enough, there are three—one for each of the three micro content phrases we just saw. If you open any of these topics, you'll see the text that is used in the first heading. That text is therefore also automatically used as the topic title.
-
Build the First-HTML5-Target file, and when it is finished, open the output.
-
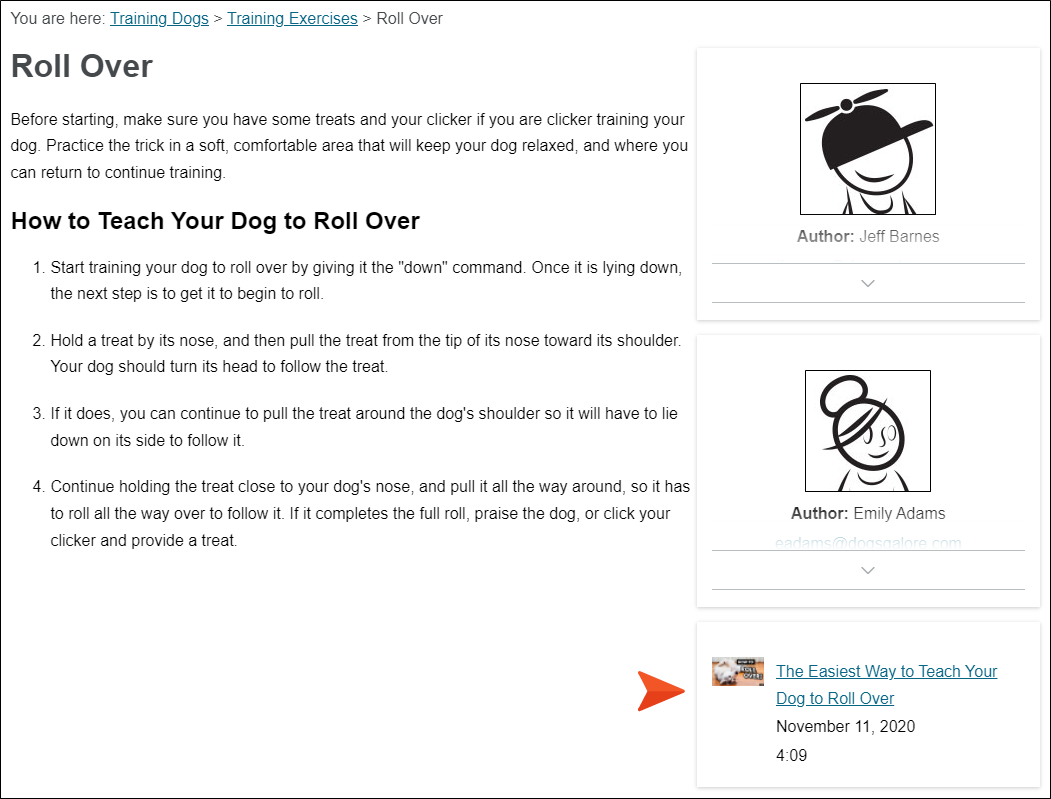
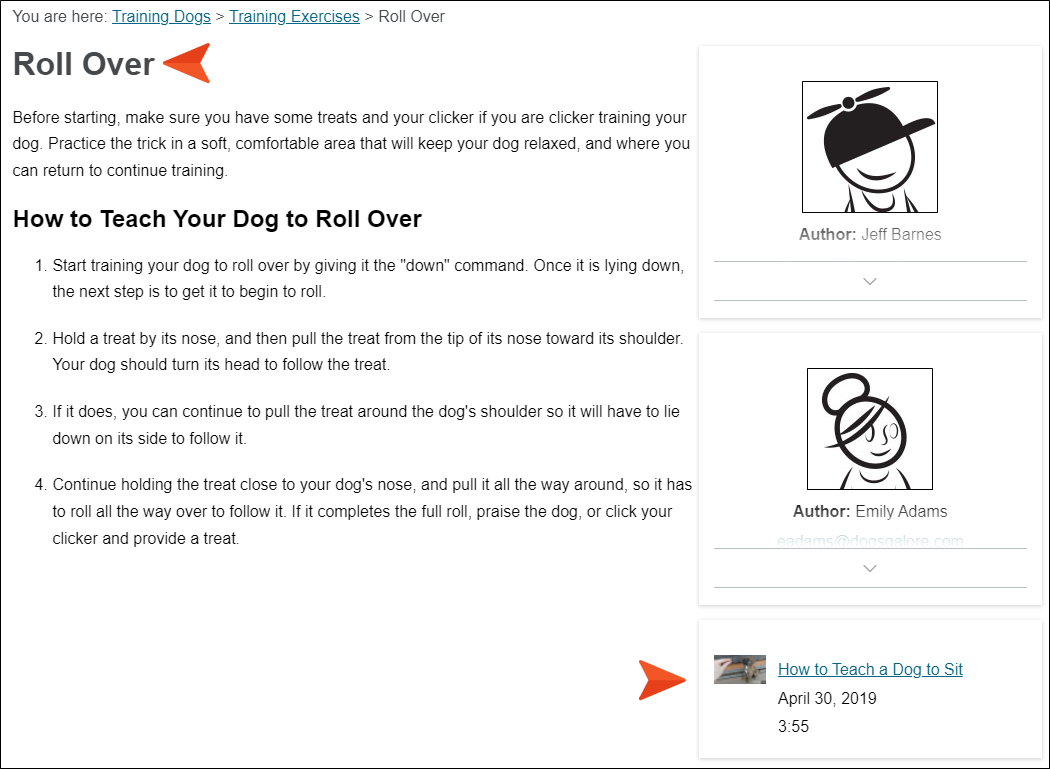
Navigate to Training Dogs > Training Exercises > Roll Over. Notice that not only are both authors now shown, but so is the YouTube micro content matching the topic title.
-
In the output, open the Sit and Stay topics, and notice the YouTube micro content for each of those.
-
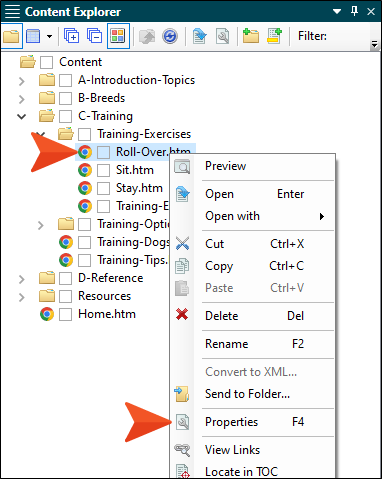
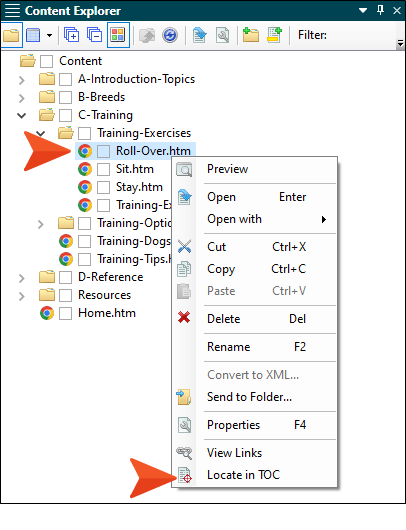
In Flare Desktop, open the Content Explorer and go to C-Training > Training-Exercises. Then, right-click Roll-Over.htm and select Properties.
-
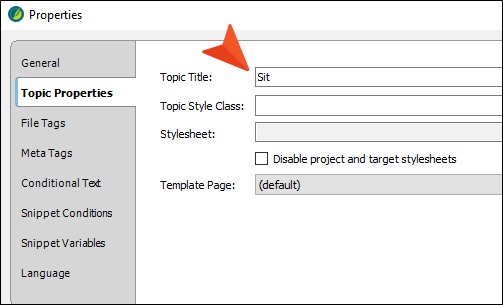
Select the Topic Properties tab, and in the Topic Title field enter Sit. Even though this topic doesn't have anything to do with sitting, we want to see what happens when we change the text in this field, overriding the heading text in the topic as the title.
-
Click OK.
-
Right-click Roll-Over.htm again, and select Locate in TOC.
-
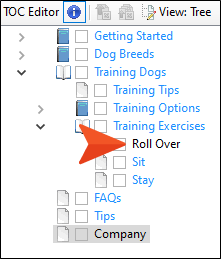
The text in the TOC now says "Sit," because it is pulling from the Topic Title field. Click on this TOC node, select all of the syntax, type Roll Over, and press ENTER. If you click off that node, you'll notice that the text is black instead of blue, because we manually set it instead of relying on the auto feature.
-
Click
to save your work. -
Rebuild the target, view the output, and open the Roll Over topic. Even though the topic has nothing to do with teaching a dog to sit, notice that the YouTube micro content describes training a dog to sit.
-
In Flare Desktop, undo your changes to the TOC and save. Also, remove the text "Sit" from the properties for the Roll-Over topic.
How to Filter via Custom Text
We're going to skip the search query filter that you see in the Knowledge Proxy dialog, because it's primarily useful for search results, not topics. But there is one more filter that we want to explore for topics, and that is custom text.
-
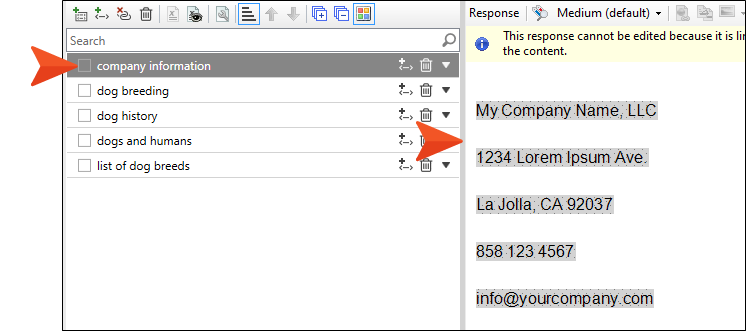
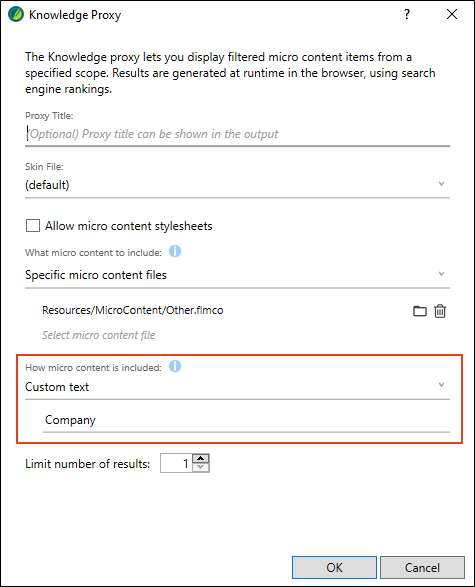
In the Content Explorer, expand Resources > MicroContent, and double-click Other.flmco.
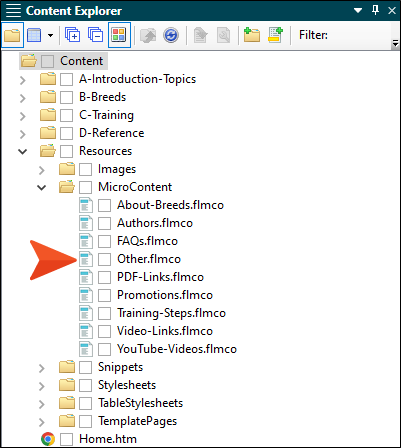
Notice the first micro content phrase "company information," which contains a response with contact details for the company. We're going to make this micro content display to the right of every topic in the output, except the Home page.
-
Open the Other-Topics template page, right click the second Knowledge Proxy bar, and select Edit Knowledge Proxy.
-
Under the What micro content to include field, replace the YouTube-Videos selection with Resources/MicroContent/Other.
-
In the How micro content is included field, select Custom text, and in the field below it enter Company. We didn't type text that is identical to the micro content phrase (i.e., company information), but that's okay because this proxy uses the search engine and will pull up micro content if it is a close enough match.
-
Click OK.
-
Click
to save your work. -
Rebuild the target and view the output. Open any topic (other than the Home page) and notice the company information on the right side.


