Adding Glossary Entries
It is easy to add entries to your glossary, and you do not need to worry about alphabetizing them because Doc-To-Help does it for you.
- At the bottom of the Doc-To-Help Project window pane, select the Documents accordion bar.
-
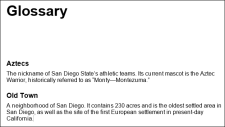
Double-click Glossary.doc to open it. This document contains two entries.
-
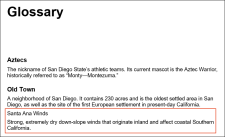
After the first two entries, add the following text:
Santa Ana Winds
Strong, extremely dry down-slope winds that originate inland and affect coastal Southern California.
Now, we need to apply styles to the new entry. These styles not only control the look of the entries, but also the behavior.
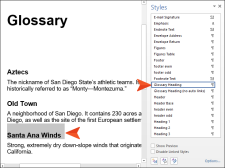
- Highlight the words Santa Ana Winds.
-
Using the Styles window pane, set the style to Glossary Heading. See Applying a Style.
-
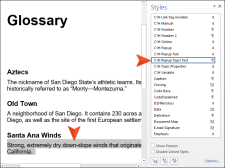
Select the definition below it and set the style to C1H Popup Topic Text.
Note Fortunately, our glossary terms are already in alphabetical order. If they were not, you could fix that. To do this, select the Doc-To-Help ribbon, and in the Glossary section click Sort. The glossary is alphabetized.
-
Save your document and build the target.
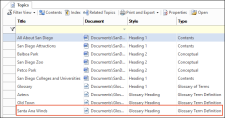
"Santa Ana Winds" is now part of the glossary; it is also listed in the Topics window pane.
Next, let's create a custom table of contents.

