An eLearning course should be easy to follow from beginning to end. The eLearning Toolbar proxy lets you include intuitive navigation buttons and controls in your course. These might be a Next and Previous button, or a progress bar. When you build HTML5 output, the proxy content is replaced with the generated navigation tools.
[Menu Proxy — Headings — Online — Depth3 ]
How to Add the eLearning Toolbar Proxy to a Template Page
To get the navigation tools to display in the output, the eLearning Toolbar proxy needs to be added to a template page. The proxy is a placeholder to generate the eLearning toolbar in the output. The proxy will show up in all the topics where the template page is applied.
-
From the Content Explorer, expand Resources > TemplatePages. This is the default location for template pages. However, you might keep yours in a different location. Open the template page applicable to the course topics (e.g., Other-Topics.flmsp).
-
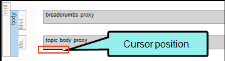
Place your cursor at the location in the template page where you want to add a proxy (e.g., after other proxies).
Note Most template pages include a Topic Body proxy. If the Topic Body proxy is not included, insert it from the Insert ribbon, Proxy > Body Proxy. This proxy is required as it is the body content placeholder for each of the topics used in the output.
-
From the eLearning ribbon, select eLearning Toolbar Proxy. Alternatively, from the Insert ribbon, select the Proxy drop-down, and choose eLearning Toolbar Proxy.

-
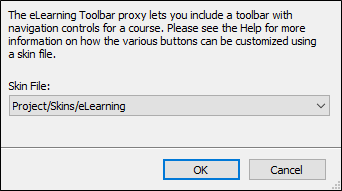
In the eLearning Toolbar Proxy dialog, from the Skin File drop-down, you can select a customized eLearning Toolbar skin component. If you leave the default setting, the first eLearning Toolbar skin component in the project will be used. Click OK.
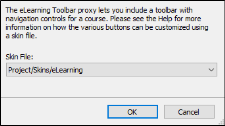
Note If you have not created a skin component to associate with the proxy, you can always come back to the inserted proxy later and edit it once the skin component is created.
-
Click
") to save your work.
to save your work.

What’s Next?
Now that the proxy is in place, you need to select which navigation tools you want to include in your output. This is done in the eLearning skin component.


