
Note This feature is supported in HTML5 Tripane skins, but not in HTML5 Side or Top Navigation skins.
You can specify web toolbar settings for some online outputs. This includes determining which buttons are displayed in the web toolbar. You can also add custom JavaScript for the toolbar.
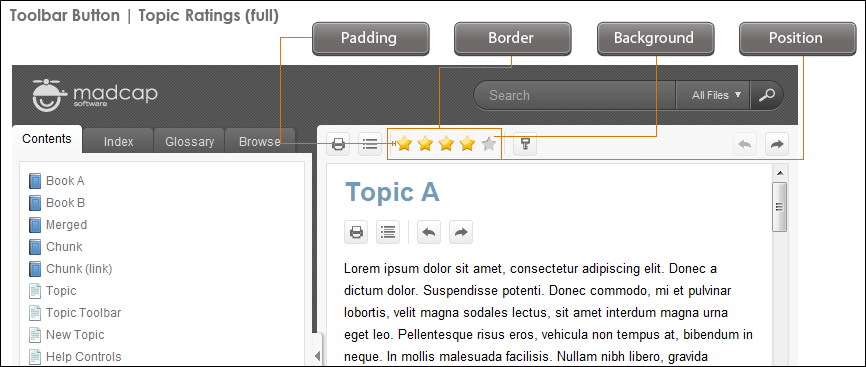
For more about web toolbars versus topic toolbars, see Toolbars.
[Menu Proxy — Headings — Online — Depth3 ]
How to Specify Custom Toolbar Settings for HTML5 Output
- Open an HTML5 Tripane skin.
- Select the Toolbar tab.
- Select options to include specific features (buttons) in the toolbar. Items that will be included in the toolbar are displayed in the Selected section on the right. Items that will not be included in the toolbar are displayed in the Available section on the left. You can use the right arrow button
 to move items from the Available section to the Selected section.
Following are descriptions of the various items.
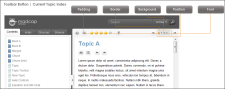
Current Topic Index
Lets users see the display for the current topic in the sequence. This is typically used in conjunction with the "Next Topic" and "Previous Topic" buttons when the topic in question exists in a browse sequence. Flare finds the current topic in a browse sequence and display its position in relation to the rest of the topics in that sequence. (The root node is used to determine the count; in other words, if there are "child" topics in the sequence structure under the current topic, they will be included in the count.)
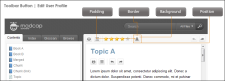
Edit User Profile
Lets users edit their Pulse or Feedback registration profile settings.
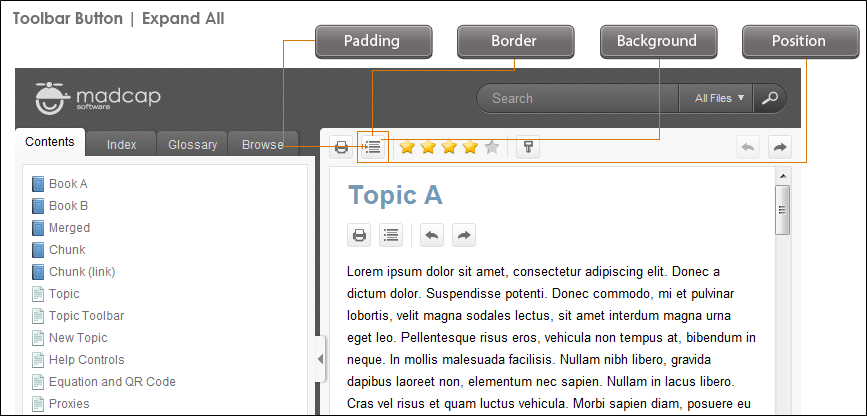
Expand All
Lets users expand all elements such as togglers, drop-down effects, and expanding text effects in a topic (if they are not yet expanded).

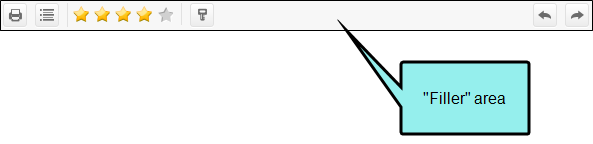
Filler
Lets users add a filler item, which is used to specify where the empty space should go in the toolbar.

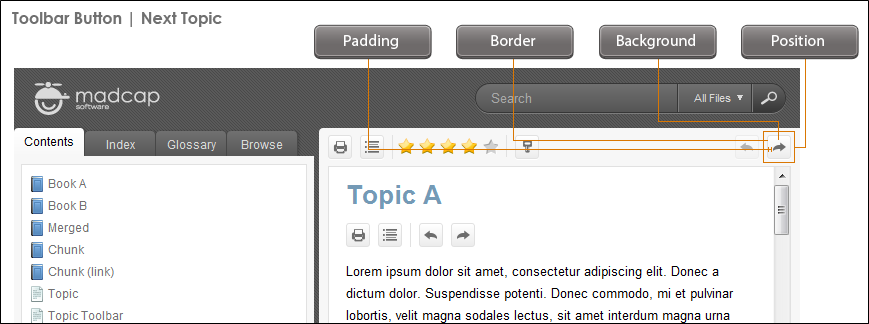
Next Topic
Lets users open the next topic in the output. If you are using a browse sequence, Flare attempts to find the current topic in a browse sequence and navigate to the next topic from there. If you are using HTML5 Side Navigation, Top Navigation, or skinless output, or if you are not using a browse sequence, Flare looks at the position of the current topic in your table of contents (TOC) and opens the next topic after it.

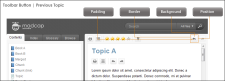
Previous Topic
Lets users open the previous topic in the output. If you are using a browse sequence, Flare attempts to find the current topic in a browse sequence and navigate to the previous topic from there. If you are using HTML5 Side Navigation, Top Navigation, or skinless output, or if you are not using a browse sequence, Flare looks at the position of the current topic in your table of contents (TOC) and opens the previous topic before it.
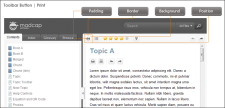
Print
Lets users open the Print dialog so that they can send the open topic to the printer.
Remove Highlight
After a user performs a quick search in a topic, the search text found in the topic is highlighted. This button lets users turn the highlights off.
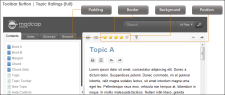
Topic Ratings
Lets users submit ratings for a topic (if you have incorporated your output with MadCap Pulse or Feedback).
-
(Optional) You can use the buttons at the bottom of the tab to perform additional tasks.

Opens the New Toolbar Button dialog, which lets you add a custom button to the toolbar. After creating the custom button, select it and click
to move it to the Selected section.If you want to provide a command for the custom button (e.g., so that clicking the button opens a website), you can select the Styles tab in the Skin Editor, select one of the styles listed above, expand the Event property group, and enter a command in the Click field. For example, the following command opens the MadCap Software website when a user clicks the button:
Copywindow.open("http://www.madcapsoftware.com");Alternatively, you can use the JavaScript area on the Toolbar tab to enter a command for the button. See the next step.

Removes the selected custom button from the Available section.

Moves the selected item up in the order in the Selected section. In the output, buttons are displayed left to right according to the order in which they appear on this tab, with the item at the top being the first button shown on the left in the output.

Moves the selected item down in the order in the Selected section. 
Removes the selected item(s) from the Selected section. 
Adds a separator to the Selected section. A separator is the divider between the toolbar buttons and the navigation pane.


Resets the toolbar to the default settings.
-
(Optional) If you want to include custom JavaScript in the toolbar, click Edit in the area to the right. This opens the Toolbar JavaScript dialog, which you can use to enter or load custom JavaScript for the toolbar.
For example, the following command opens the MadCap Software website when a user clicks the button:
Copyfunction MyFunction()
{
window.open("http://www.madcapsoftware.com");
} - Click
") to save your work.
to save your work.


Note You can also add a web toolbar that is displayed within topic content. This can be done with the help of a topic toolbar proxy.
What's Next?
Make sure that you associate the skin with the target. See Associating Skins With Targets.
You can also use a skin styles to change the look of toolbars. See HTML5 Skin Styles.
