


After adding template page files to a project, you can create template pages for use in both online and Word output to apply certain content to multiple topics.
[Menu Proxy — Headings — Online — Depth3 ]
How to Add a Proxy to a Template Page
Depending on the template page template that you select, you might already have one or more types of proxies in your template page. Some of these proxies are used primarily for online output (e.g., Breadcrumbs, Menu, Search Bar), some are used for printed output (e.g., Glossary, Index, TOC, Page Header, Page Footer), and some may be used for both online and printed output (e.g., Body, Mini-TOC). Some proxies are typically added to topics, whereas others are usually inserted into template pages, and some (e.g., Mini-TOC proxies) are often used in either.
- From the Content Explorer, open the template page.
- Place your cursor at the location in the template page where you want to add a proxy. The horizontal cursor blinks. Use the up and down arrow keys on your keyboard to navigate between proxies. Then press ENTER.
- Select Insert > Proxy > Insert [Type of Proxy]. Depending on the type of proxy you select, one of several types of dialogs opens.
- In the dialog, complete the available options, if necessary. Some options (e.g., Stylesheet class) are optional. Click OK. The proxy is added to the template page.
- Click
") to save your work.
to save your work.
Note In some cases, you do not need to make any other changes to the template page; the content for the proxies will be included automatically in the output as long as you associate the template page with a target, or associate template pages with TOC entries (if producing print-based output). However, you can add content above or below any of the proxies.
How to Remove a Proxy from a Template Page
- From the Content Explorer, open the template page.
- Right-click the proxy bar that you want to delete. In the menu, select Delete. The proxy is removed from the template page.
- Click to save your work.
Adding a Template Page Header or Footer
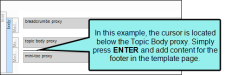
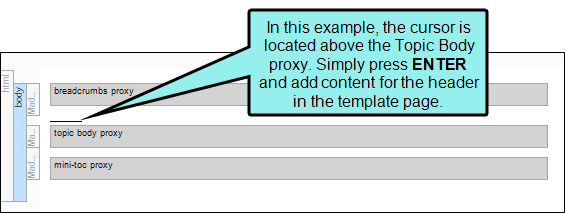
If you want your topics to include a header or footer, you need to add content above the Body proxy (for headers) or below the body (for footers). Use the arrow keys on your keyboard to move the cursor above or below the Body proxy, then press ENTER and type the content.
How to Add a Template Page Header or Footer
If you want your topics to include a header or footer, you need to add content above the Body proxy (for headers) or below the body (for footers). Use the arrow keys on your keyboard to move the cursor above or below the Body proxy, then press ENTER and type the content.
For specific steps about headers and footers for printed output, see Print Template Pages.
- From the Content Explorer, open the template page.
-
Click somewhere in the template page. The horizontal cursor blinks.

-
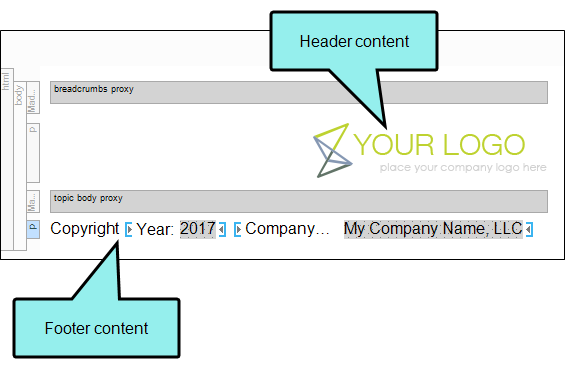
Press ENTER and add the content for the header or footer. If you want to add content in a different area, press the up or down arrow on your keyboard until the horizontal cursor blinks where you want it, then press ENTER and add content.
-
Click
to save your work.
Note If you have an image (e.g., logo) for a template page, you might want to use a CSS variable. Note that you cannot select a CSS variable for an image inserted directly into a content file. Instead, you must set a CSS variable as a background image, which you can do through a stylesheet or skin. See Branding.

If the animation below is cut off, you can see the complete animation by clicking the link under it to open the full topic.
What’s Next?
After you create a template page, you need to associate it with any targets that you want to use it. See Associating Template Pages With Targets.
You can also associate template pages with individual topics. See Associating Template Pages With Topics.
If you are creating print-based output, you may want to associate your template pages with TOC entries. See Print Template Pages and Specifying Section Breaks and Template Pages.
