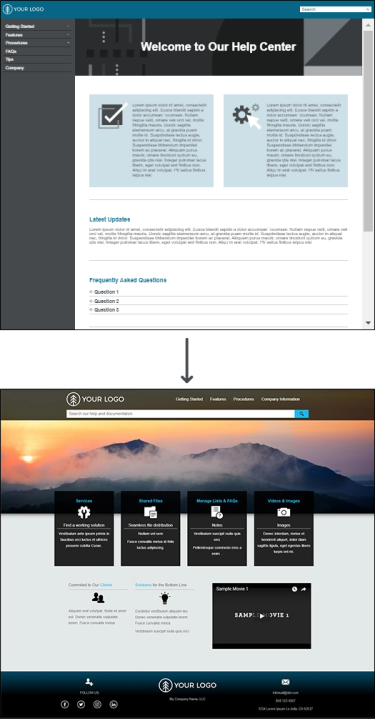
You might already have a Flare project but decide you want to use the look from a different template. For example, maybe you initially selected a template that is shown in Flare's Start New Project Wizard, but then you later find a template on the MadCap Software website that you like better. There isn't a feature dedicated to make a change like this, with built-in mapping, etc. However, you can use a combination of some Flare features to make it work. The following explains how to change templates using Flare's Global Project Linking and exporting features.
How to Change Project Templates
- Download the template you want to use, or create a new, small project based on a template.
-
Open that new project in Flare (if you downloaded a project template, you can double-click the Flare zip file to unpack and open it), and add a Flare project import file (Project > New > Import File > Add Flare Project Import File).
Note Alternatively, you can add the project import file to your original project and import files from the new template project into that. In that case, you would probably want to import mainly design-related files (e.g., stylesheets, template pages, skins). However, there will probably be less work afterward if you import mostly content files from the original project into the new template project, then export or name it.
-
In the Project Import Editor, select the source project and use the fields to choose the files you want to import. If you are importing from the original project into the new template project, you probably want to limit your selections to non-design files (e.g., choose files such as topics, snippets, images, and variables), although in some cases you might decide to keep some design files (e.g., stylesheet, page layouts). When finished, save your work, click Import, then Accept.
For field details, see Global Project Linking—Importing Files From Other Projects.
- Delete any of the topics and other files that were part of the template project and you do not plan on using (e.g., topics, images, TOC). Also, in the Project Organizer, expand the Imports folder and delete the import file (unless you plan on re-importing some more files).
- Generate and view output and see what kinds of manual changes you might need to make. For example, if you imported your original stylesheet, you might need to link it to the one(s) in the new project, or you might need to re-apply some styles to some content.
- You probably want to rename the new project. An easy way to do this is to select Project > Export Project, which gives you an opportunity to rename the project and select a location for it.

