Preparing Translation Bundles
If you are working with a translator who is using a third-party tool—such as Trados or memoQ—you first need to package your Lingo project in order to separate the necessary files for the translator. You can then send the bundle (which is a ZIP file or LIPRJZIP file) to the translator. This file consists of the content files requiring translation.
[Menu Proxy — Headings — Online — Depth3 ]
How to Prepare a Bundle
-
Select View > File List.
Note You can also create bundles from the TOC View window pane.
- Select the files to be included in the bundle. You can hold the SHIFT key to select a range, or you can hold the CTRL key to select individual items. Selecting multiple files can be done only if you are in grid view.
- In the local toolbar click the Create Bundle button
 .
. -
In the Bundle Settings area, select the file type for the bundle and the project files to include with the bundle.
- Lingo Project Bundle Packages the bundle as an LIPRJZIP file to send to a translator who also uses Lingo.
- XLIFF Files Bundle Packages the bundle as a ZIP file to send to a translator who uses another third-party tool, such as SDL Trados or memoQ.
-
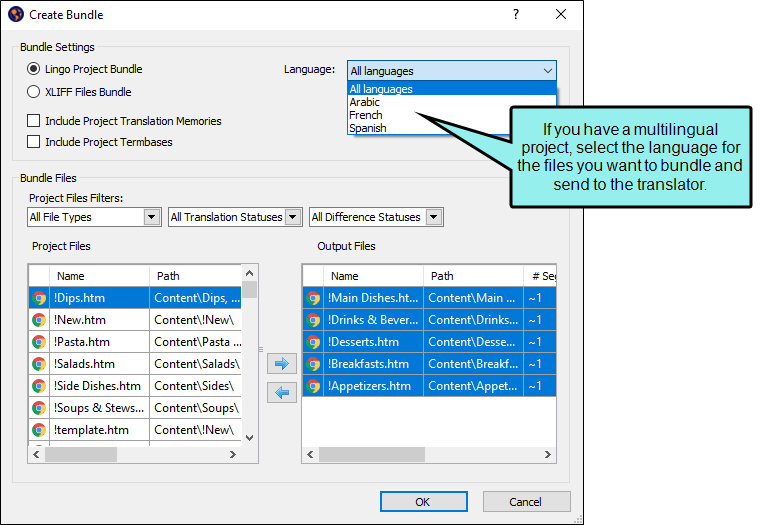
Language (Optional) Select the target language for the files in the bundle. You can select an individual language or all languages.
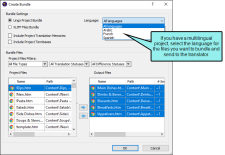
Note You will only see this option if you are working with a multilingual project.
Note If you need to send multiple languages to the translator, you can send each language as individual bundles, or you can select All languages to send all of the files in one bundle.
Note You cannot add or remove languages to a project while a bundle is out for translation. You must import the returned bundle before you can add or remove languages. See Bundles.
-
Include Project Translation Memories Includes the project's
-
Include Project Termbases Includes the project's termbases with the bundle.
Example
You are bundling a large Lingo project for translation. The project is already partially translated, but you are using a new translator to finish the project. By including the connected translation memories and termbases with the bundle, the new translator can use the previous translator's completed work (using the translation memory), as well as any standards for commonly used terms that you may have established with the previous translator (using the termbase). This saves you time because you won't need to review these things with the new translator, and it saves you money because the new translator will not need to retranslate segments that have already been completed.
-
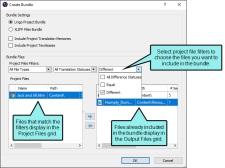
(Optional) In the Bundle Files area, you can use the filters to search for additional files to include with the bundle. You can filter by file type, translation status, and difference status. Any project files not yet included in the bundle and that match your selected filters display in the Project Files grid. Any files currently included in the bundle display in the Output Files grid.
Note The filters available in your bundle depend on the files available in your project. For example, if you do not have any new files in your project, you will not see the New difference status filter. If you add new files to the project, the New filter becomes available.
Note If you have already filtered your project using target or condition filters, the available files reflect the filters you applied. You can only bundle files that are part of your current project. See Dynamic Filtering.
Example
You have already sent your project to your translator to begin translating content. After a few weeks, you need to make a major, unexpected change to a section of the documentation that you have already sent for translation. Rather than sending the whole project to the translator again, you can use the project files filters to send only the changed files to the translator.
After updating your project in Lingo
- Click OK. The project is scanned and computed statistics for the project are shown (if you have TM installed, as recommended).
- Click Close. A Windows subfolder (within your project folder) named "Exporting" opens. This subfolder holds a ZIP file or LIPRJZIP file, depending on the bundle settings you chose. This file contains the files that your translator needs to work with.
-
Send the ZIP file or LIPRJZIP file (via email, FTP, etc.) to the translator.
Important If you need to make changes to your bundle before you send it to the translator, you should not remove files from the ZIP or LIPRJZIP file, as this could cause problems merging the bundle back into Lingo later. Instead, it is recommended that you create a new bundle and send the corrected bundle to the translator.

What’s Next?
After receiving these files from you, the translator unzips the file, opens it in Lingo or imports the content files into a third-party tool, and translates all of the segments. When finished, the translator puts the completed files into a ZIP or LIPRJZIP file, and sends it to you. At this point, you can merge those files into your original Lingo project. See Merging Completed Bundles.
Note You cannot merge a bundle back into your project unless the files within it are named the same as the files in the original bundle. Additionally, the bundle must have the same folder structure as the original bundle (i.e., files must reside in the same relative locations and folders cannot have been renamed).
Note Translators must return a bundle in the same file format as the original bundle they received. If you sent the translator a Lingo project file (*.LIPRJZIP), you should receive an LIPRJZIP file back from the translator. Likewise, if you sent the translator a ZIP file, should receive a ZIP file back.
