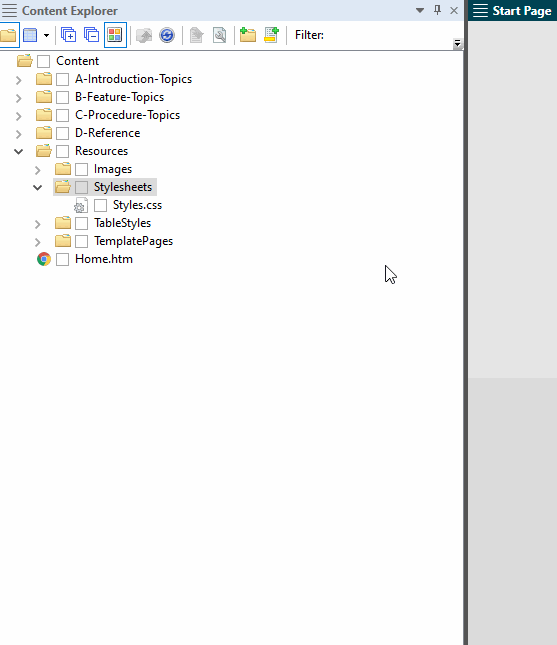
The first step in using styles in your topics is to add a new stylesheet. However, if a stylesheet was included in the template when you created the project, you can use that one instead of creating a new one. The traditional location to store a regular CSS stylesheet in the Content Explorer is in the Resources > Stylesheets folder. However, you can store it anywhere in the Content Explorer that you like.
[Menu Proxy — Headings — Online — Depth3 ]
How to Create a Regular Stylesheet
- In the Content Explorer, right-click on a folder and from the context menu select New > Stylesheet.
- In the File Type field at the top, make sure Stylesheet is selected.
- In the Source area, choose to create the new file based on a template or an existing file.
- New From Template Choose either a factory template file or one of your own custom template files as a starting point. The new file will take on all of the settings contained in the template. If you want to use the factory template provided by Flare, expand the Factory Templates folder and click on a template file. If you want to use your own custom template file, expand the appropriate folder and click on a file.
- New From Existing Choose an existing file of the same type as a starting point for your new file. As with template files, your new file will take on all of the settings contained in the file you select. To use this option, click
 , use the Open File dialog to find a file, and double-click it.
Note Each factory template has different style settings in it. Try different ones to see which suits you best. For example, one of the factory templates is called "Modern." This template includes custom properties for setting the border radius on a paragraph style (i.e., to create rounded corners).
Also, notice a factory template called "SearchHighlight." This template has a specific purpose—for changing how highlighted terms look when performing a search.
- New From Template Choose either a factory template file or one of your own custom template files as a starting point. The new file will take on all of the settings contained in the template. If you want to use the factory template provided by Flare, expand the Factory Templates folder and click on a template file. If you want to use your own custom template file, expand the appropriate folder and click on a file.
-
(Optional) The Folder field is automatically populated with the folder that has focus in the Content Explorer. If you want to place the file into a folder that you previously created in the Content Explorer, in the Folder field click
and select the subfolder. Otherwise, keep the default location. Non-Topic File Type
Recommended Default Folder in Content Explorer
Branding
Resources > Branding
Image
Resources > Images
Micro Content
Resources > MicroContent
Multimedia
Resources > Multimedia
Page Layout
Resources > PageLayouts
Snippet
Resources > Snippets
Stylesheet
Resources > Stylesheets
Table Stylesheet
Resources > TableStyles
Template Page
Resources > TemplatePages
- In the File Name field, type a new name for the stylesheet.
- (Optional) If you want to apply condition tags to the file, expand the Attributes section at the bottom of the dialog. Next to the Condition Tags field, click and select the conditions you want to apply.Click OK.
- (Optional) If you want to apply file tags, expand the Attributes section at the bottom of the dialog. Next to the File Tags field, click and select the file tags you want to apply.Click OK.
- Click Add. The stylesheet is added to the Content Explorer and opens in its own page in the Stylesheet Editor.
If the animation below is cut off, you can see the complete animation by clicking the link under it to open the full topic.
Note You can also add stylesheets specifically to be used for tables. See Creating Table Stylesheets.
Note You can also import an existing stylesheet from outside your project. See Importing Stylesheets.
Note You can also add a branding stylesheet to your project. See Branding and Adding a Branding Stylesheet.
What’s Next?
After you create a new stylesheet, you can edit the stylesheet, adding new styles and changing properties of existing styles. See Editing Styles in a Regular Stylesheet.


